¶ Set-up of the SunSystem App
Start by downloading the SunSystem app in the app store for Apple or Android respectively:
Apple: https://apps.apple.com/dk/app/sunsystem
Android: https://play.google.com/store/apps/details?id=dk.softcontrol.ionic.sunsystem
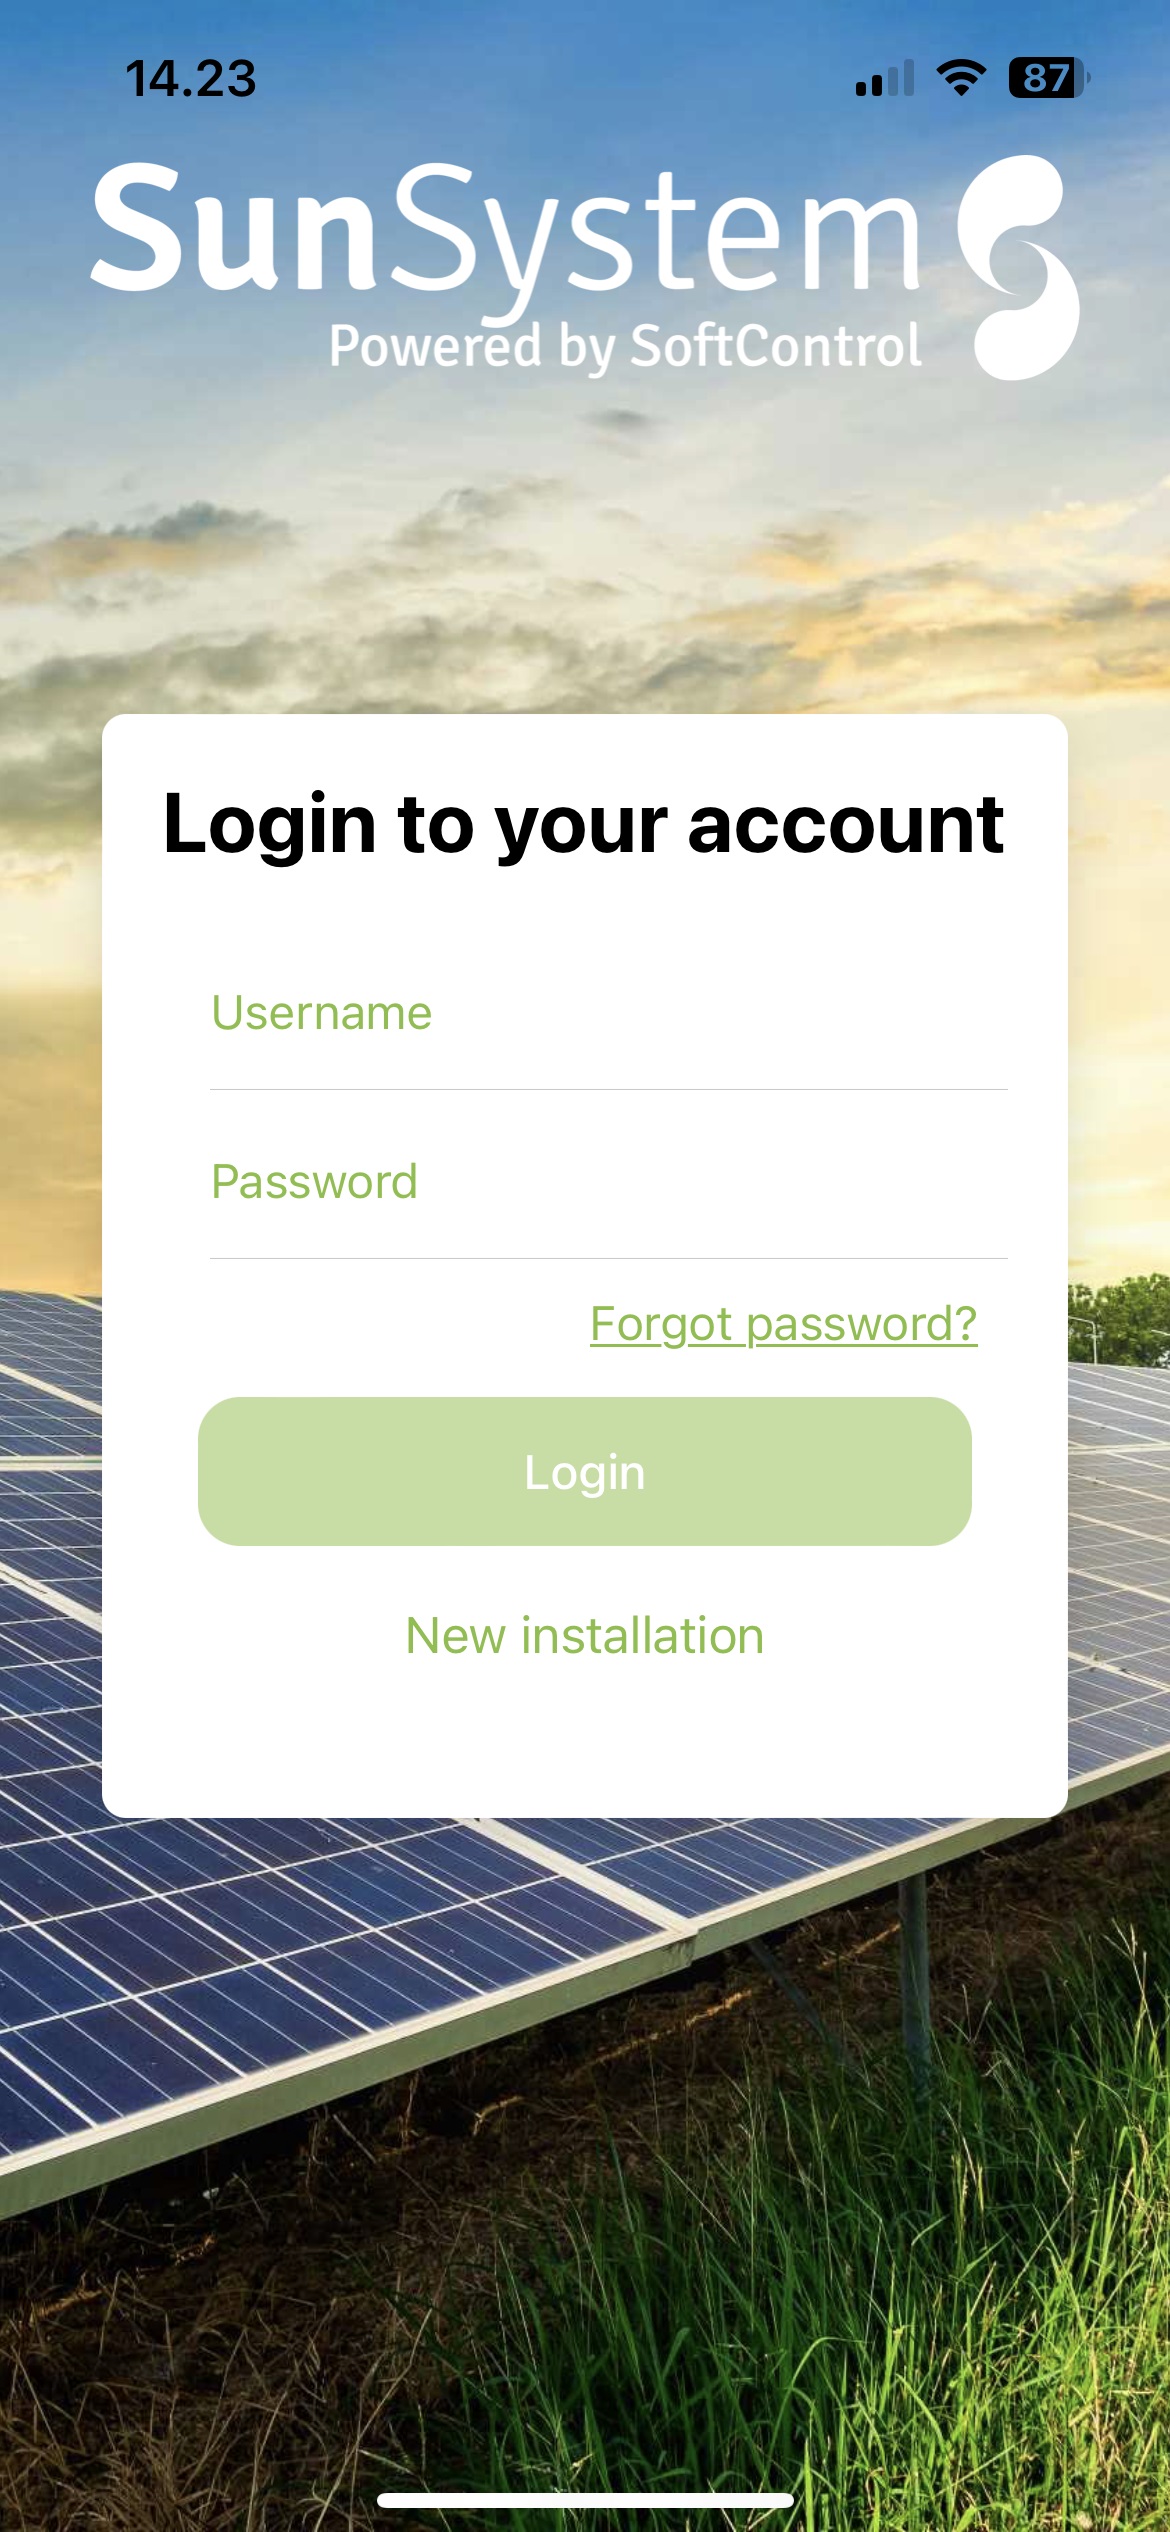
Press New installation
¶ CREATE ACCOUNT
Start by scanning the QR-code at the SC.GH.01-unit
¶ SELECT ACCOUNT
Select a user for the installation. You can either create a new SoftControl-user or log in to an existing SoftControl-account, if, for example, you have our CleverHouse solution.
If you are a new user, you create your account by filling in the information below.
¶ CREATE INSTALLATION
The installation is created by filling in the fields below.
Name: What you want to call the installation, e.g. your address.
Description: Optional description of your installation, for your own use.
¶ INSTALLATIONTYPE
You must now select the installation type that corresponds to your installation. You find the various options by swiping down on the page and pressing Select on the installation type that corresponds to the one you have installed.
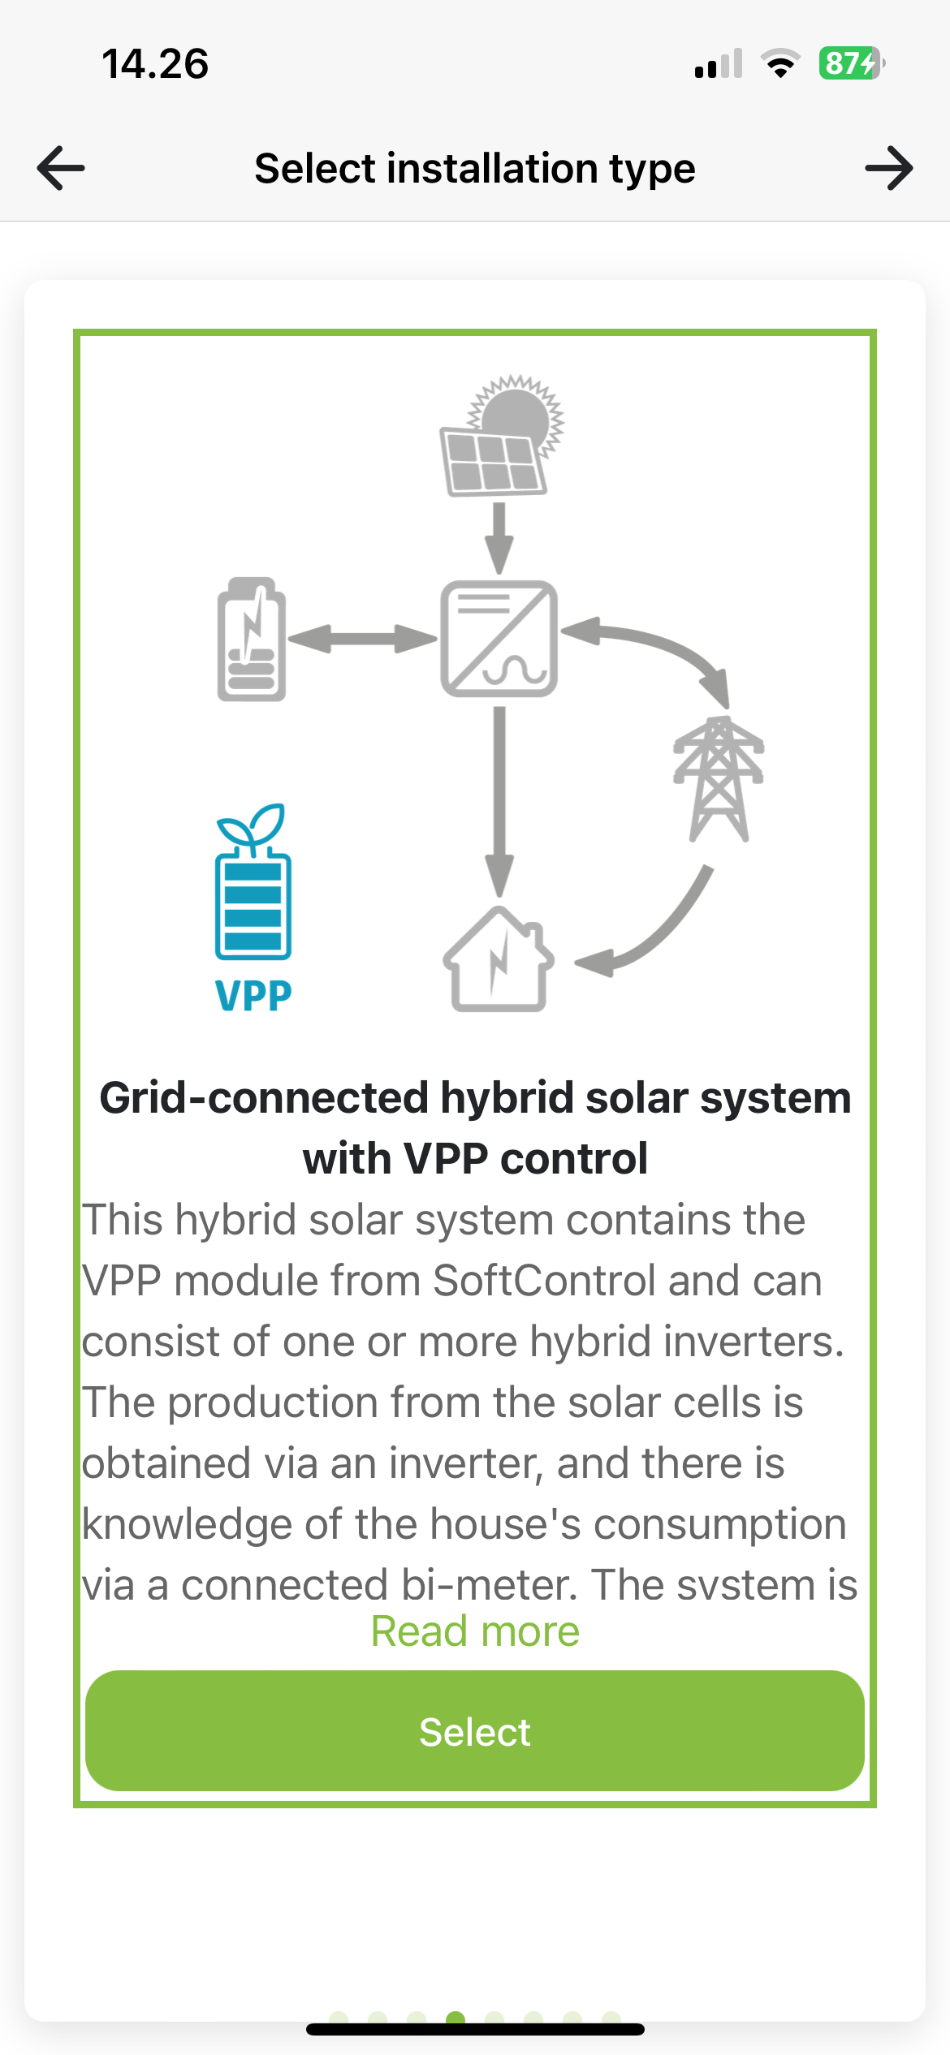
¶ AC coupled hybrid system with VPP
¶ ADD INVERTER
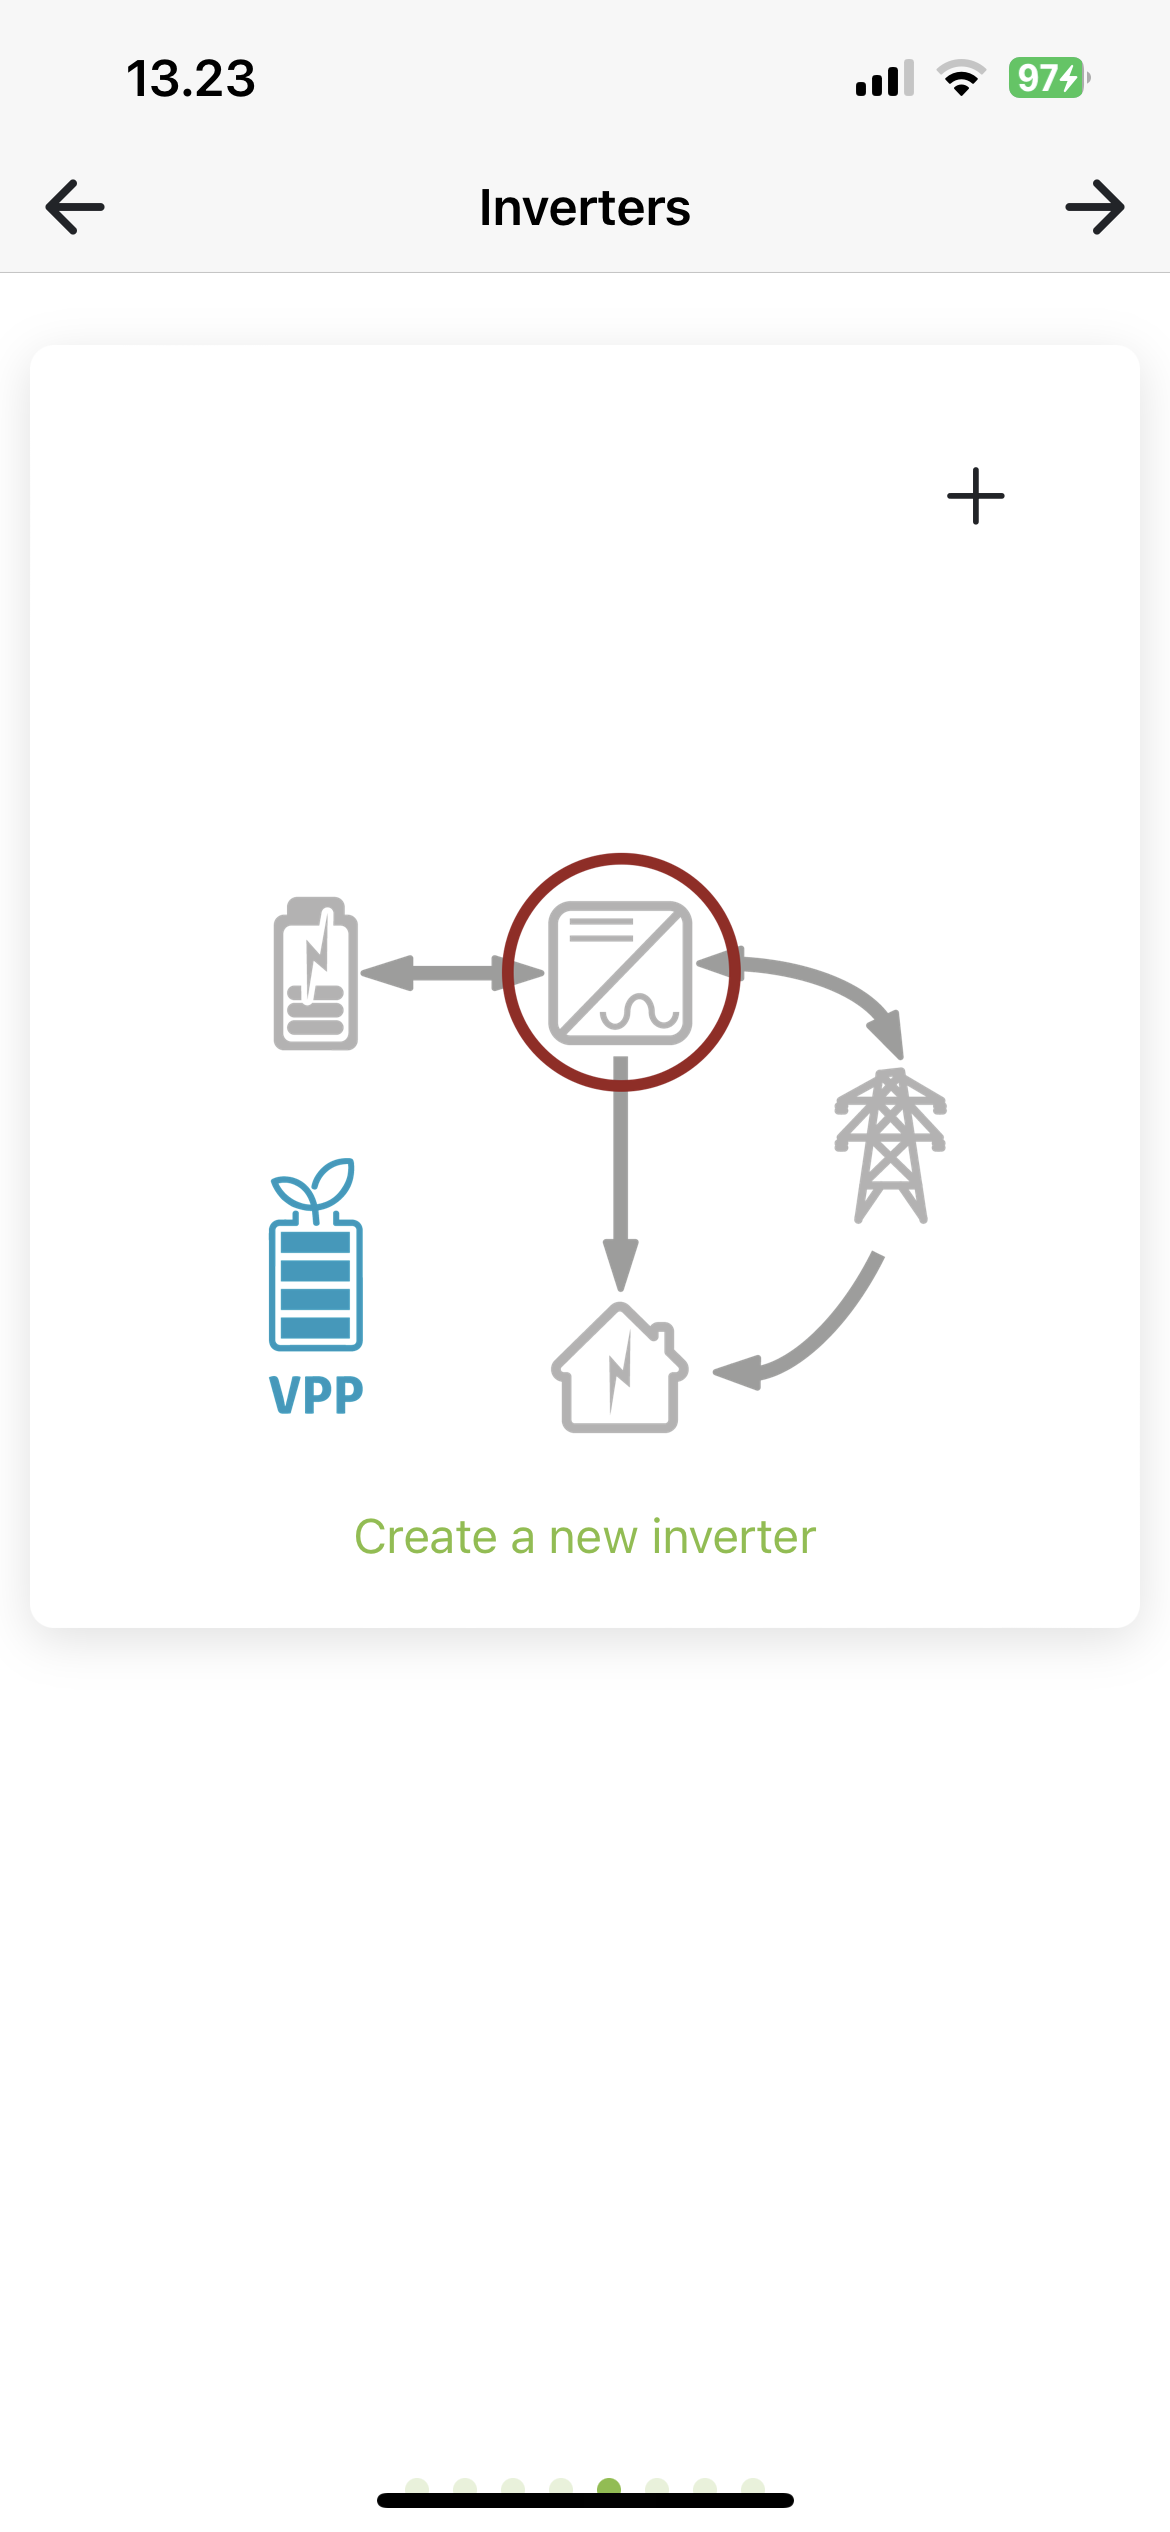
Add one or more inverters. Press Create new inverter.
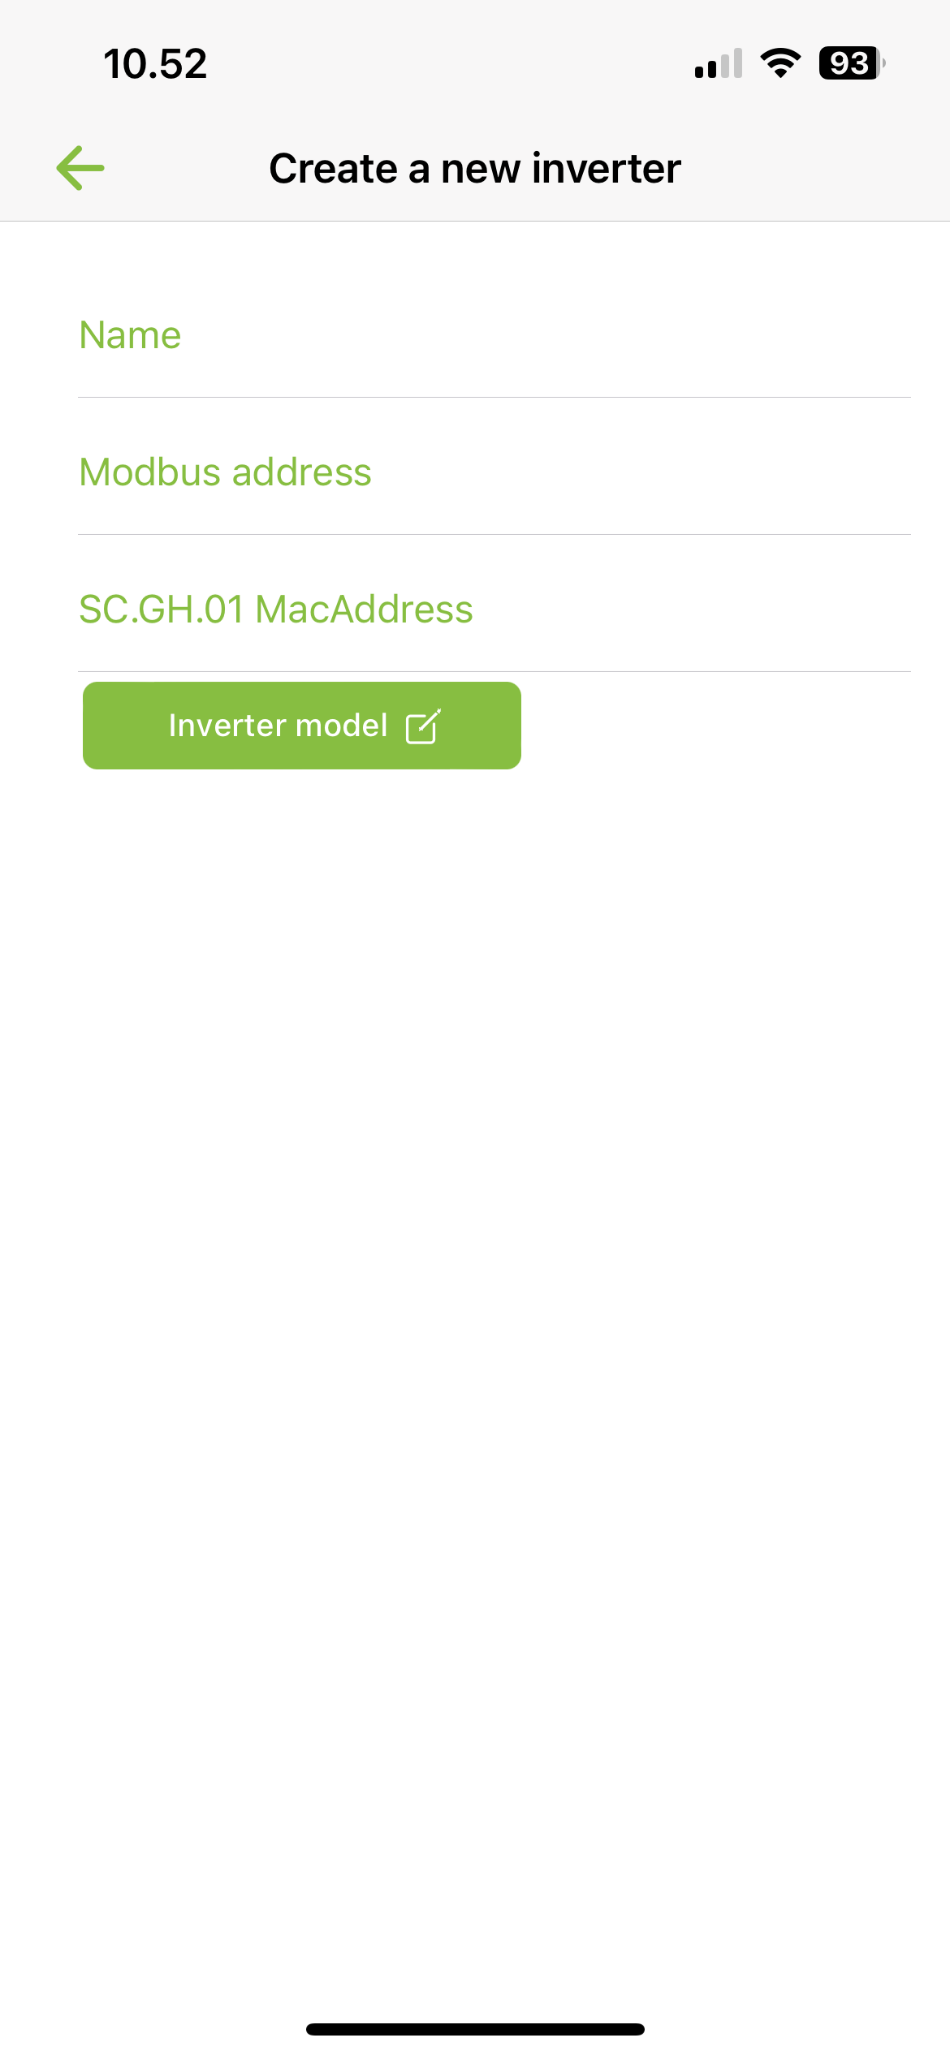
Name: Name you want to give your inverter, e.g. KSTAR, Basement.
Modbus: Enter the Modbus address you have set on the inverter (refer to manual for inverter model).
SC.GH.01 Mac-adress: Mac address is filled in based on the QR code you have scanned. If you use several SC.GH.01s, you must change the Mac address of the connected SC.GH.01.
Inverter model: Select brand and model
Press Back to return to the overview, where you press + to add more inverters.
¶ ADD POWERMETER
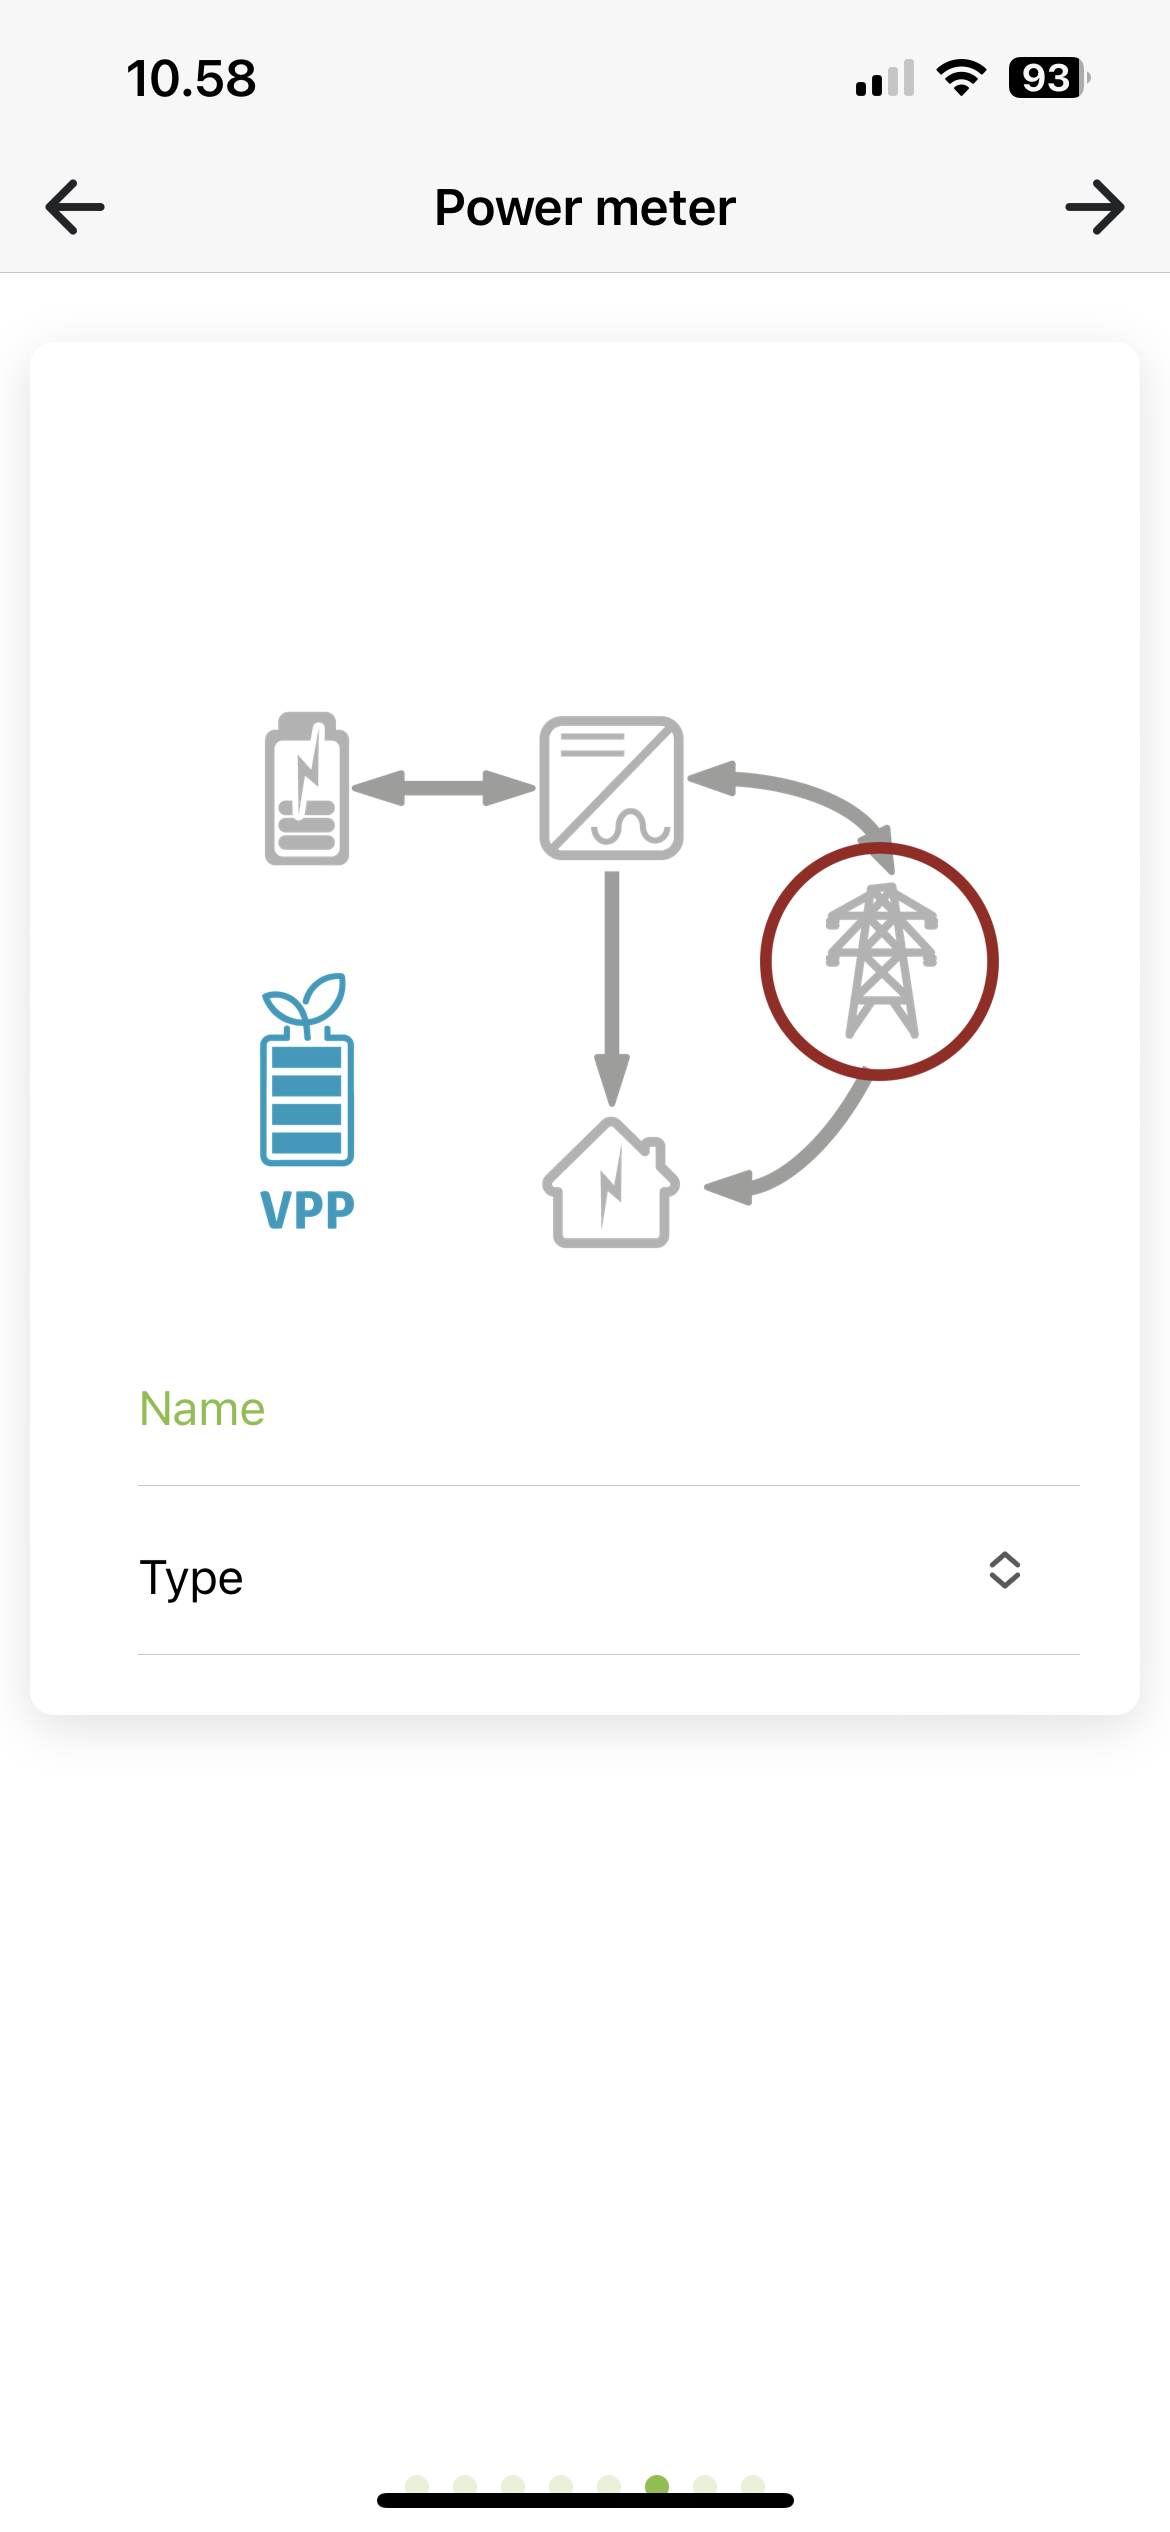
You must now create your powermeter. Look at Electricity meter setup to see more details.
¶ ADDITIONAL SETTINGS
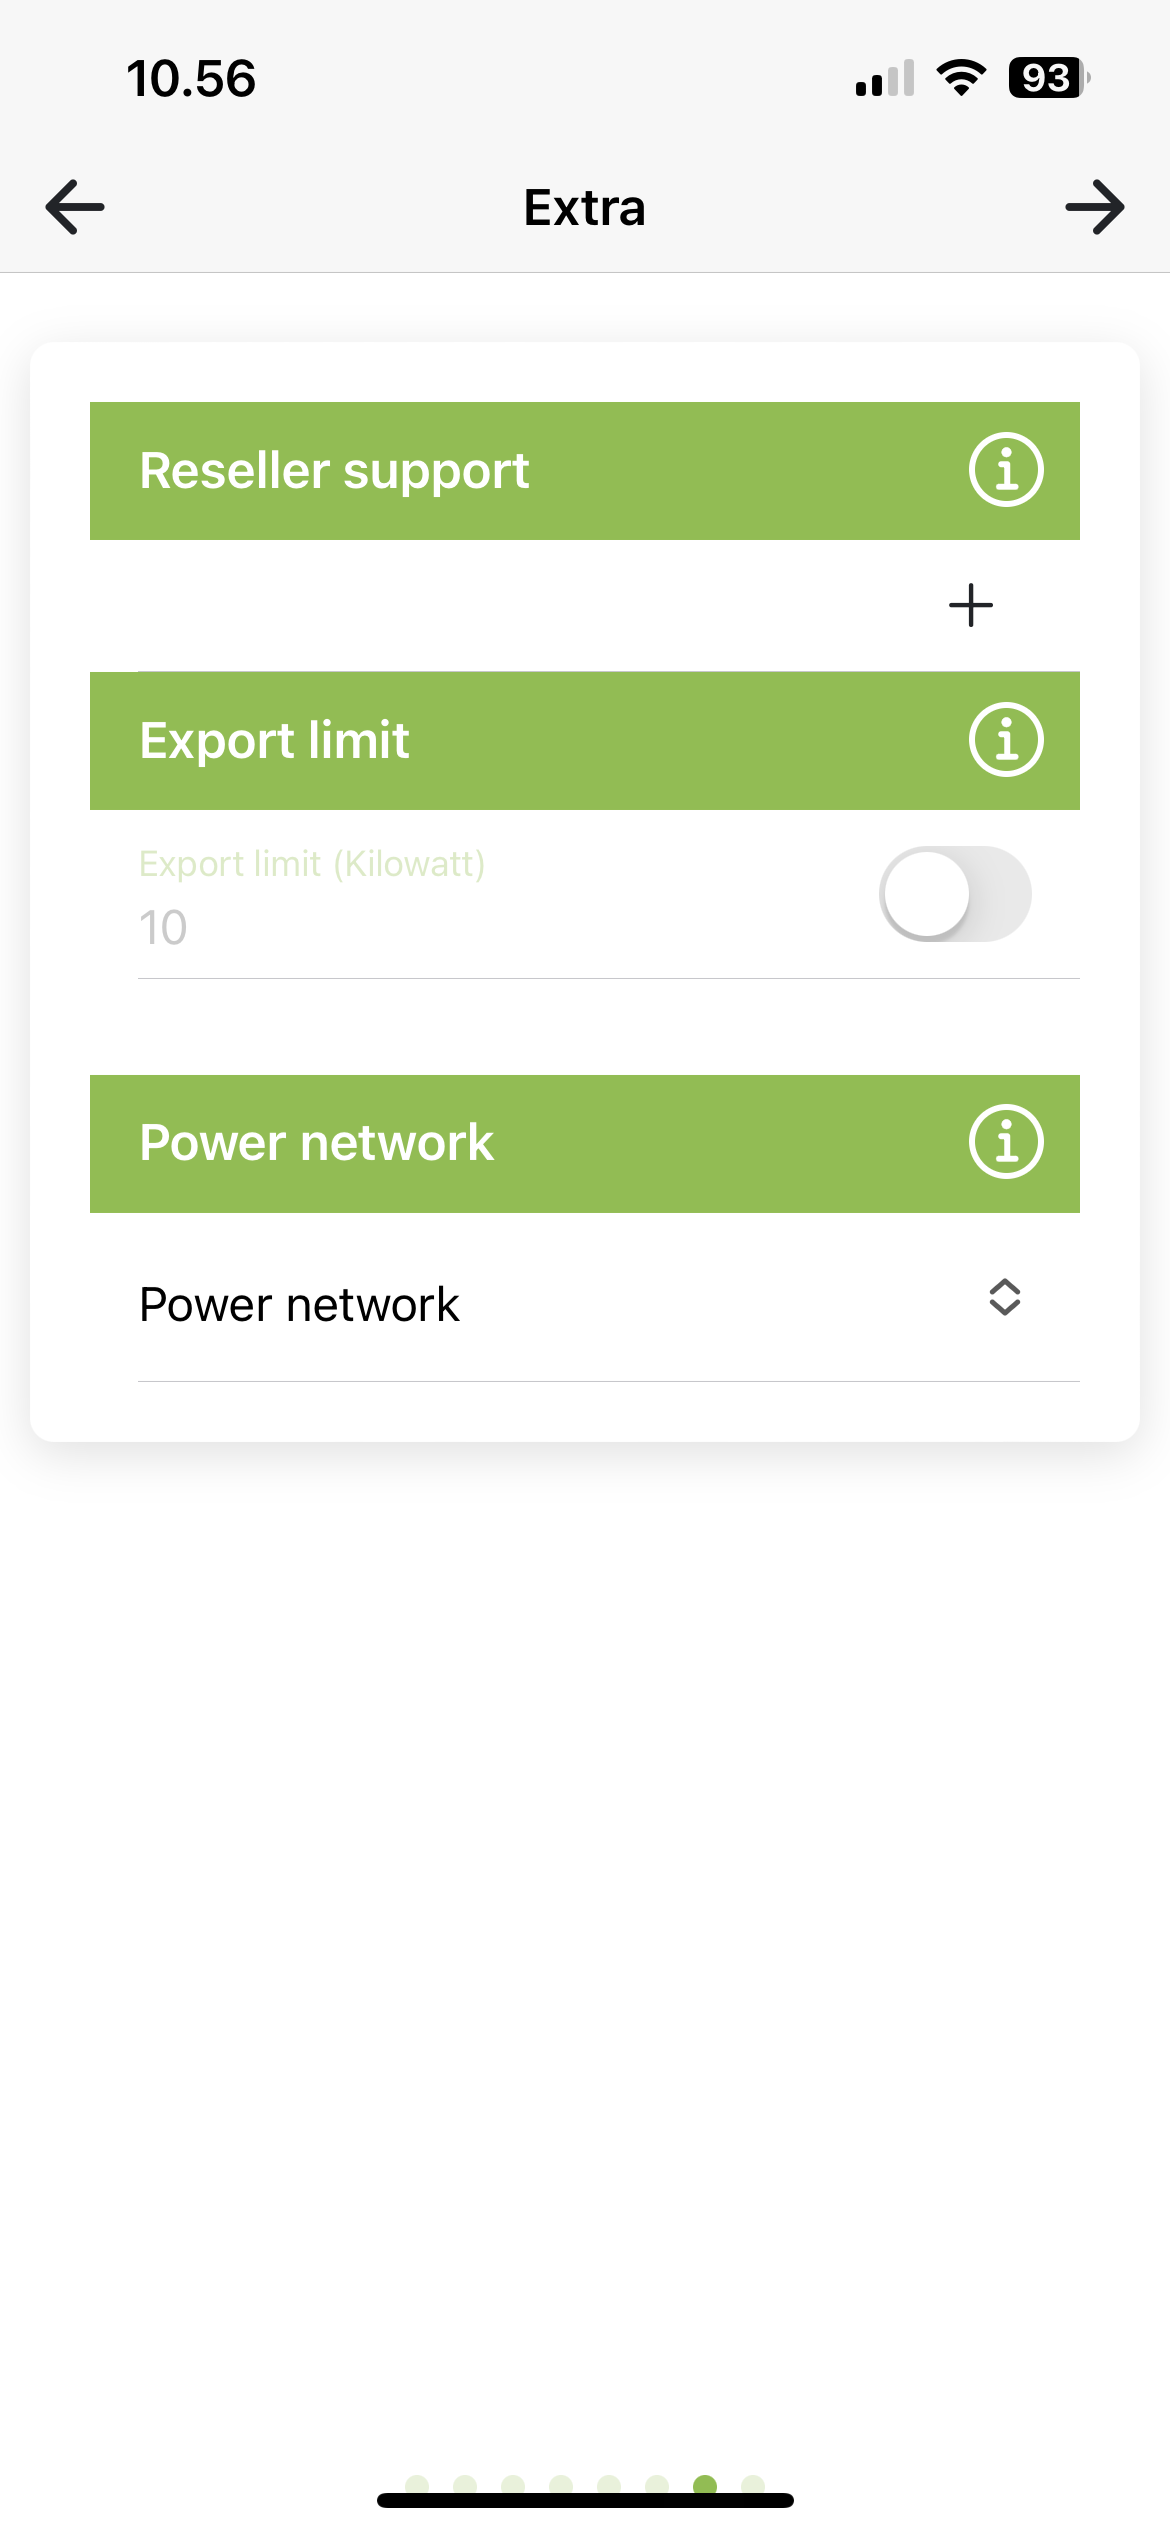
You can now choose to set some additional settings on the installation.
Export limit: Enable/disable export limit as needed. Enter the limit to use in Kilowatts if enabled. Export limit limits how much all inverters together may discharge to the grid.
Power network: Must be completed. Select the power network the installation is in, e.g. West Denmark, the Netherlands.
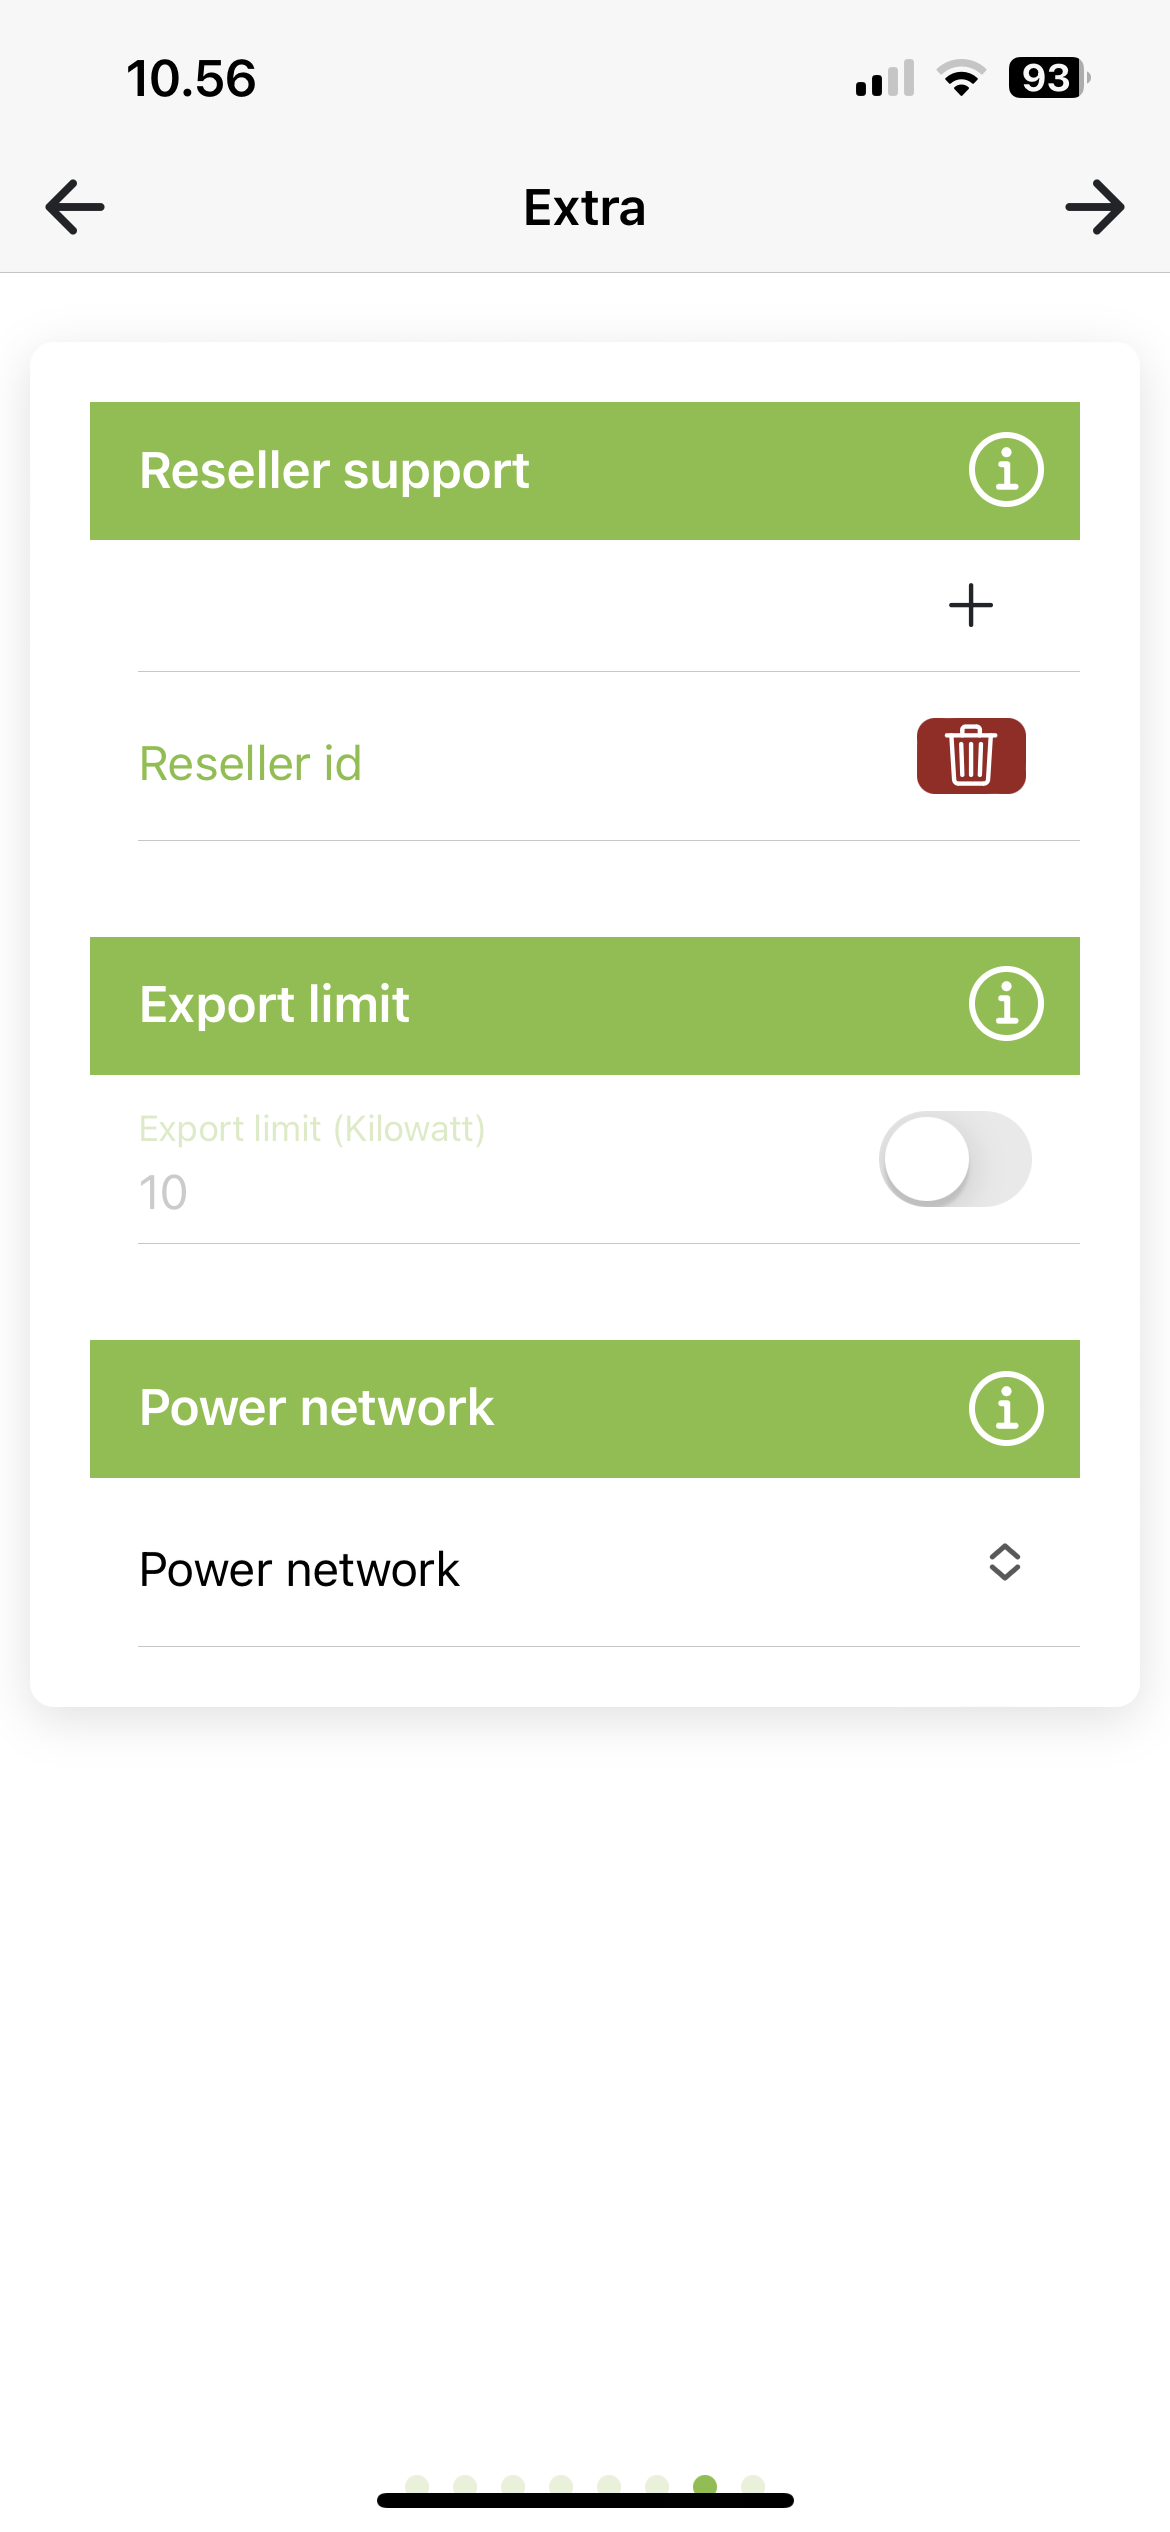
Reseller support: Here you can add a reseller who must have access to this installation for help and support. Press + to add a reseller and trash to delete one again.
Reseller-id:Forhandler-id: Id of the reseller to be added. Can be found at Reseller (softcontrol.dk)
¶ INSTALLATION READY
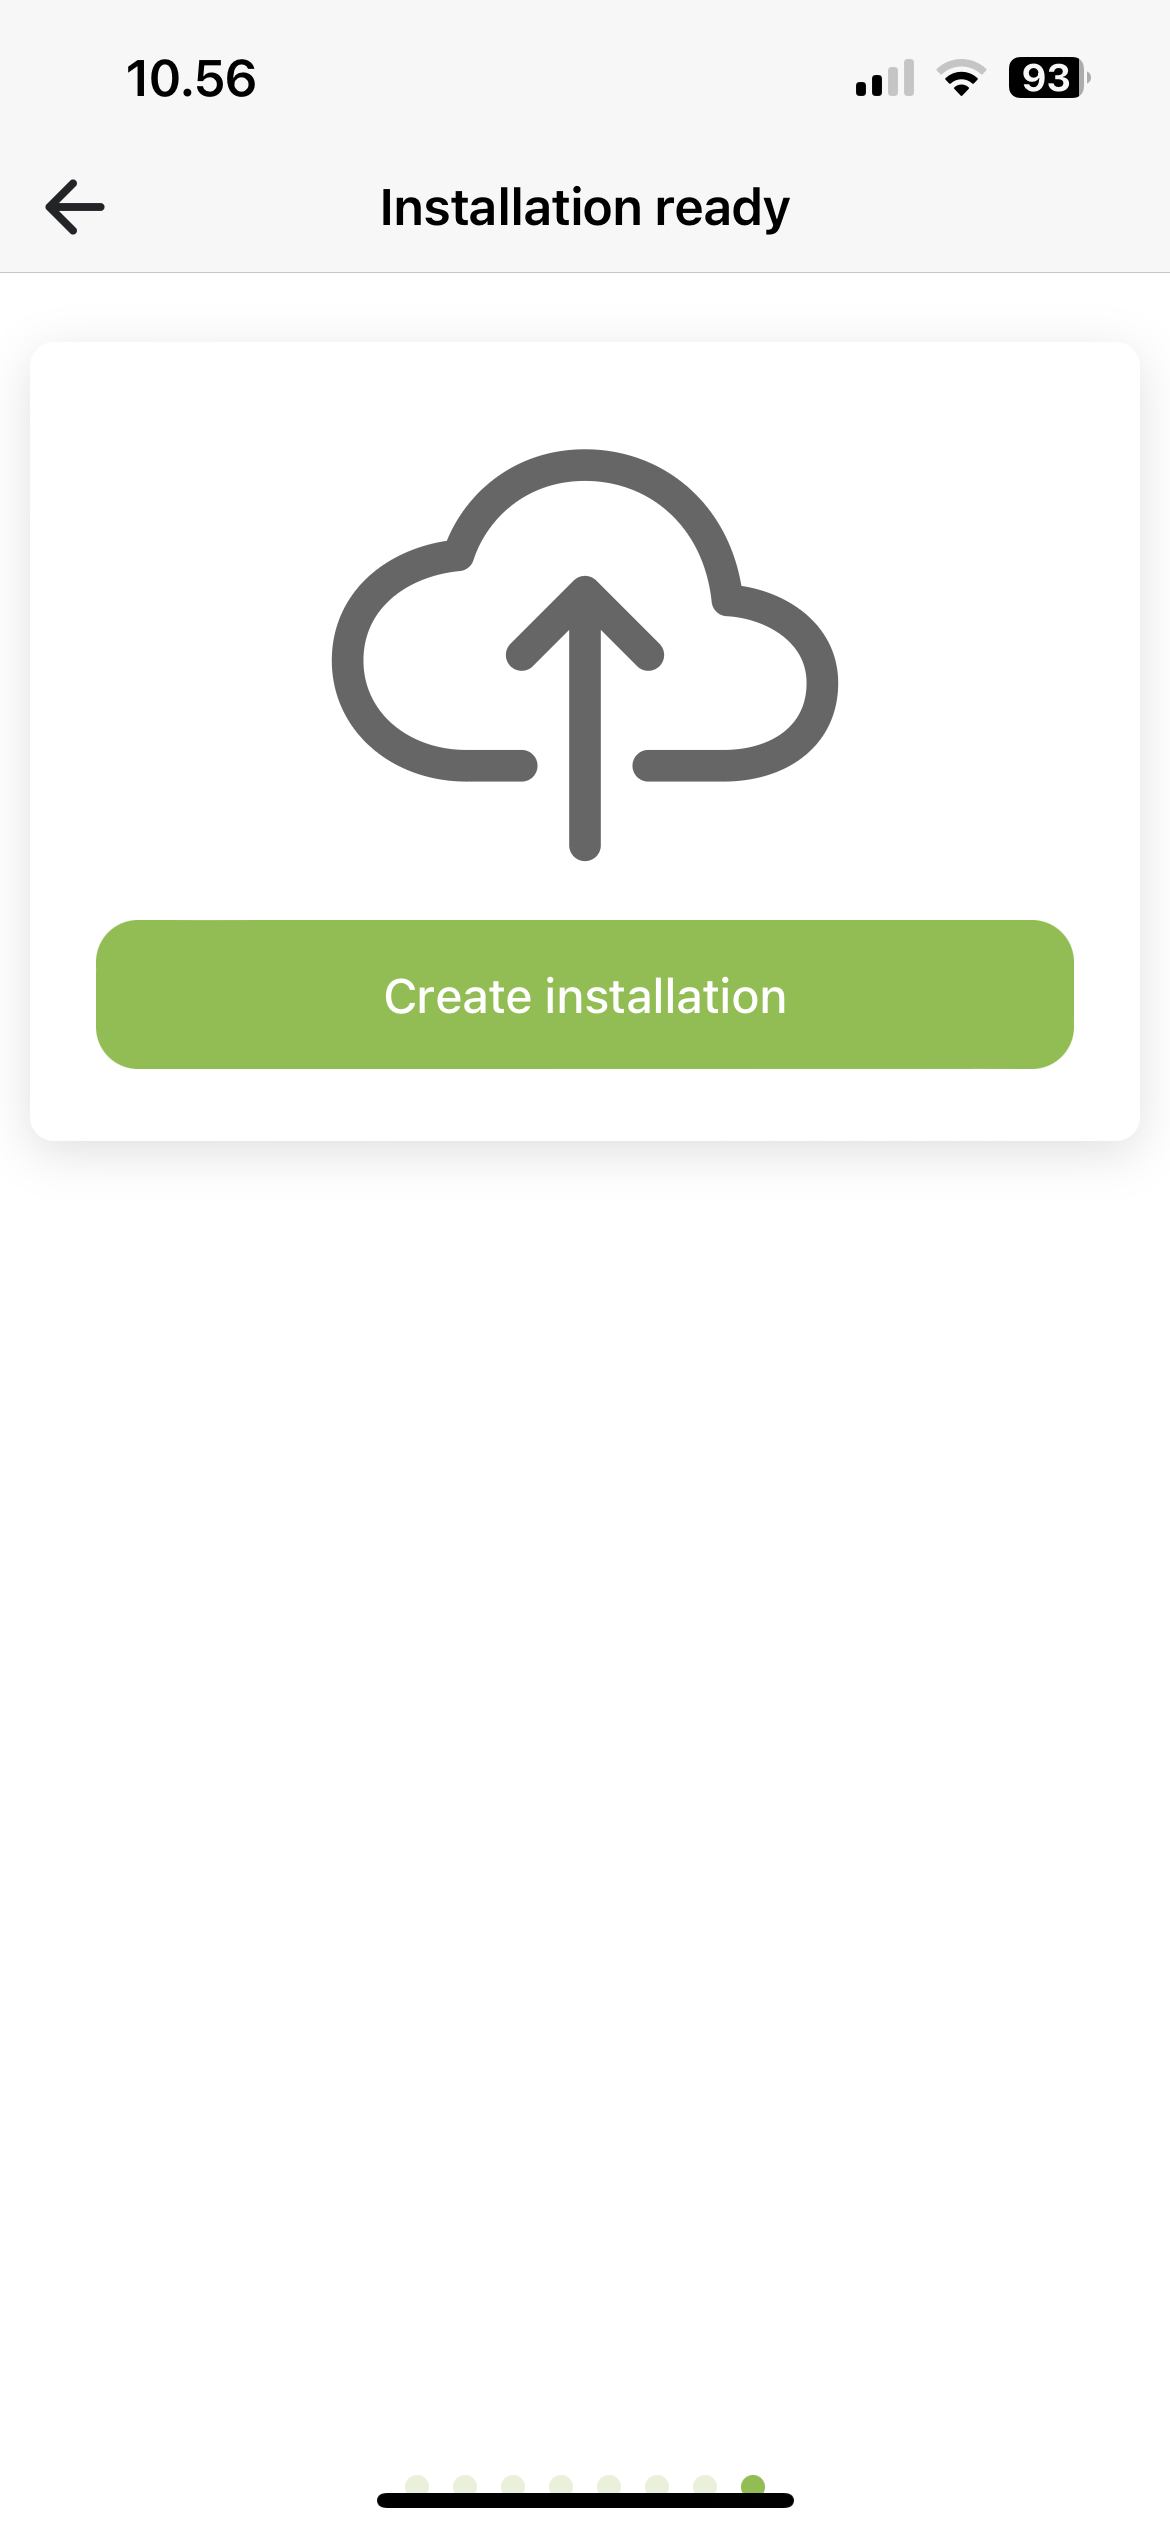
The installation is now ready to be created. Tap Create Installation to start the process. You will then be automatically logged in to the new installation
¶ Combined system: AC coupled hybrid system with VPP and On-grid system with monitoring
¶ ADD INVERTER
Add one or more inverters. These inverters are controlled by VPP through a SC.GH.01 and charge from the grid-connected inverters. Press Create new inverter.
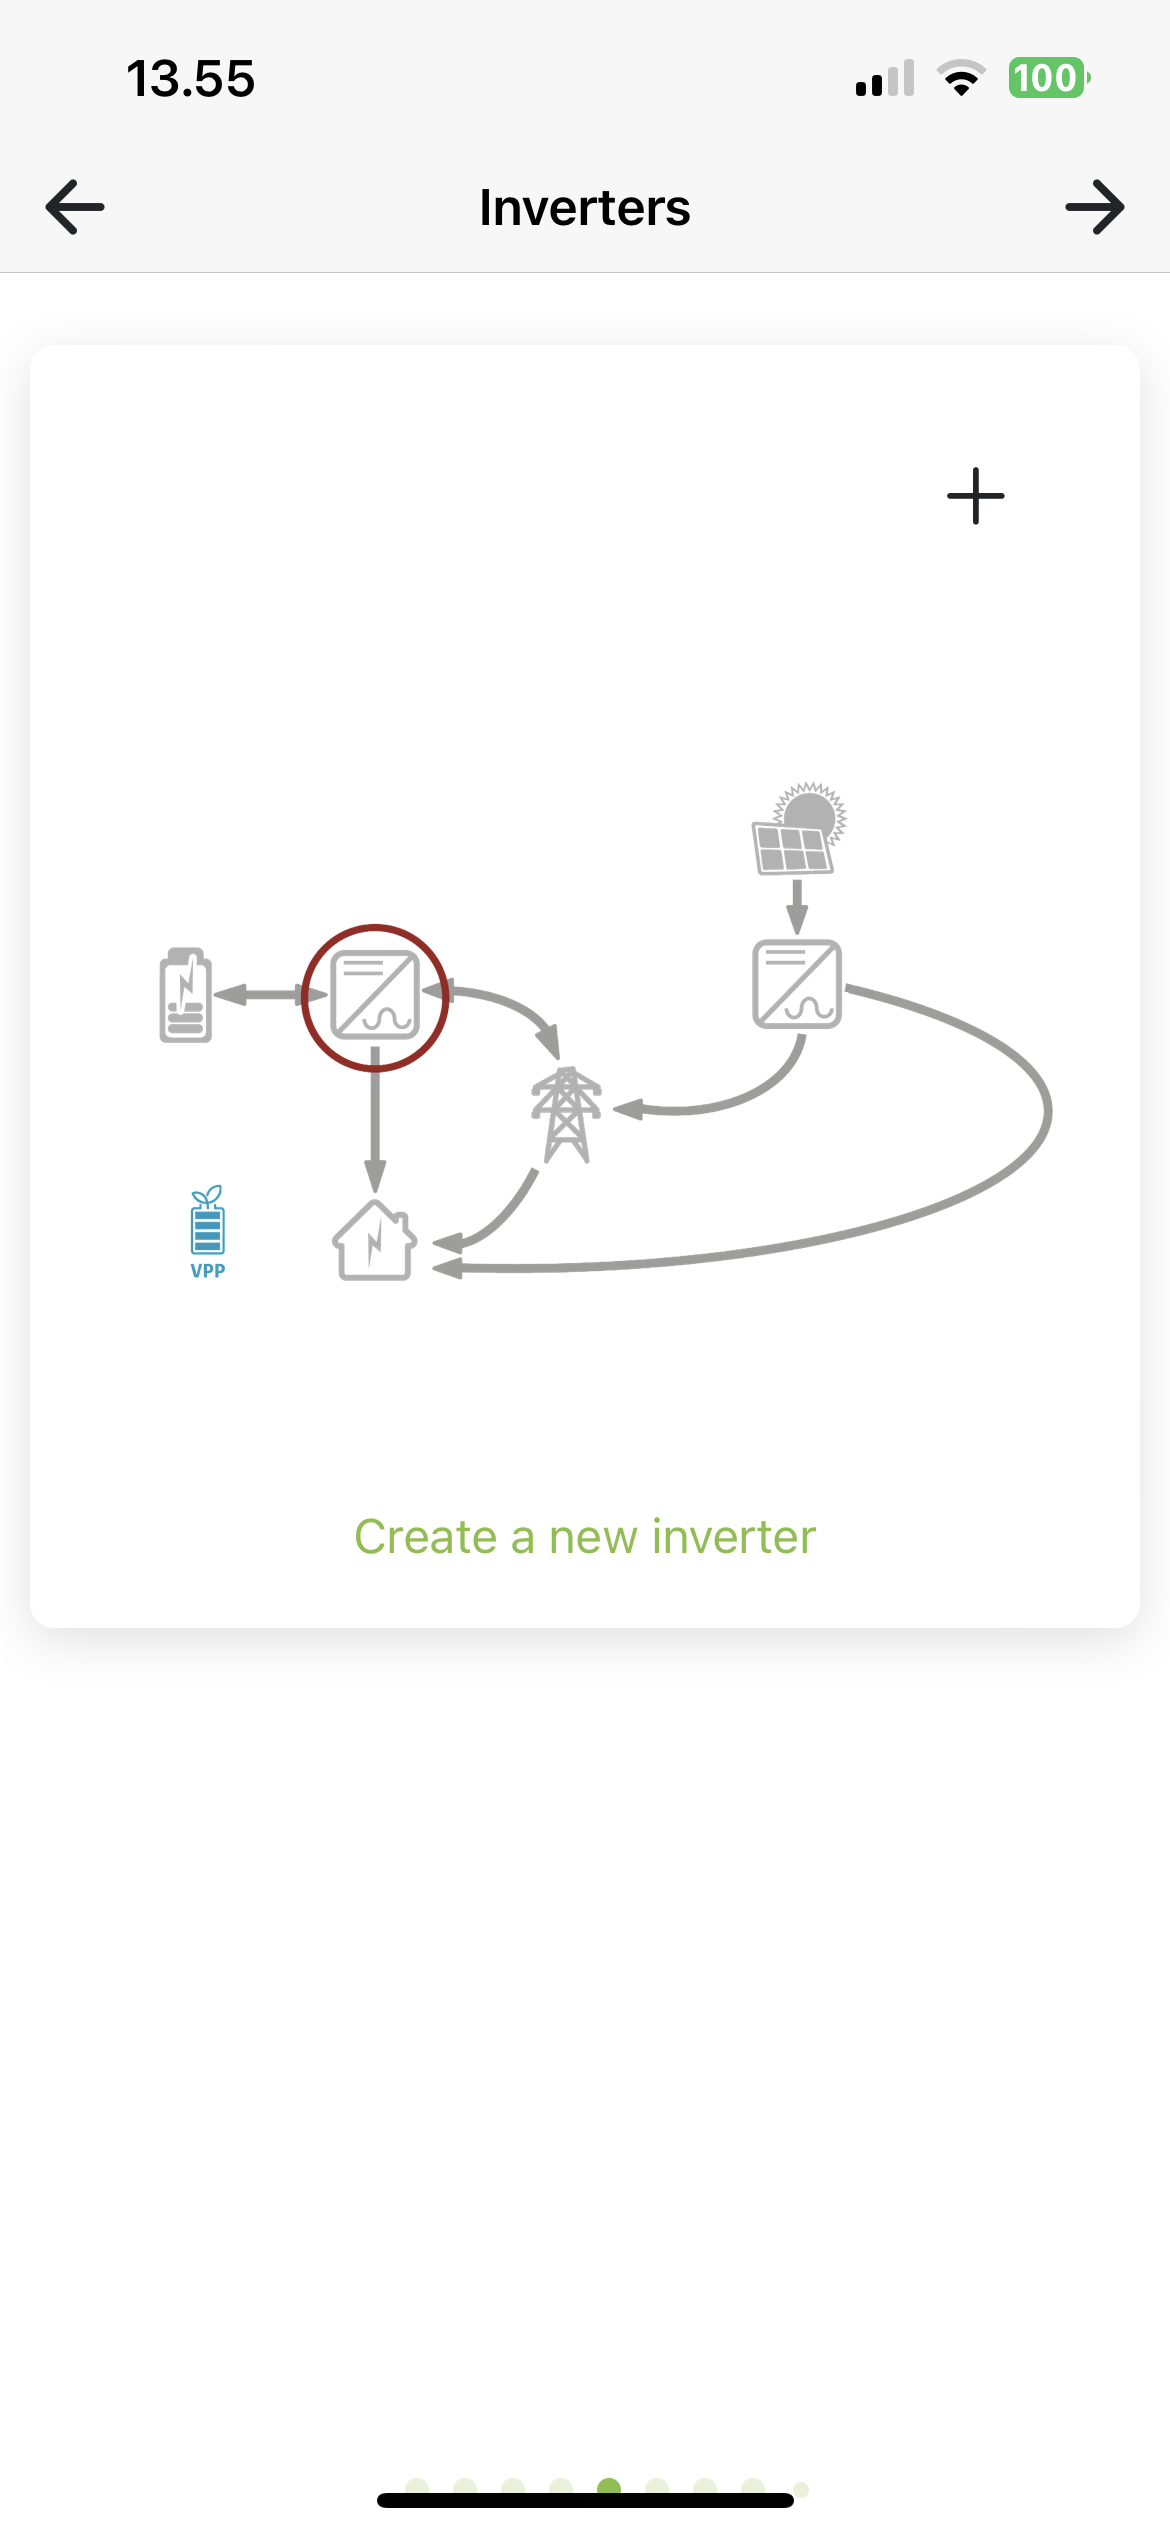
Name: Name you want to give your inverter, e.g. KSTAR, Basement.
Modbus: Enter the Modbus address you have set on the inverter (refer to manual for inverter model).
SC.GH.01 Mac-adress: Mac address is filled in based on the QR code you have scanned. If you use several SC.GH.01s, you must change the Mac address of the connected SC.GH.01.
Inverter model: Select brand and model

¶ ADD GRID-CONNECTED INVERTER
Add one or more inverters. Press Create new inverter.
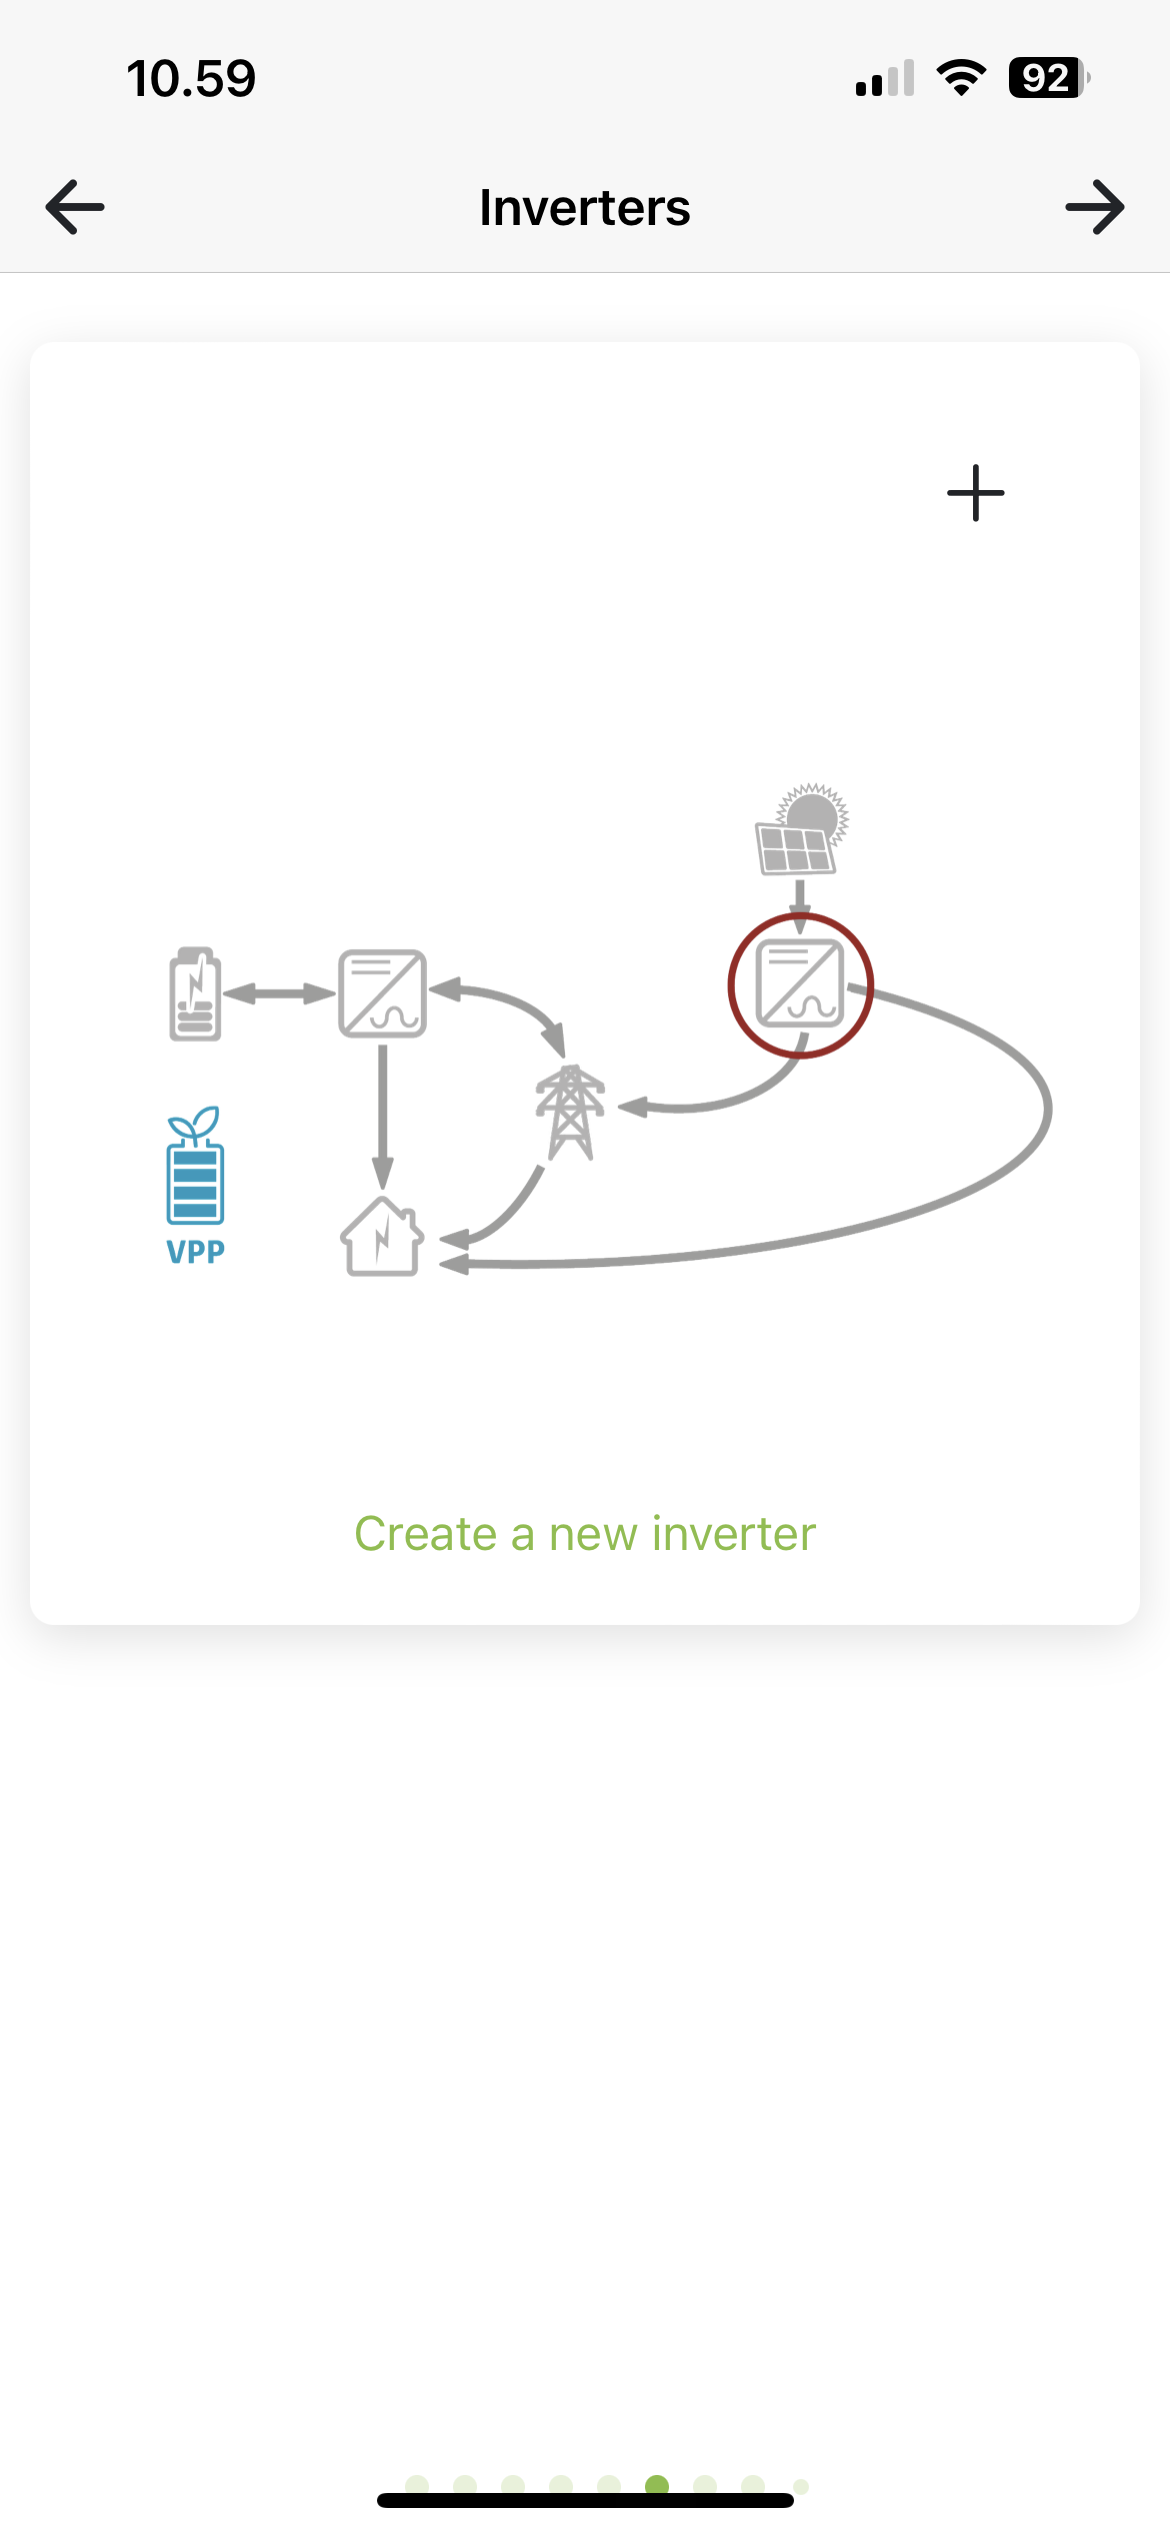
Name: Name you want to give your inverter, e.g.: KSTAR, Basement.
Modbus: Enter the Modbus address you have set on the inverter. (refers to manual for inverter model). SC.GH.01
Mac address: Mac address is filled in from the QR code you have scanned. If you use several SC.GH.01s, you must change the Mac address of the connected SC.GH.01.
Inverter model: Select brand and model.

After choosing a model, a number of MPP will appear based on your inverter model. Press Power button to enable/disable MPP. Activate the number of MPPs you have connected to solar panels. Press MPP to set your panels.

Enter panel information
Drag the Sun to point in the direction the panels are pointing and fill in Panel angle, Number of panels and Panel power in watts.
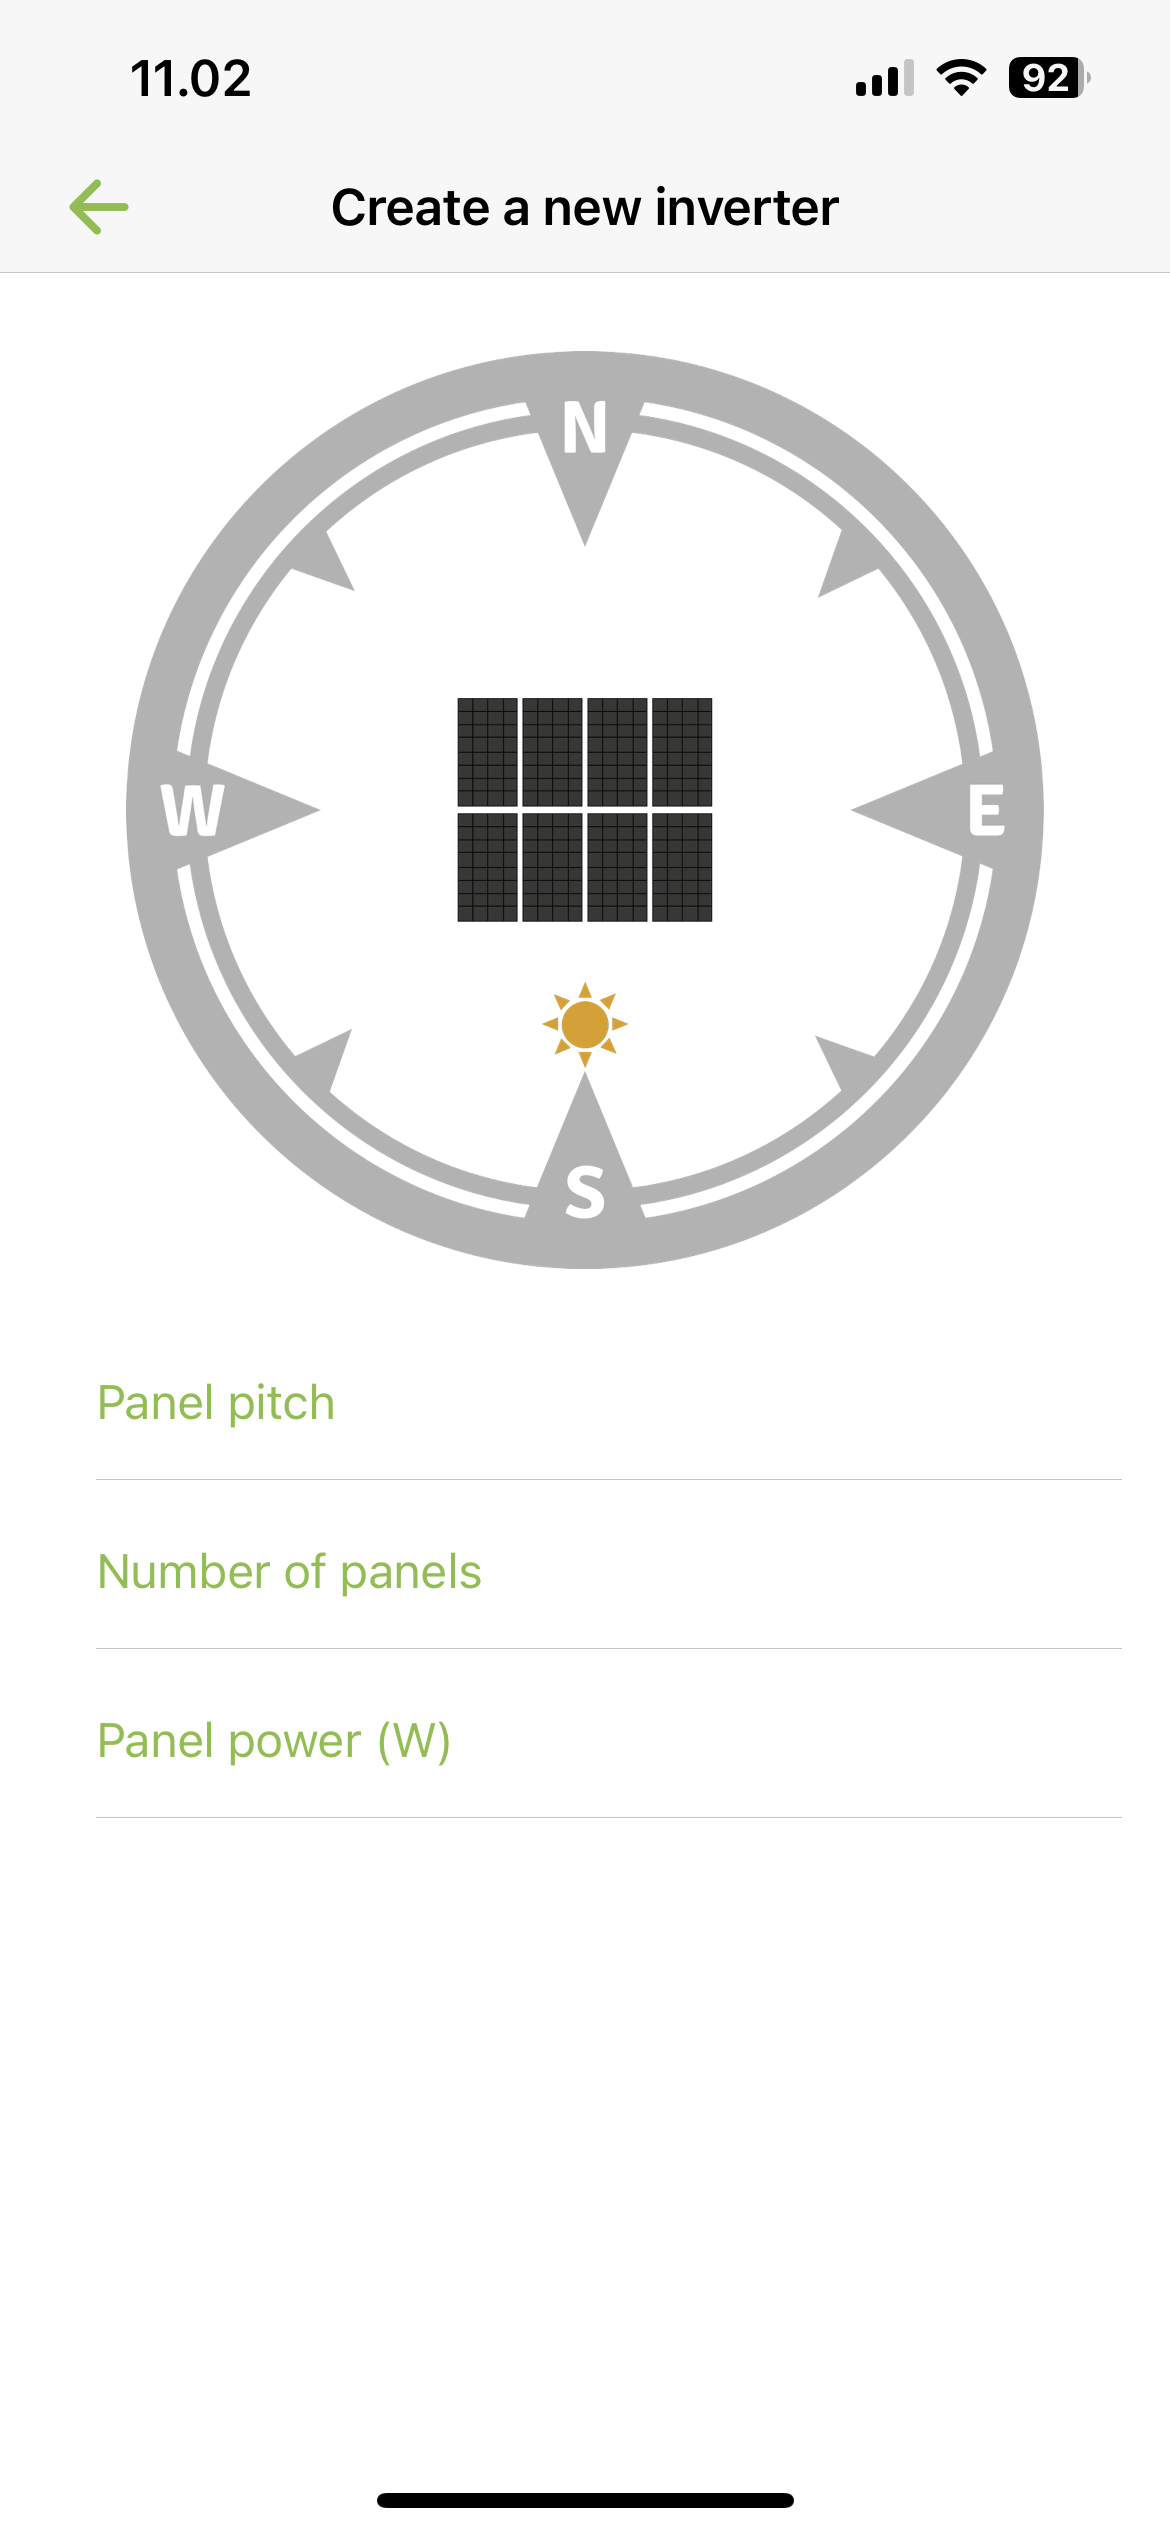
Press Back to return to the overview, where you press + to add more inverters.
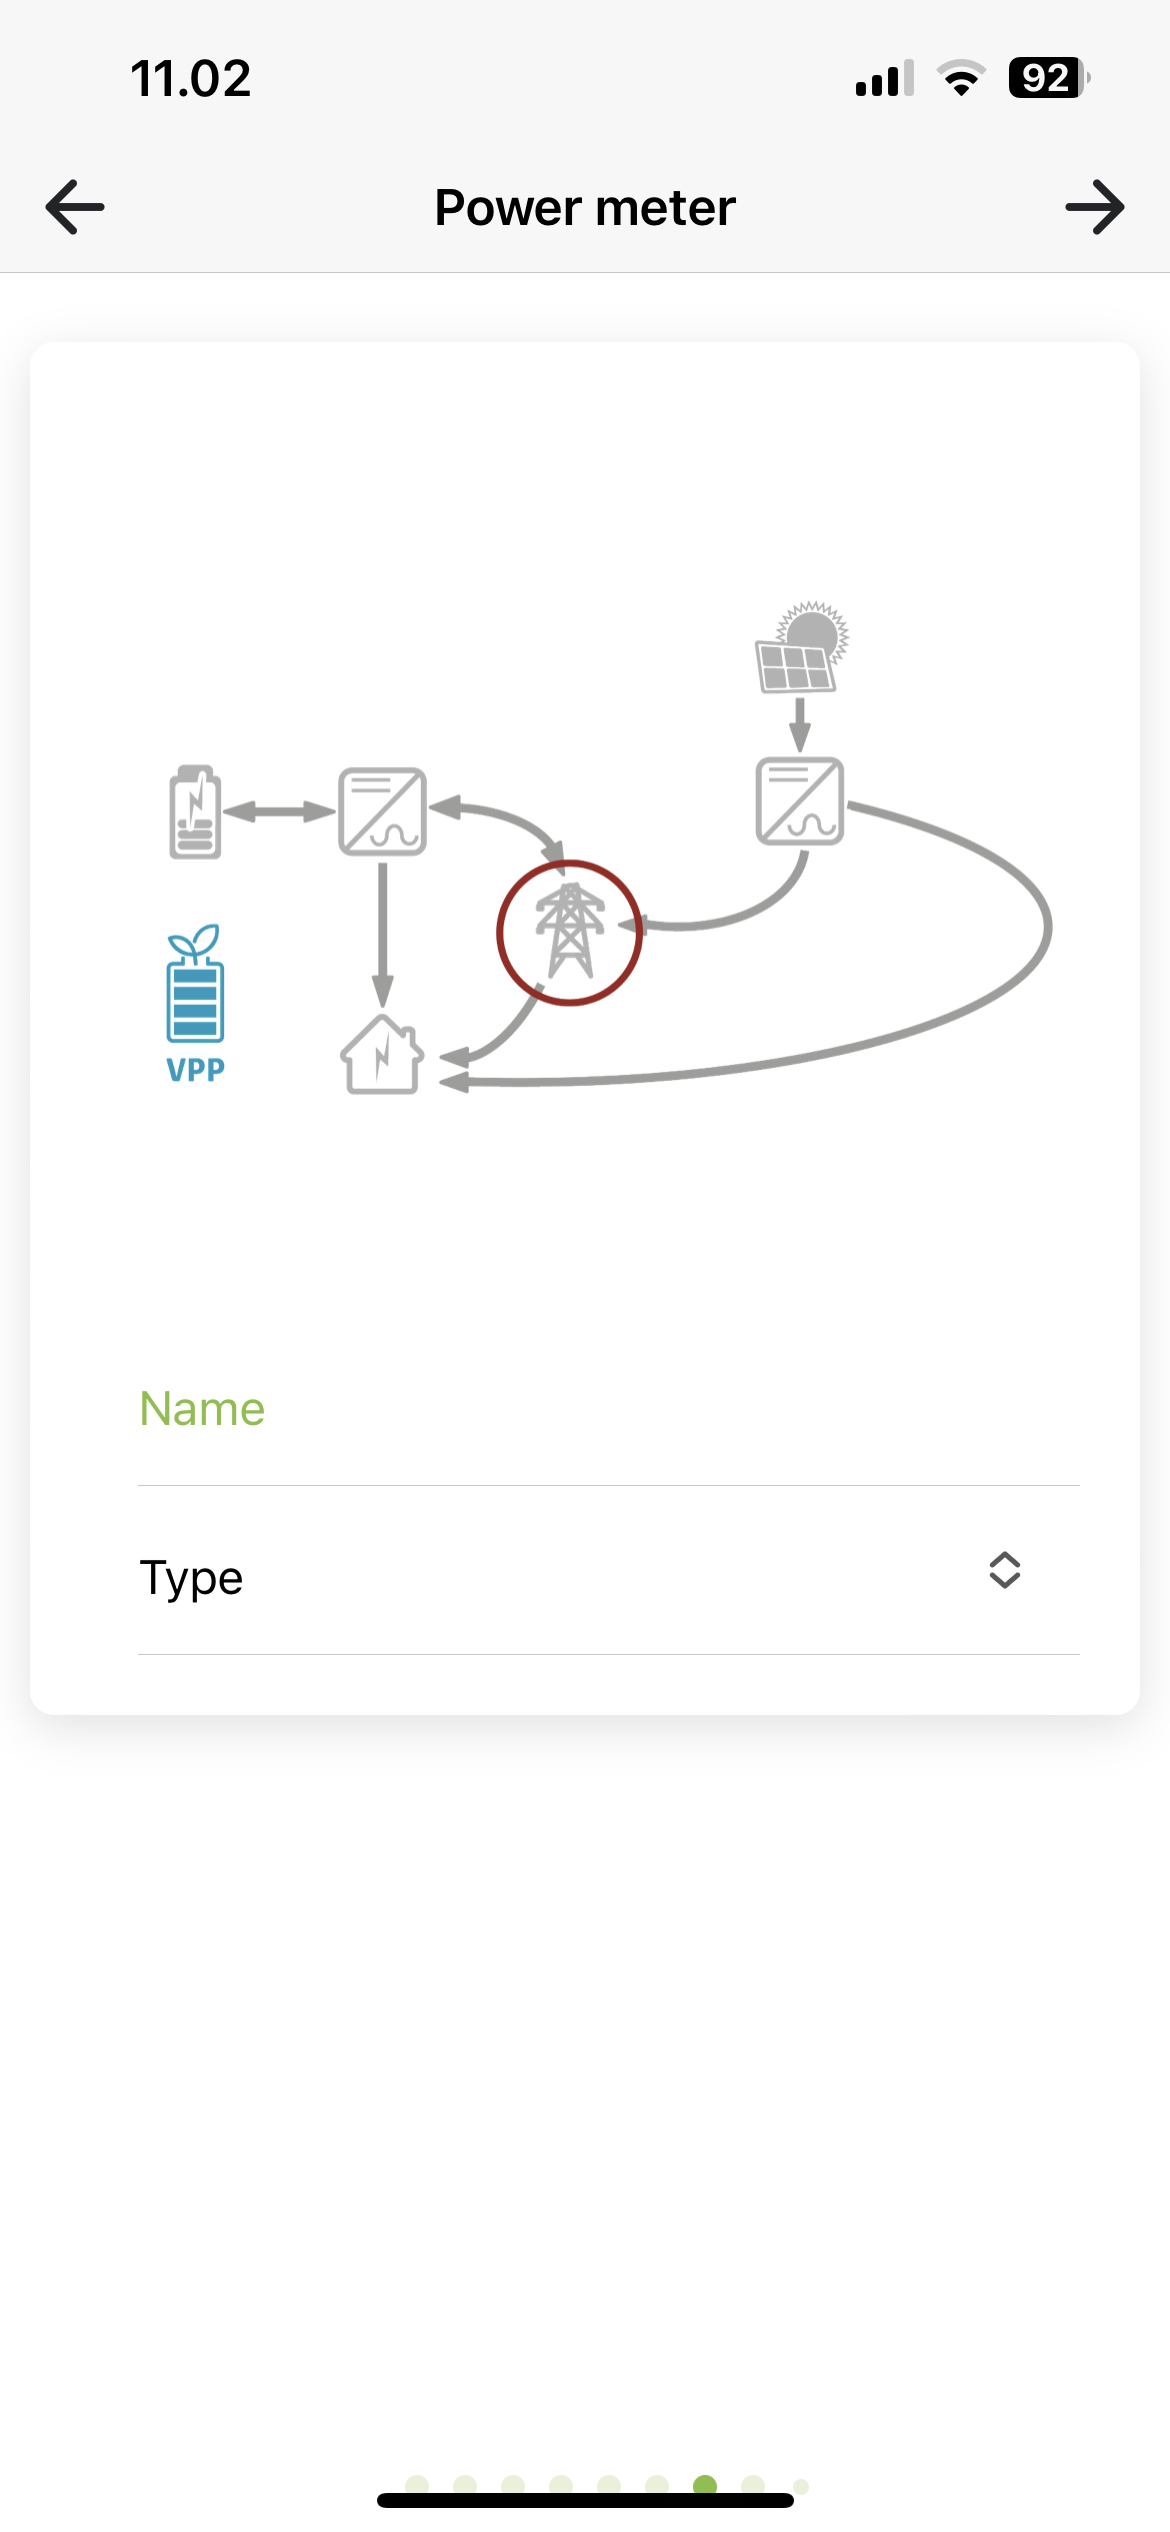
¶ ADD POWERMETER
You must now create your powermeter. Look at Electricity meter setup to see more details.
¶ ADDITIONAL SETTINGS
You can now choose to set some additional settings on the installation.
Export limit: Enable/disable export limit as needed. Enter the limit to use in Kilowatts if enabled. Export limit limits how much all inverters together may discharge to the grid.
Power network: Must be completed. Select the power network the installation is in, e.g. West Denmark, the Netherlands.

Reseller support: Here you can add a reseller who must have access to this installation for help and support. Press + to add a reseller and trash to delete one again.
Reseller-id:Forhandler-id: Id of the reseller to be added. Can be found at Reseller (softcontrol.dk)

¶ INSTALLATION READY
The installation is now ready to be created. Tap Create Installation to start the process. You will then be automatically logged in to the new installation

¶ Combined system: AC coupled hybrid system with VPP and On-grid system without monitoring
¶ ADD INVERTER
Add one or more inverters. These inverters are controlled by VPP through a SC.GH.01 and charge from the grid-connected inverters. Press Create new inverter.

Name: Name you want to give your inverter, e.g. KSTAR, Basement.
Modbus: Enter the Modbus address you have set on the inverter (refer to manual for inverter model).
SC.GH.01 Mac-adress: Mac address is filled in based on the QR code you have scanned. If you use several SC.GH.01s, you must change the Mac address of the connected SC.GH.01.
Inverter model: Select brand and model

¶ Add grid-connected inverter
Add one or more inverters. Press Create new inverter.

Name: Name you want to give your inverter, e.g. make: KSTAR, Basement.
Press Power button to enable/disable MPP. Activate the number of MPPs you have connected to solar panels. Press MPP to set your panels.
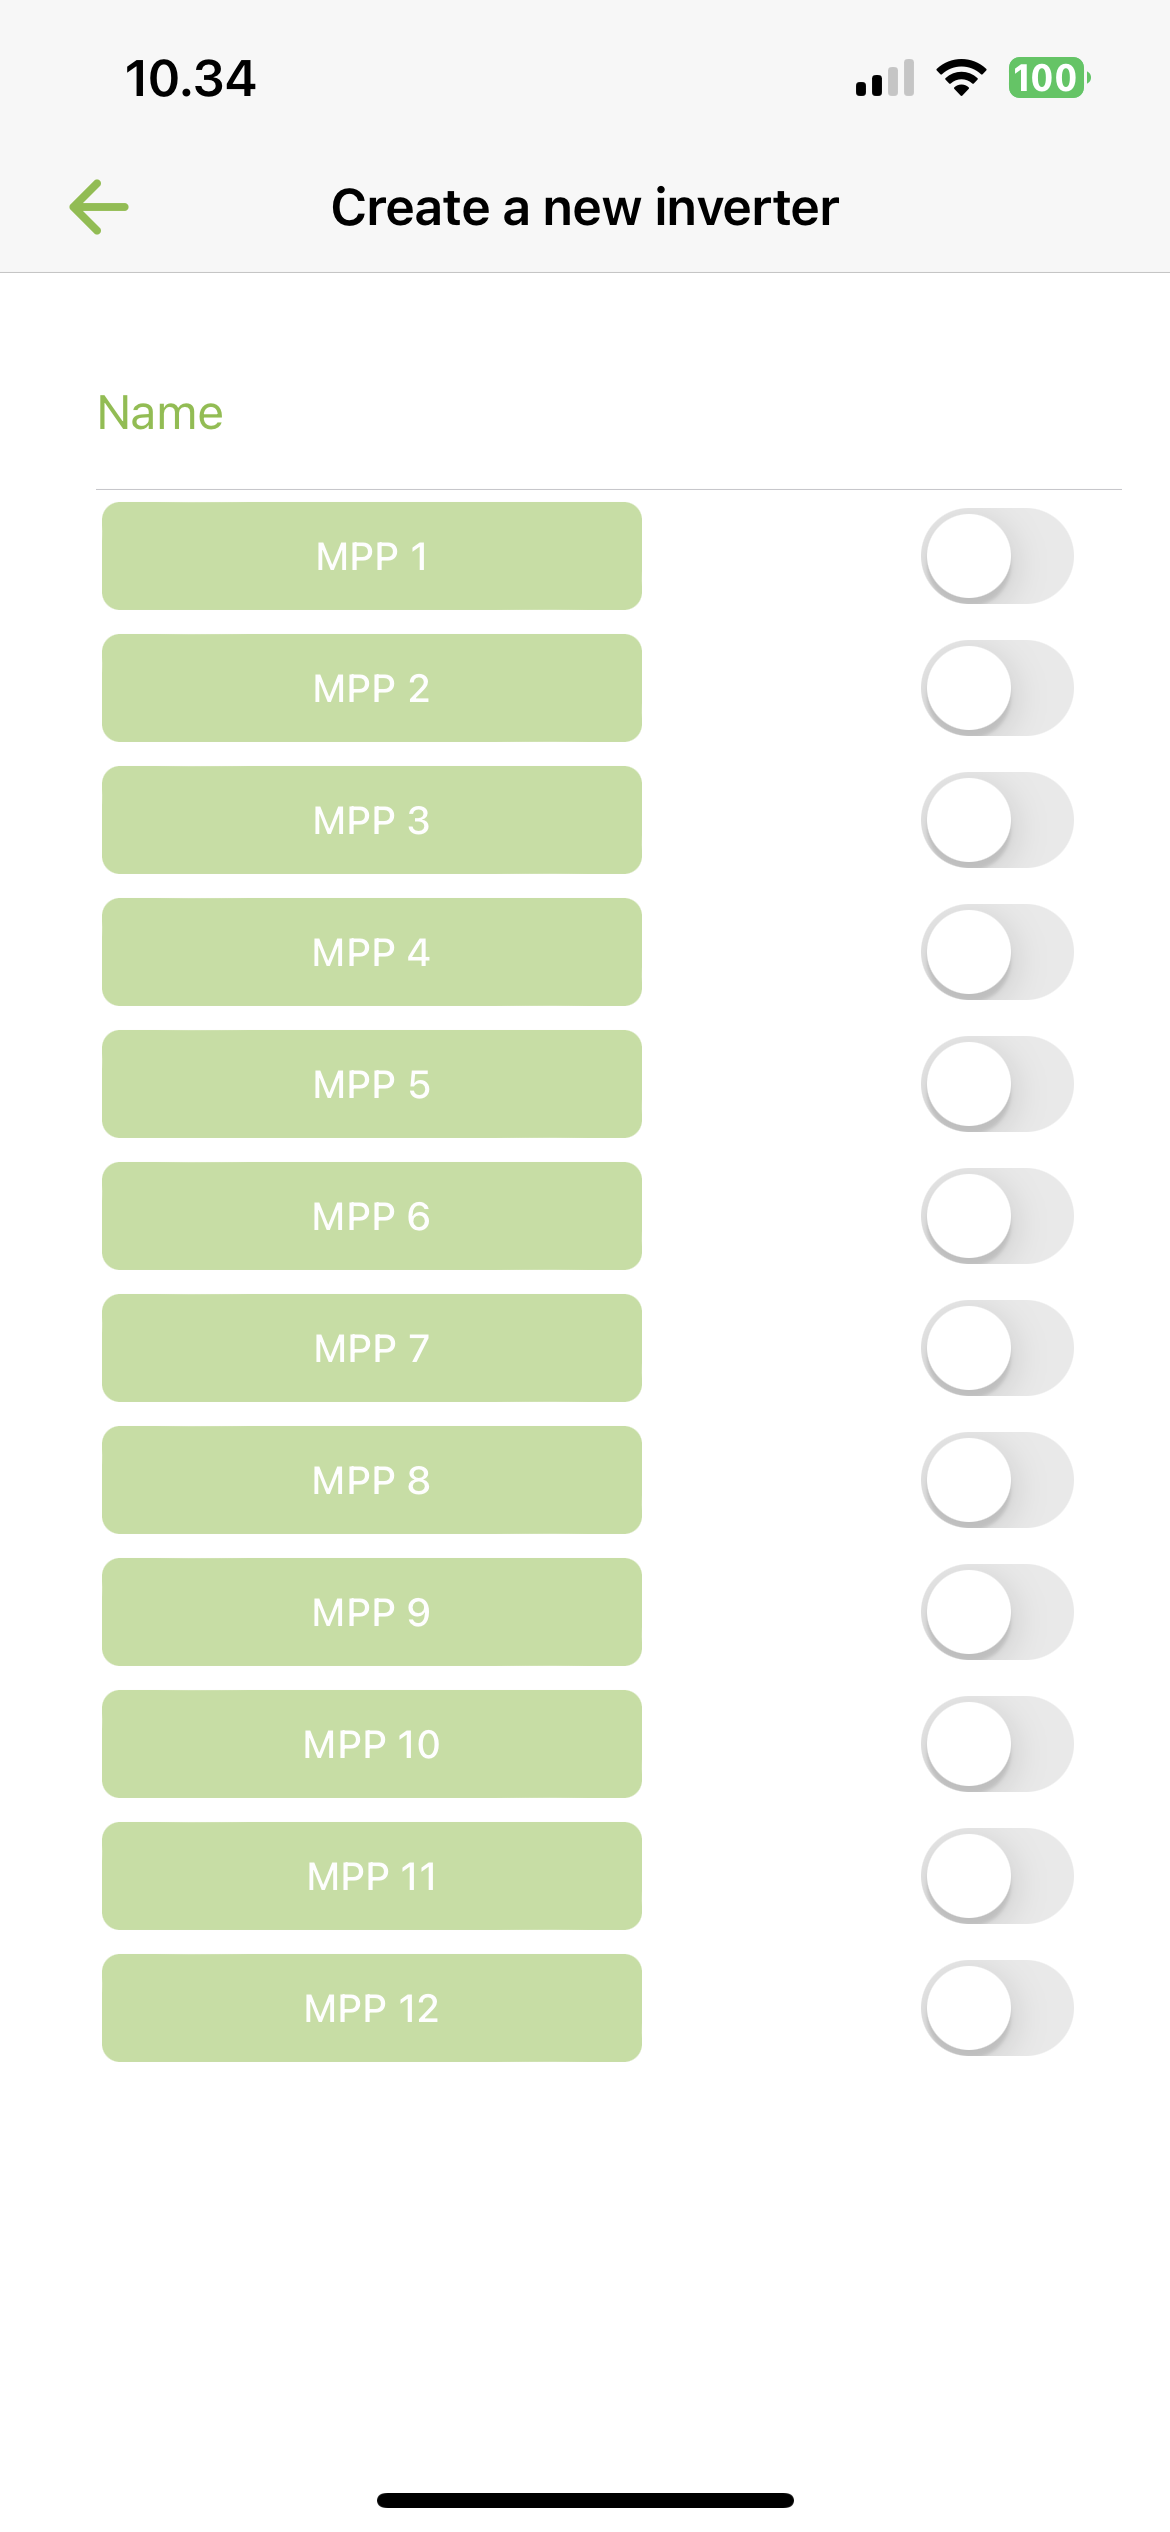
Enter panel information
Drag the Sun to point in the direction the panels are pointing and fill in Panel angle, Number of panels and Panel power in watts.

Press Back to return to the overview, where you press + to add more inverters.
¶ ADD POWERMETER
Create your powermeter. Look at Electricity meter setup to see more details.

¶ ADDITIONAL SETTINGS
You can now choose to set some additional settings on the installation.
Export limit: Enable/disable export limit as needed. Enter the limit to use in Kilowatts if enabled. Export limit limits how much all inverters together may discharge to the grid.
Power network: Must be completed. Select the power network the installation is in, e.g. West Denmark, the Netherlands.

Reseller support: Here you can add a reseller who must have access to this installation for help and support. Press + to add a reseller and trash to delete one again.
Reseller-id:Forhandler-id: Id of the reseller to be added. Can be found at Reseller (softcontrol.dk)

¶ INSTALLATION READY
The installation is now ready to be created. Tap Create Installation to start the process. You will then be automatically logged in to the new installation

¶ Combined system: AC-coupled hybrid system and On-grid system with monitoring
¶ ADD AC INVERTER
Add one or more inverters. These inverters charge from the grid-connected inverters. Press Create new inverter.
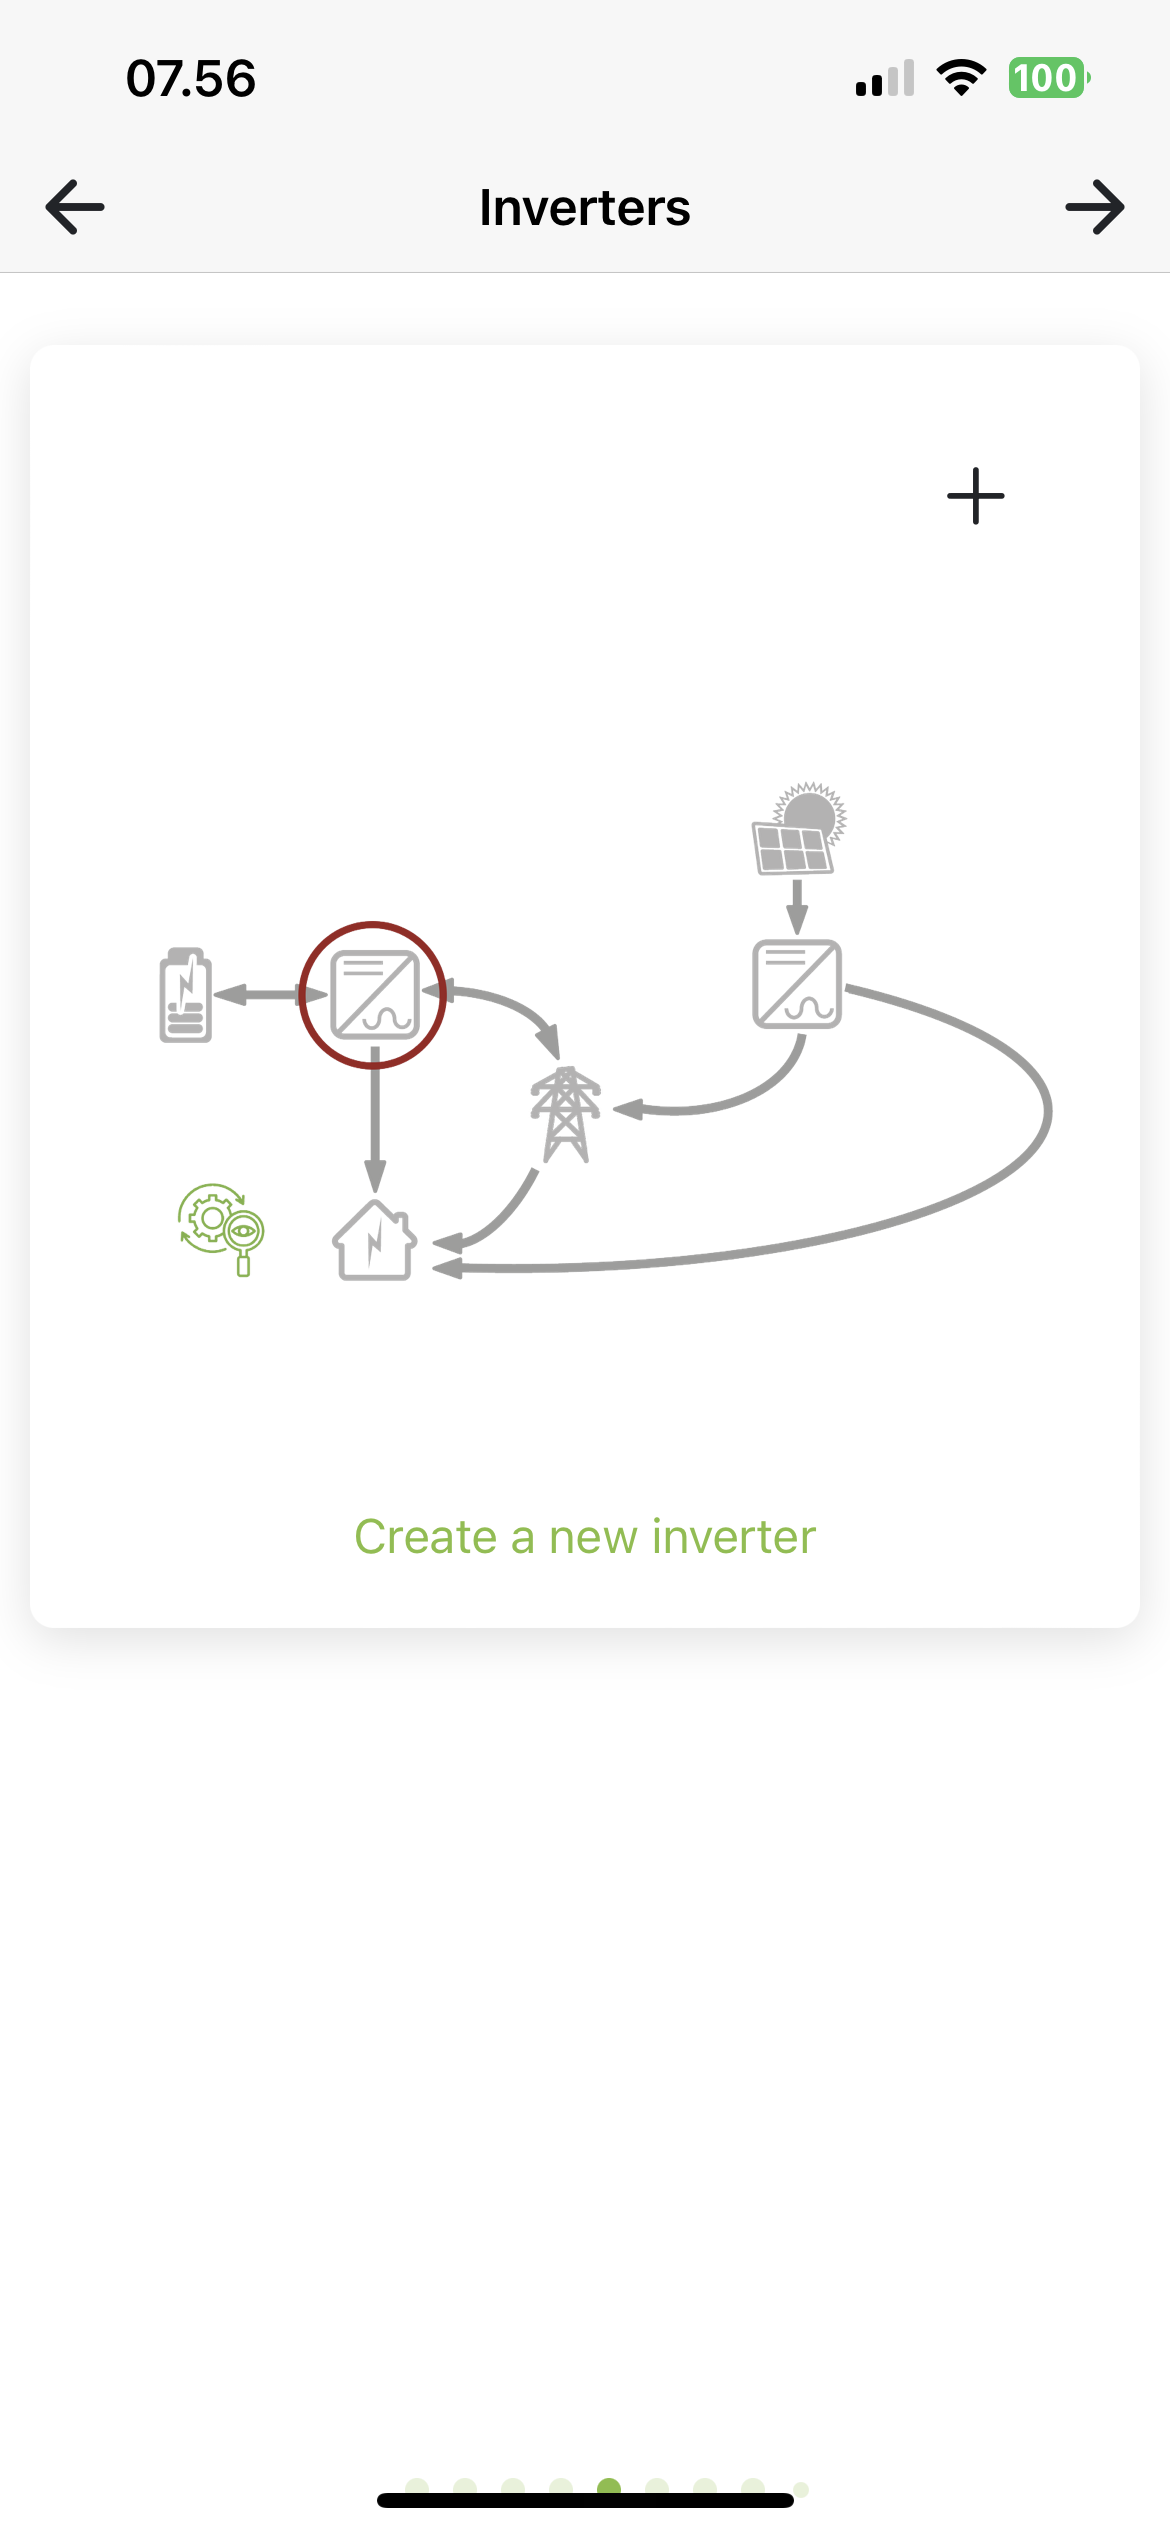
Name: Name you want to give your inverter, e.g. KSTAR, Basement.
Modbus: Enter the Modbus address you have set on the inverter (refer to manual for inverter model).
SC.GH.01 Mac-adress: Mac address is filled in based on the QR code you have scanned. If you use several SC.GH.01s, you must change the Mac address of the connected SC.GH.01.
Inverter model: Select brand and model

¶ ADD AC INVERTER
Add one or more inverters. These inverters charge from the grid-connected inverters. Press Create new inverter.
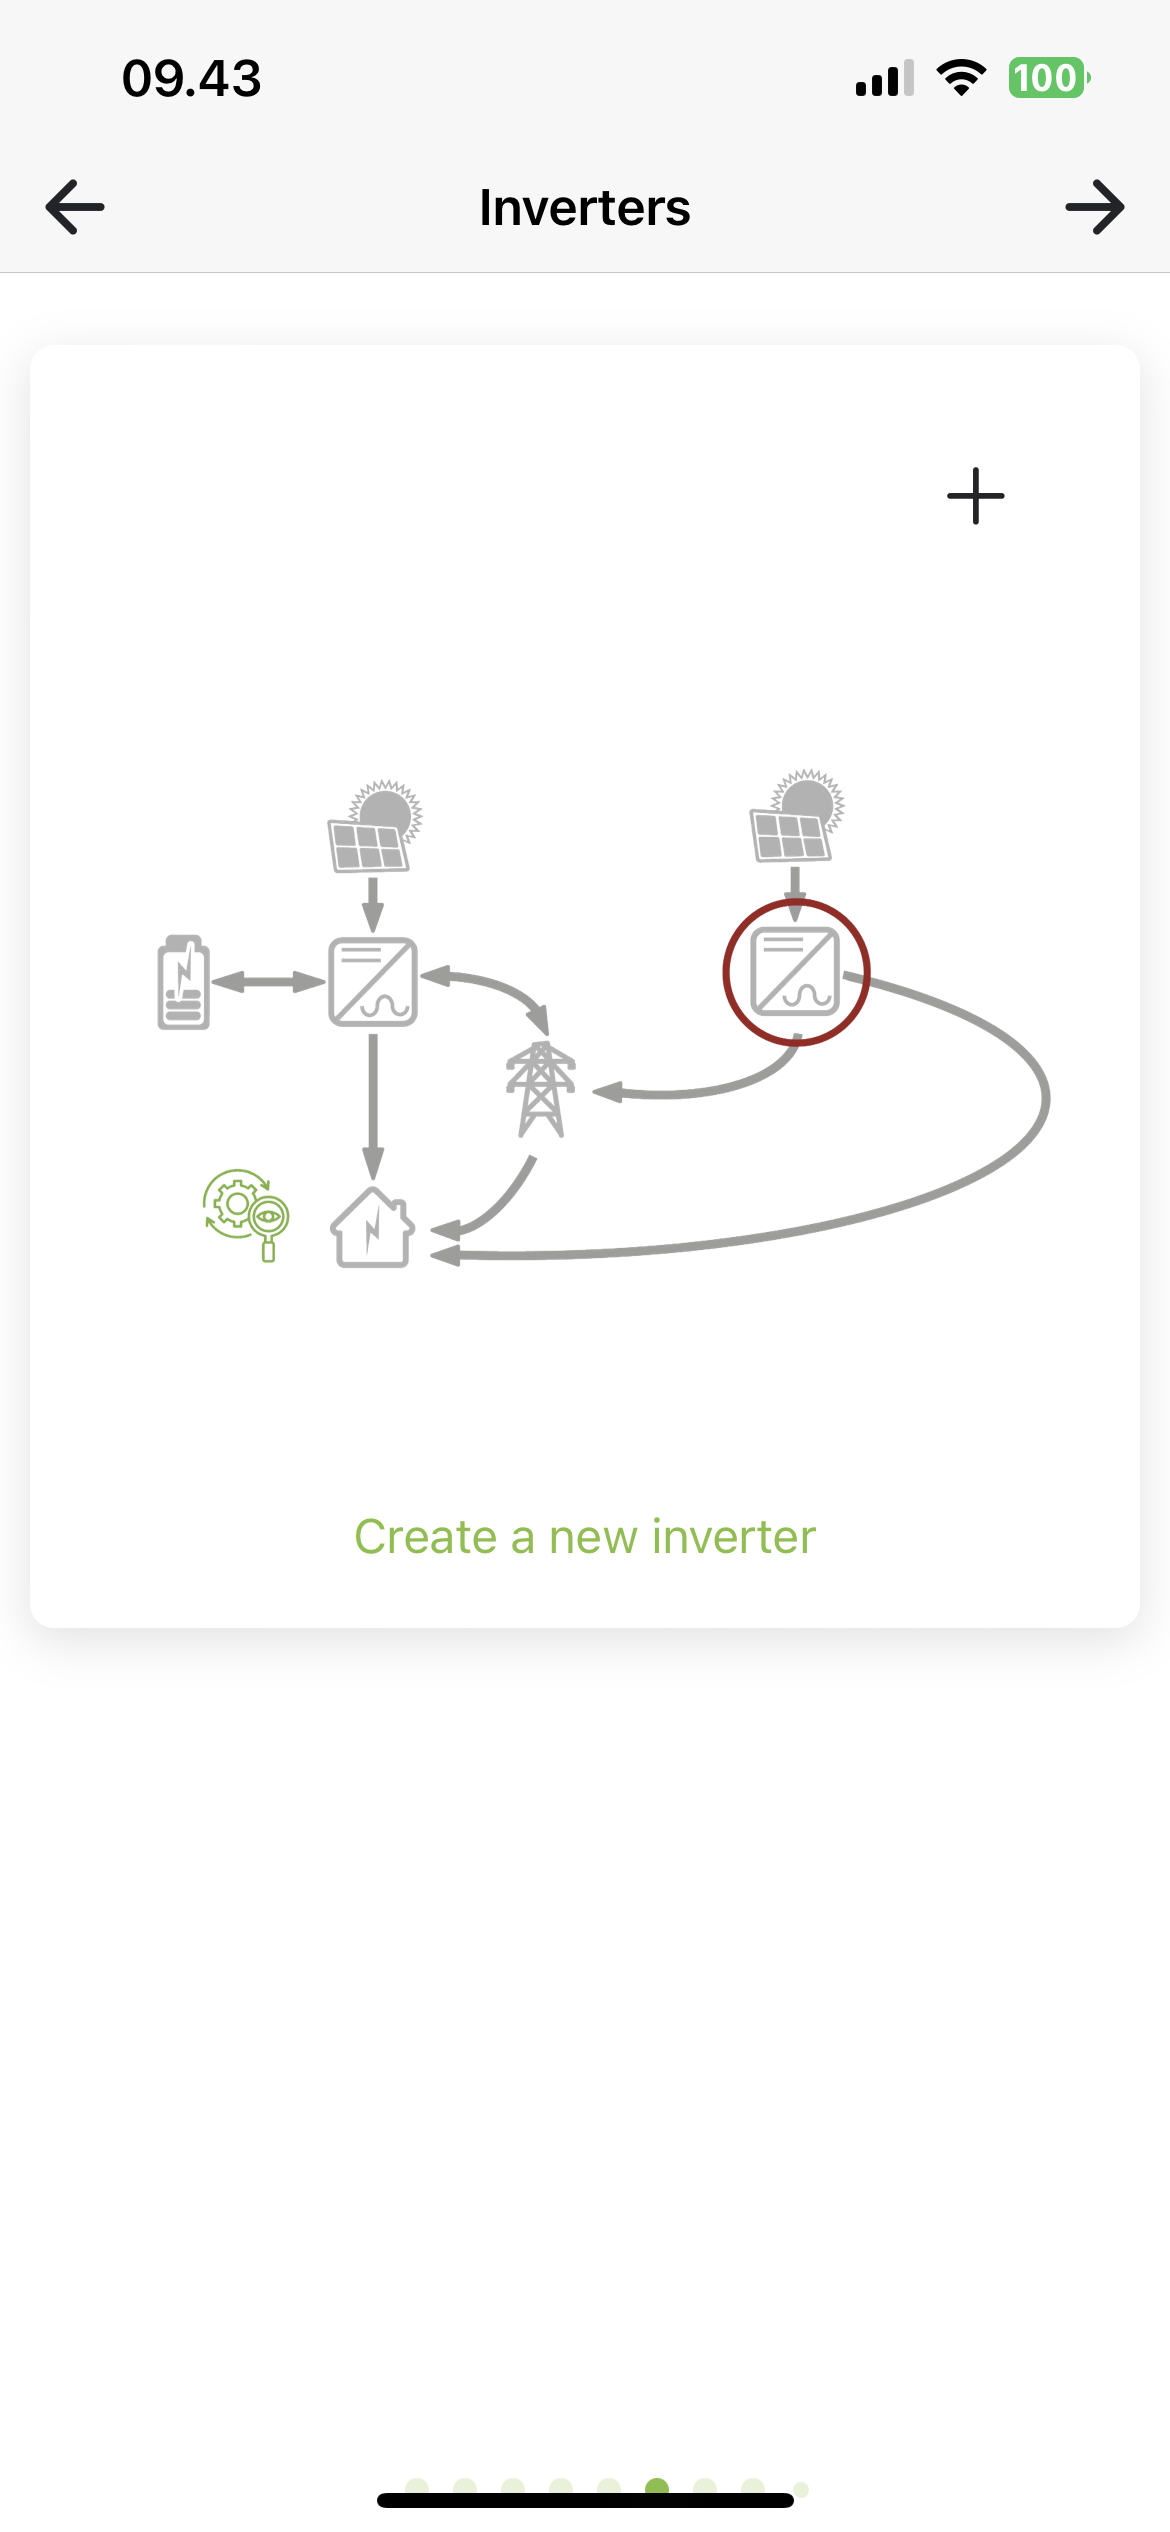
Name: Name you want to give your inverter, e.g. KSTAR, Basement.
Modbus: Enter the Modbus address you have set on the inverter (refer to manual for inverter model).
SC.GH.01 Mac-adress: Mac address is filled in based on the QR code you have scanned. If you use several SC.GH.01s, you must change the Mac address of the connected SC.GH.01.
Inverter model: Select brand and model

After choosing a model, a number of MPP appears, based on your inverter model. Press Power button to enable/disable MPP. Activate the number of MPPs you have connected to solar panels. Press MPP to set your panels.
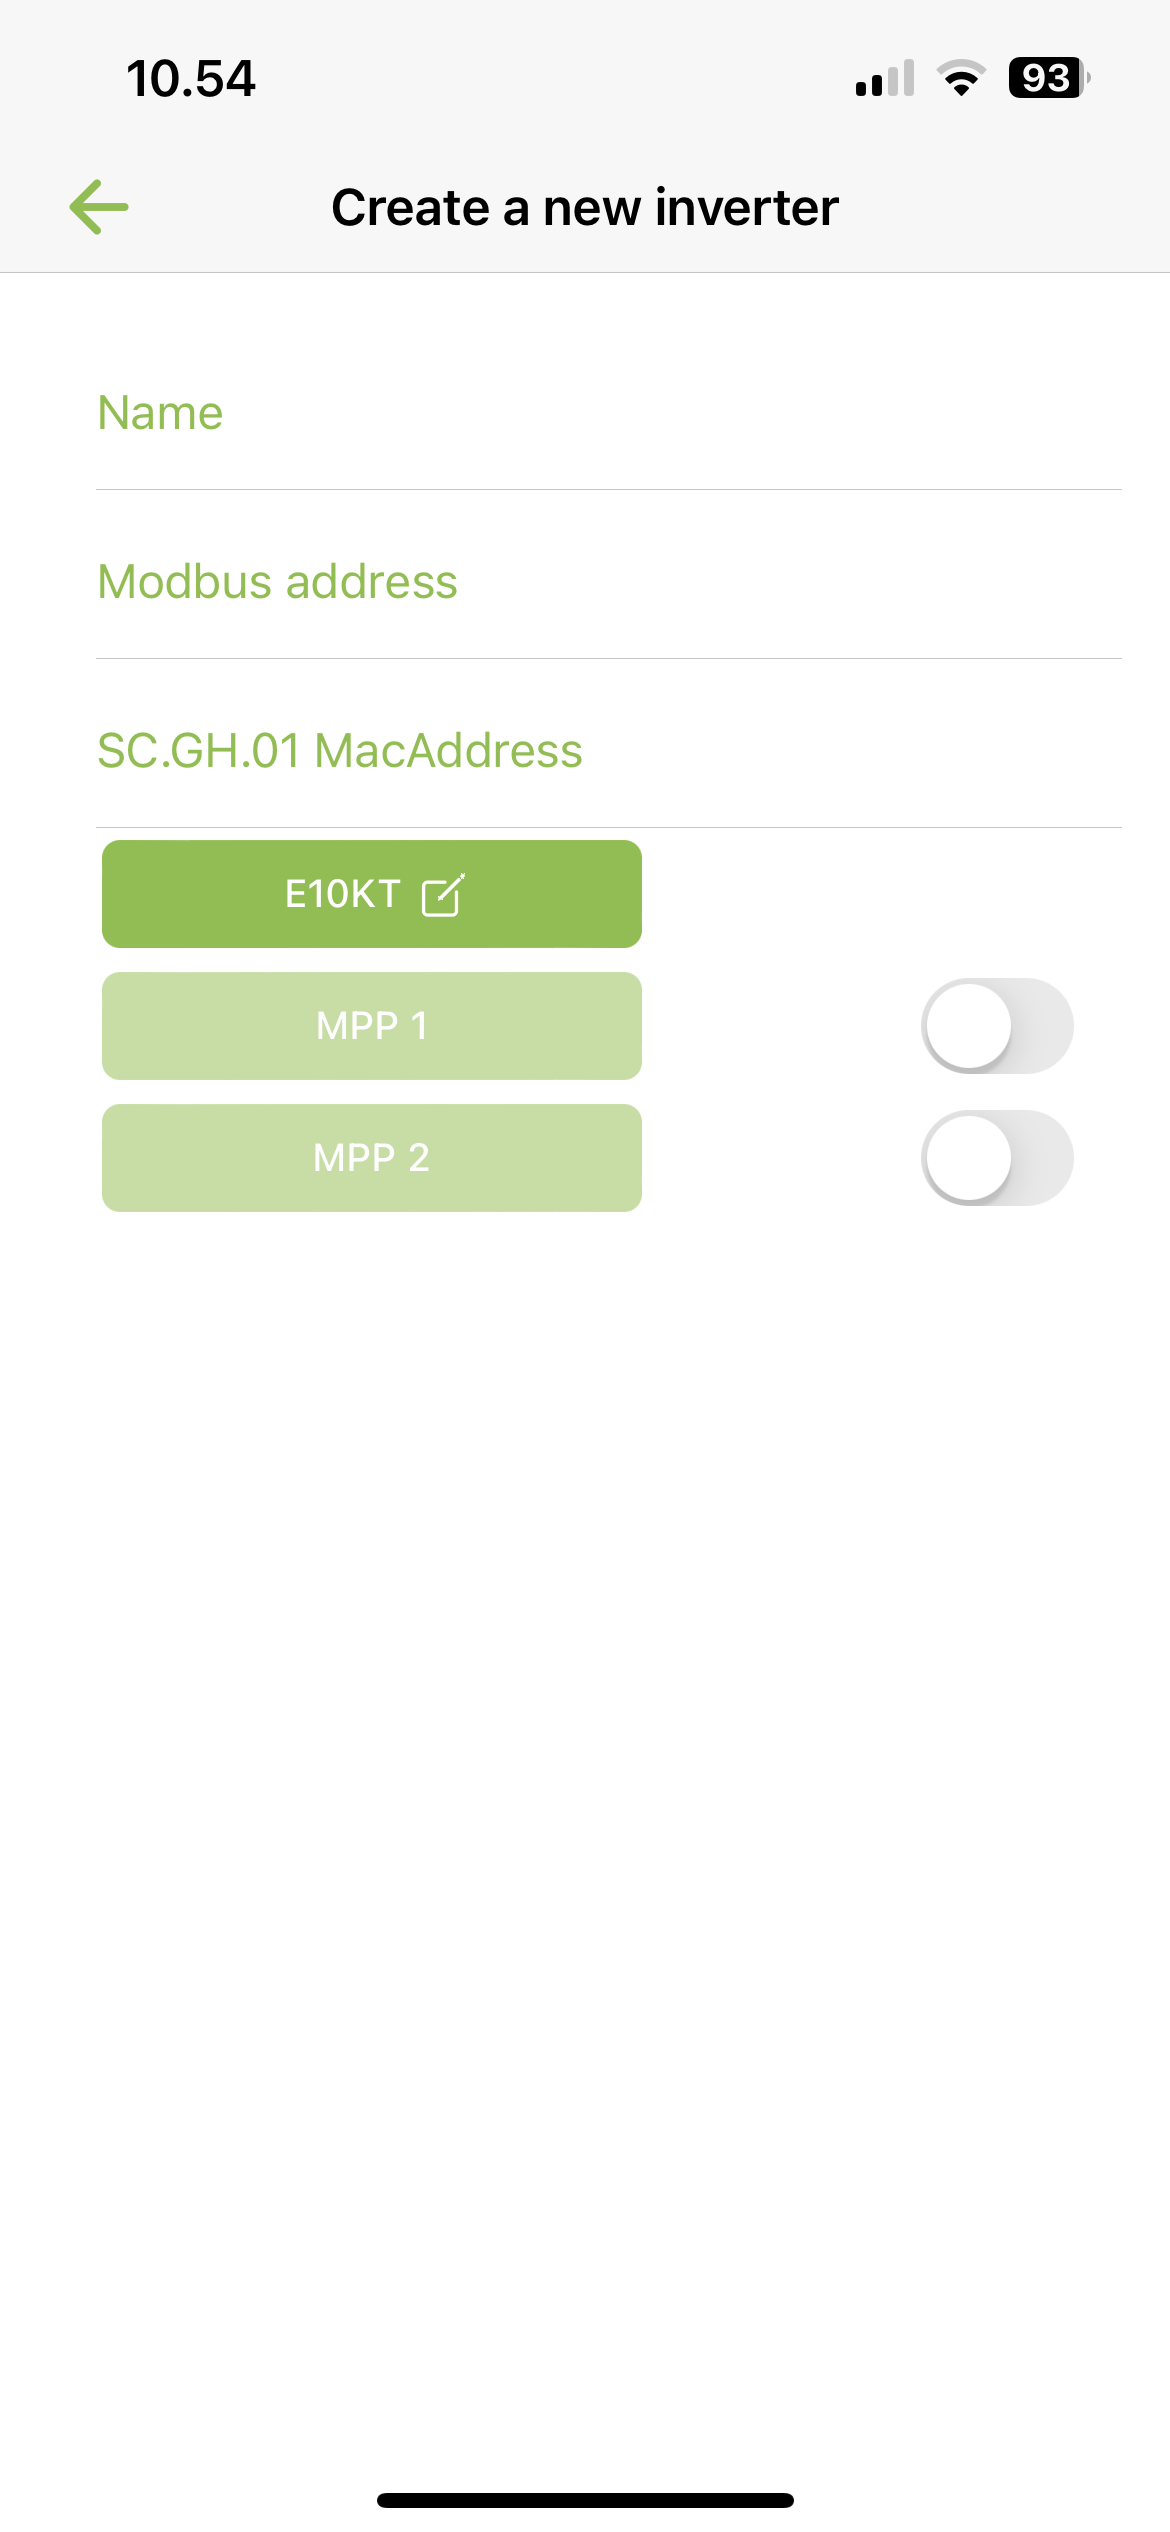
Enter panel information
Drag the Sun to point in the direction the panels are pointing and fill in Panel angle, Number of panels and Panel power in watts.

Press Back to return to the overview, where you press + to add more inverters.
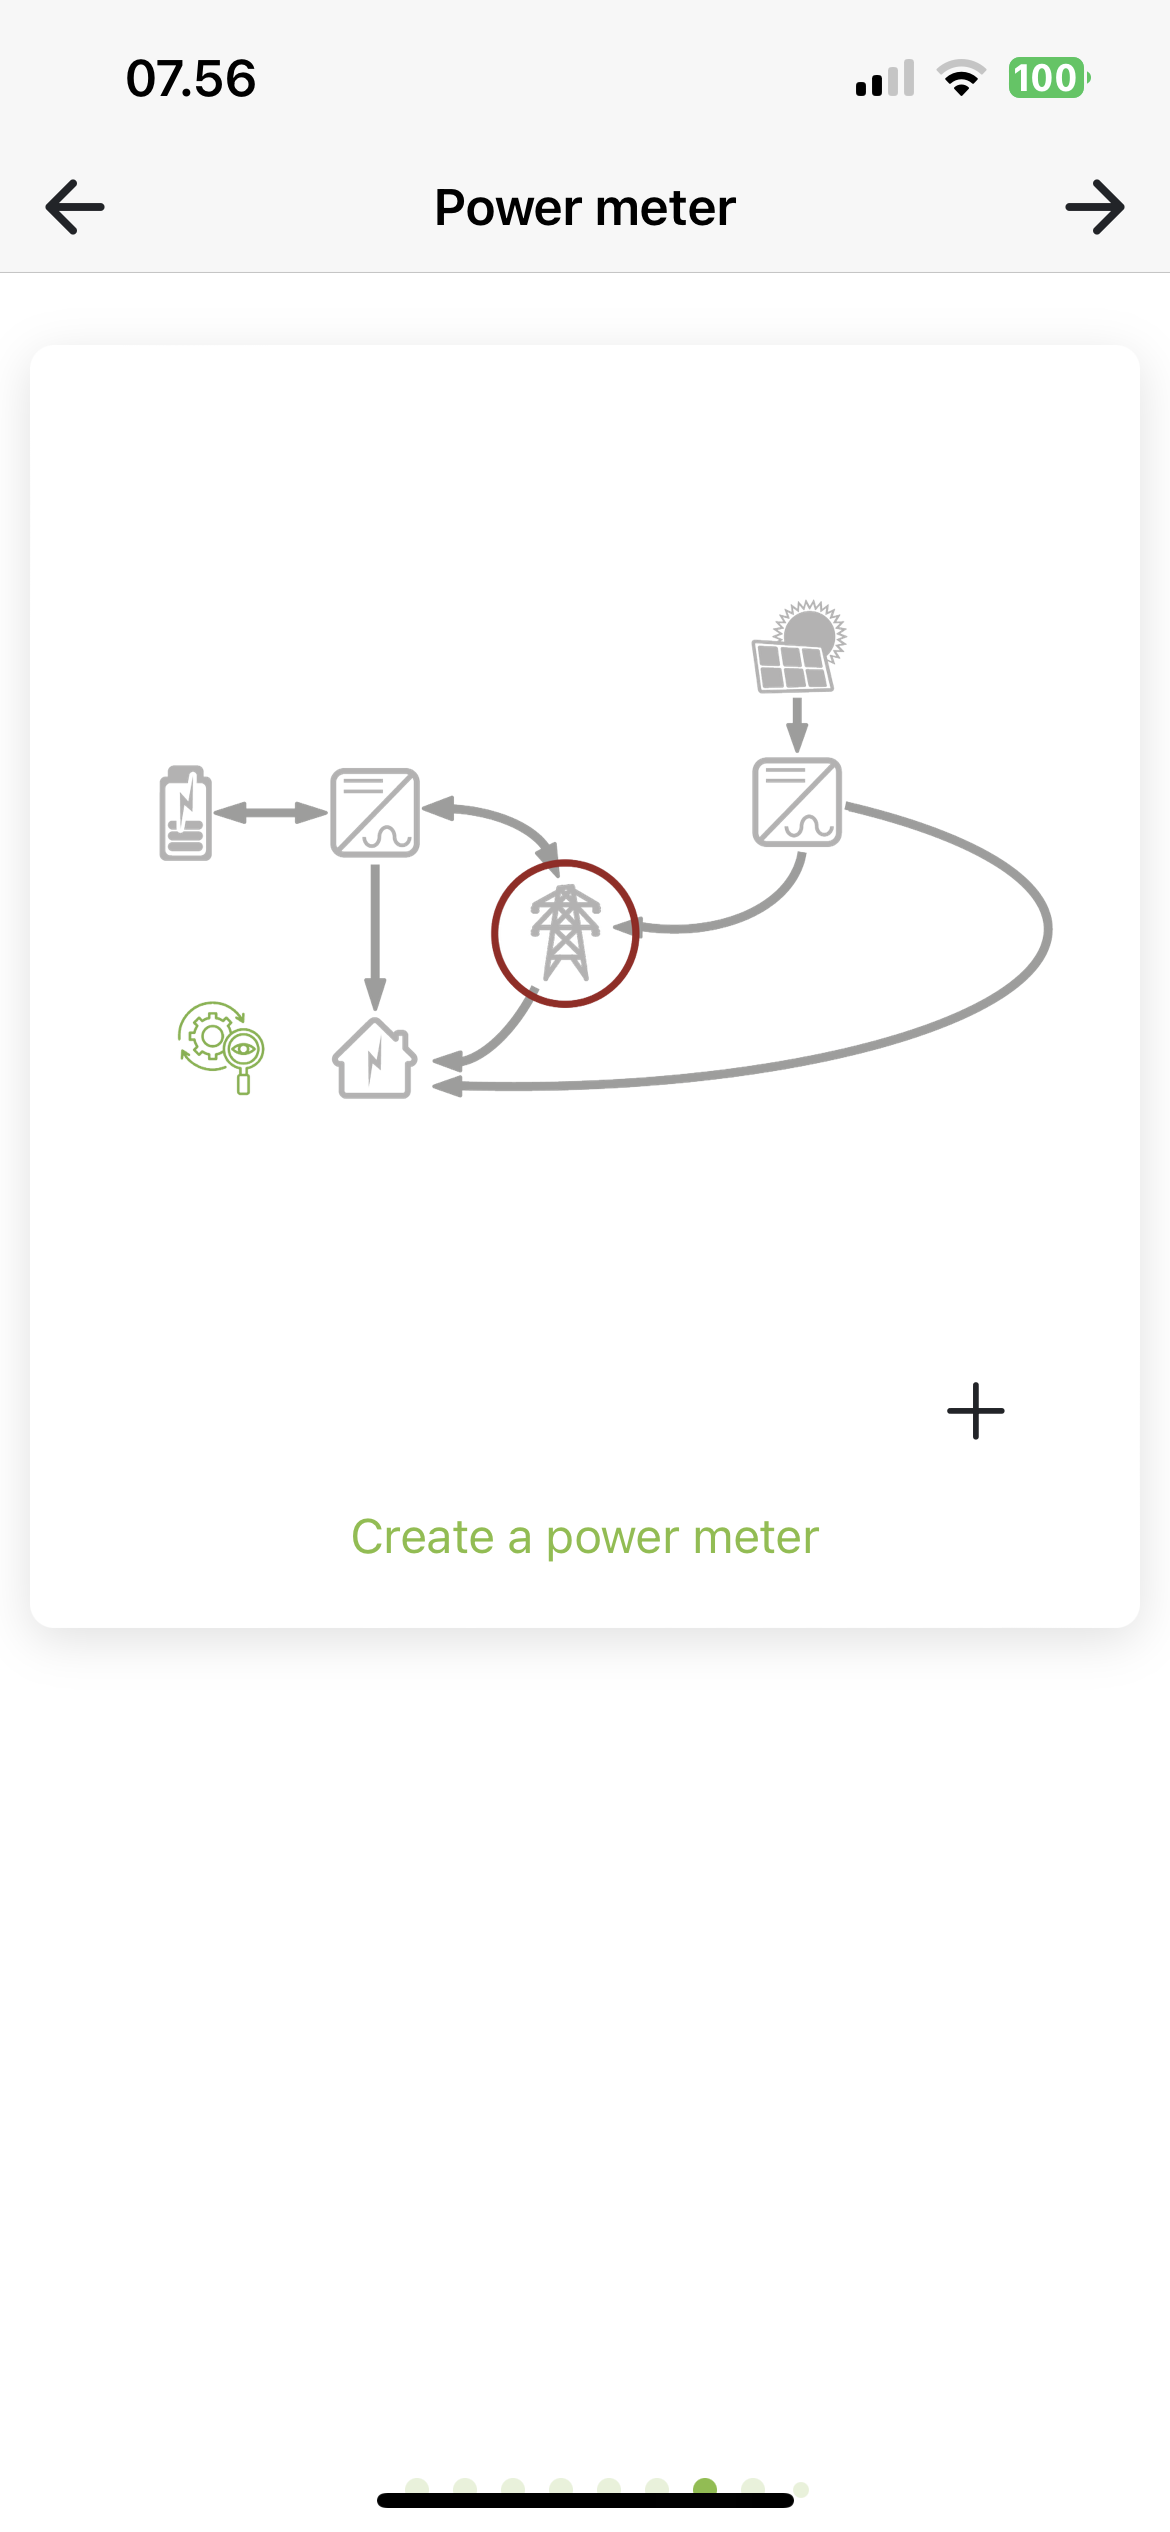
¶ ADD POWER METER
Create an electricity meter. Press + to add an electricity meter and trash to remove electricity meter. Look at Electricity meter setup to see more details.
¶ ADDITIONAL SETTINGS
You can now choose to set some additional settings on the installation.
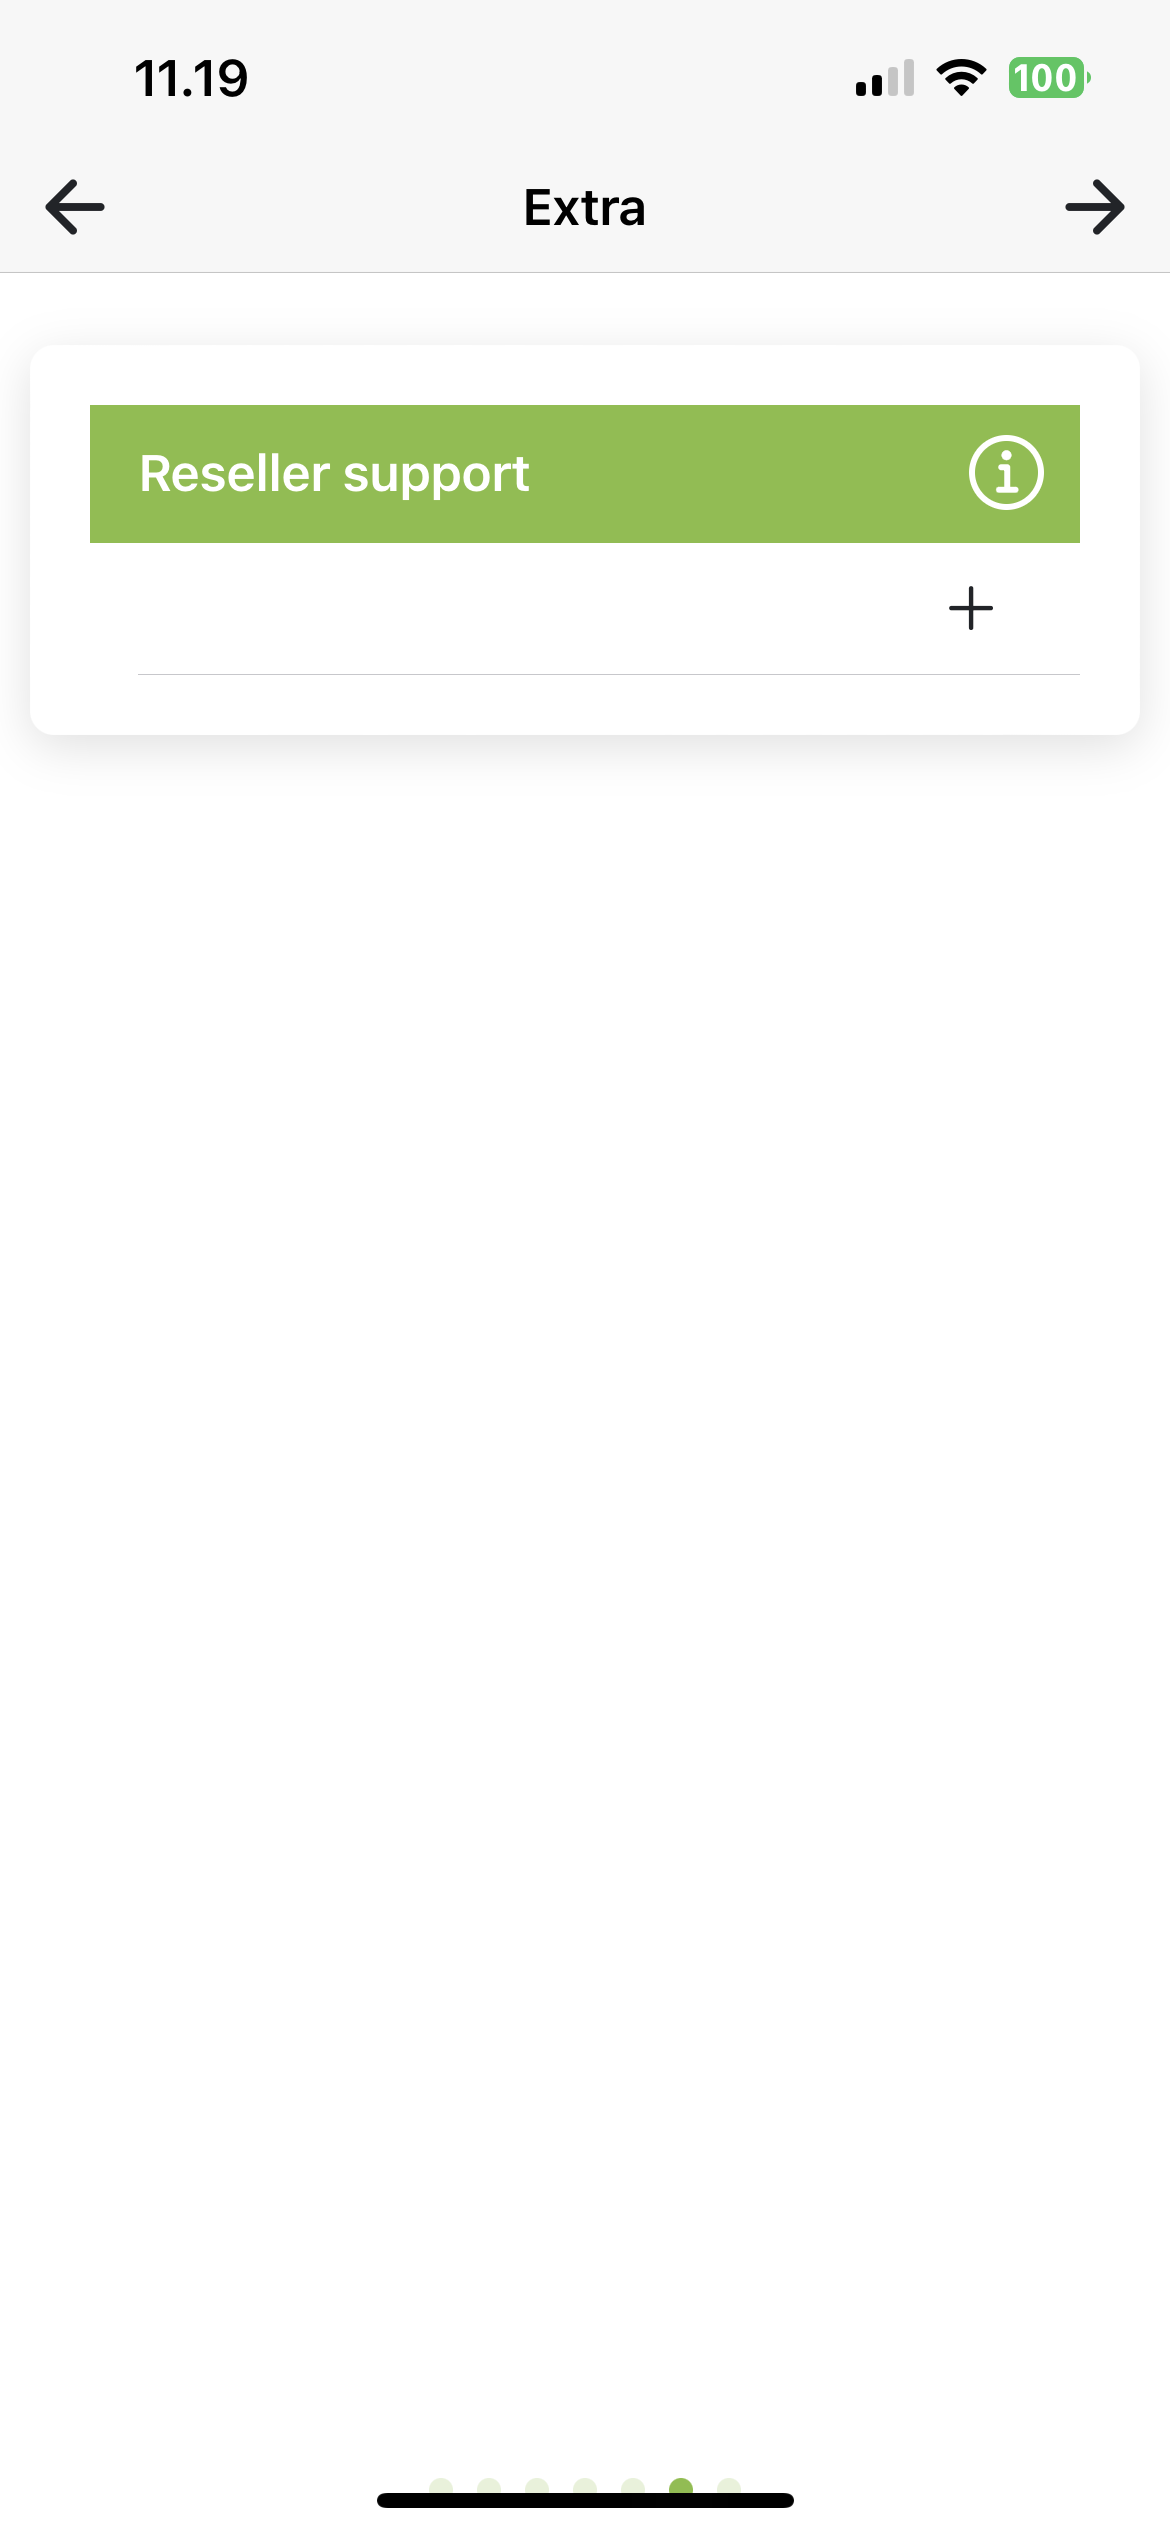
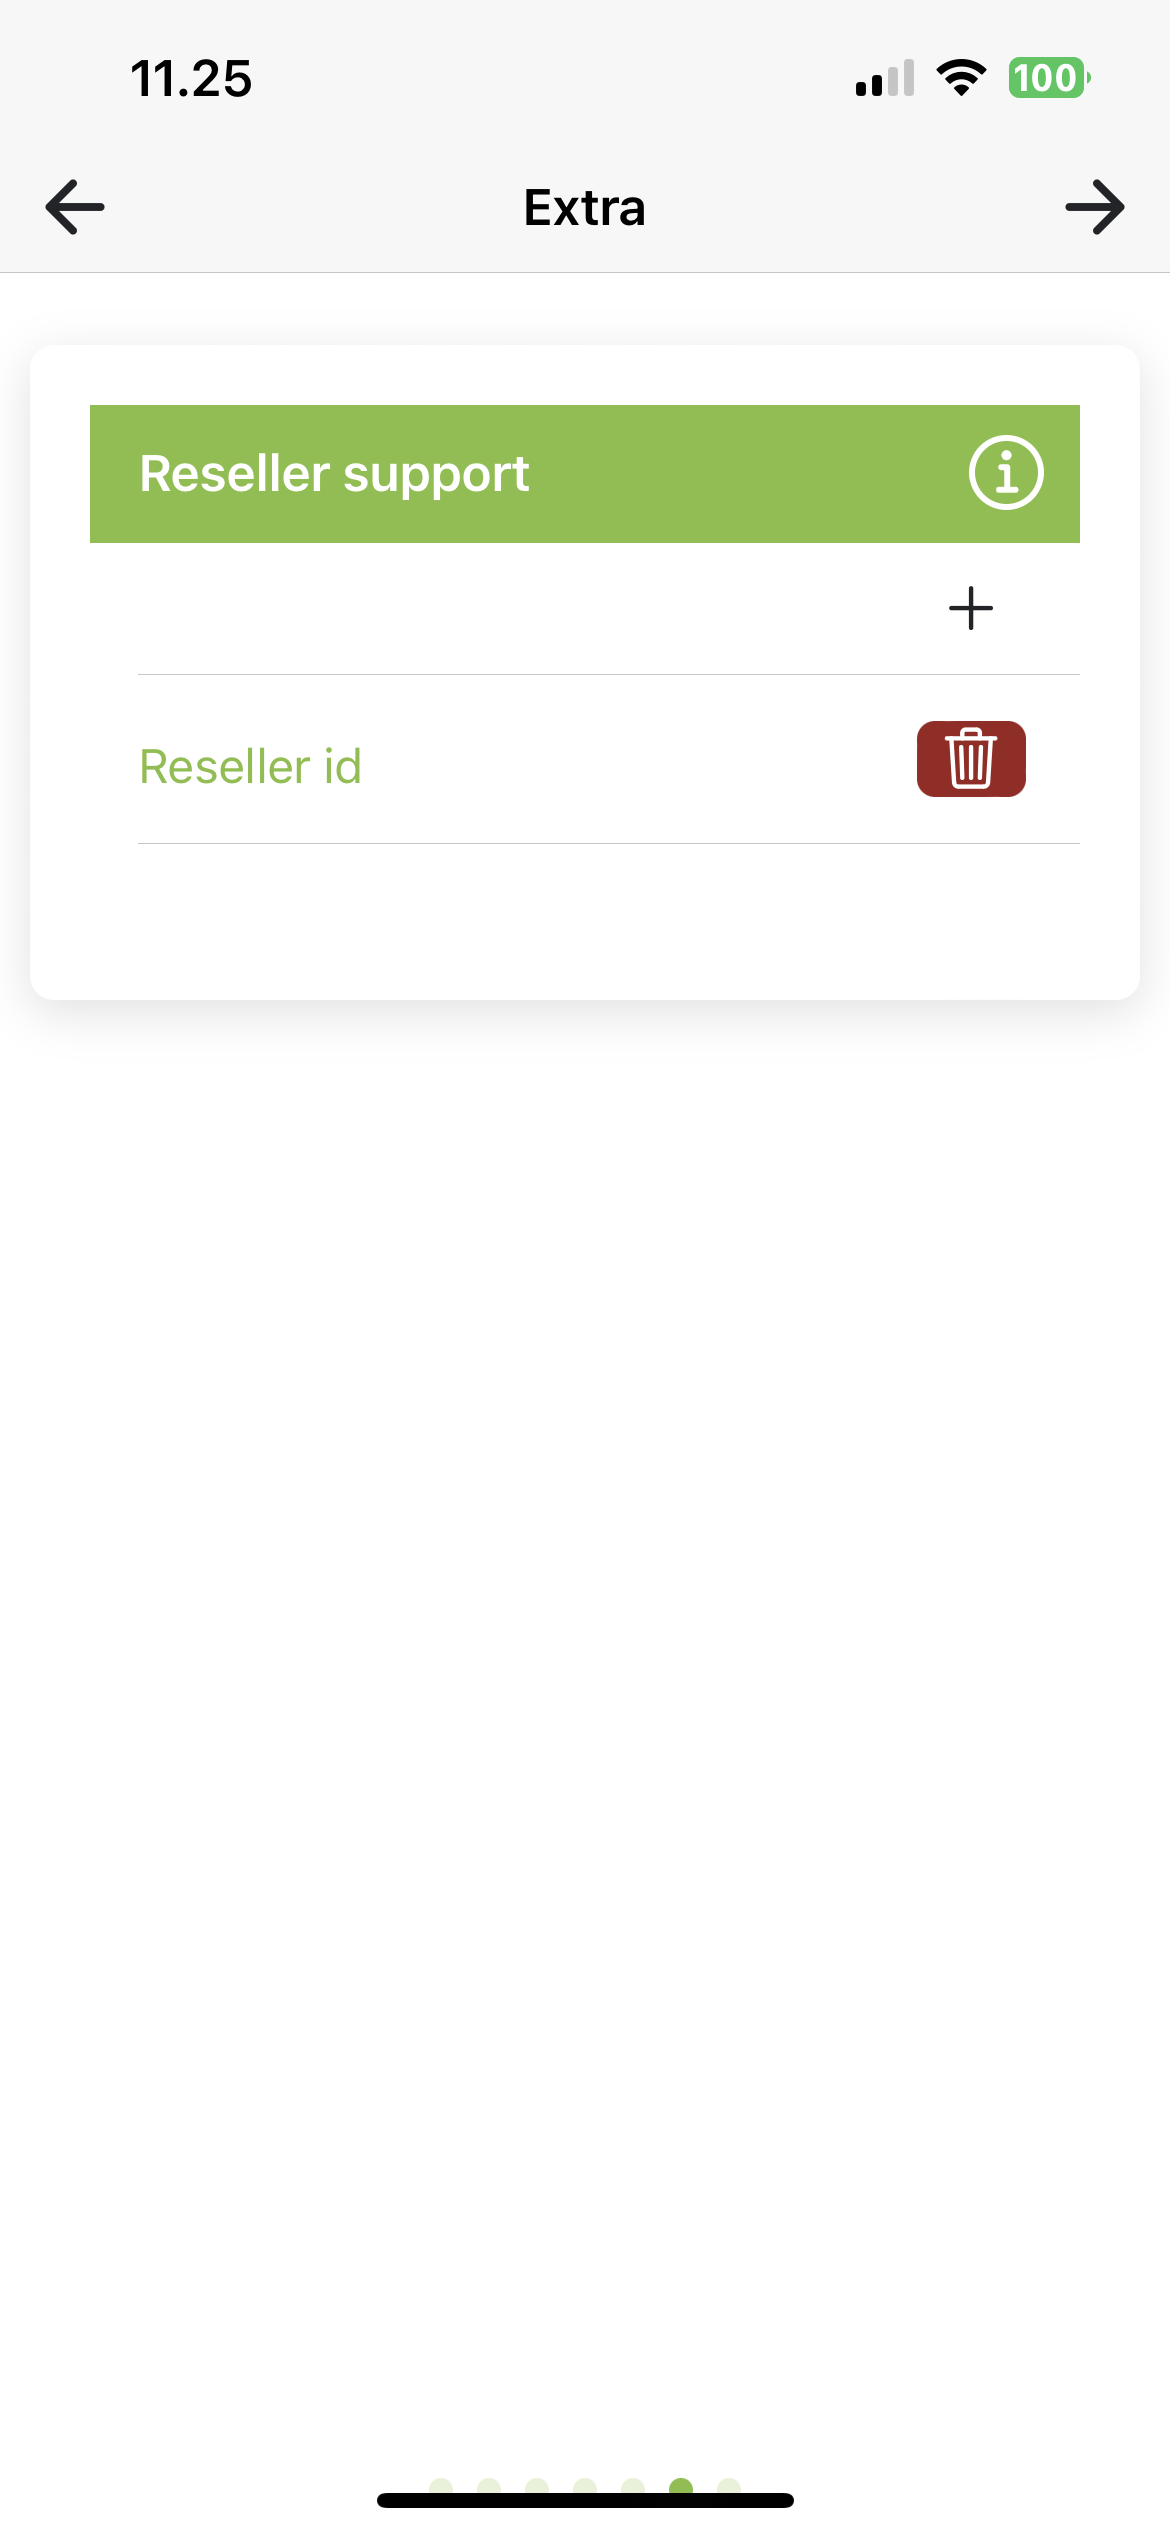
Reseller support: Here you can add a reseller who must have access to this installation for help and support. Press + to add a reseller and trash to delete one again.
Reseller-id:Forhandler-id: Id of the reseller to be added. Can be found at Reseller (softcontrol.dk)
¶ INSTALLATION READY
The installation is now ready to be created. Tap Create Installation to start the process. You will then be automatically logged in to the new installation

¶ Combined plant: DC coupled hybrid system with VPP control and On-grid system with monitoring
¶ ADD INVERTER
Add one or more inverters. These inverters are controlled by VPP through a SC.GH.01 and charge from the grid-connected inverters. Press Create new inverter.
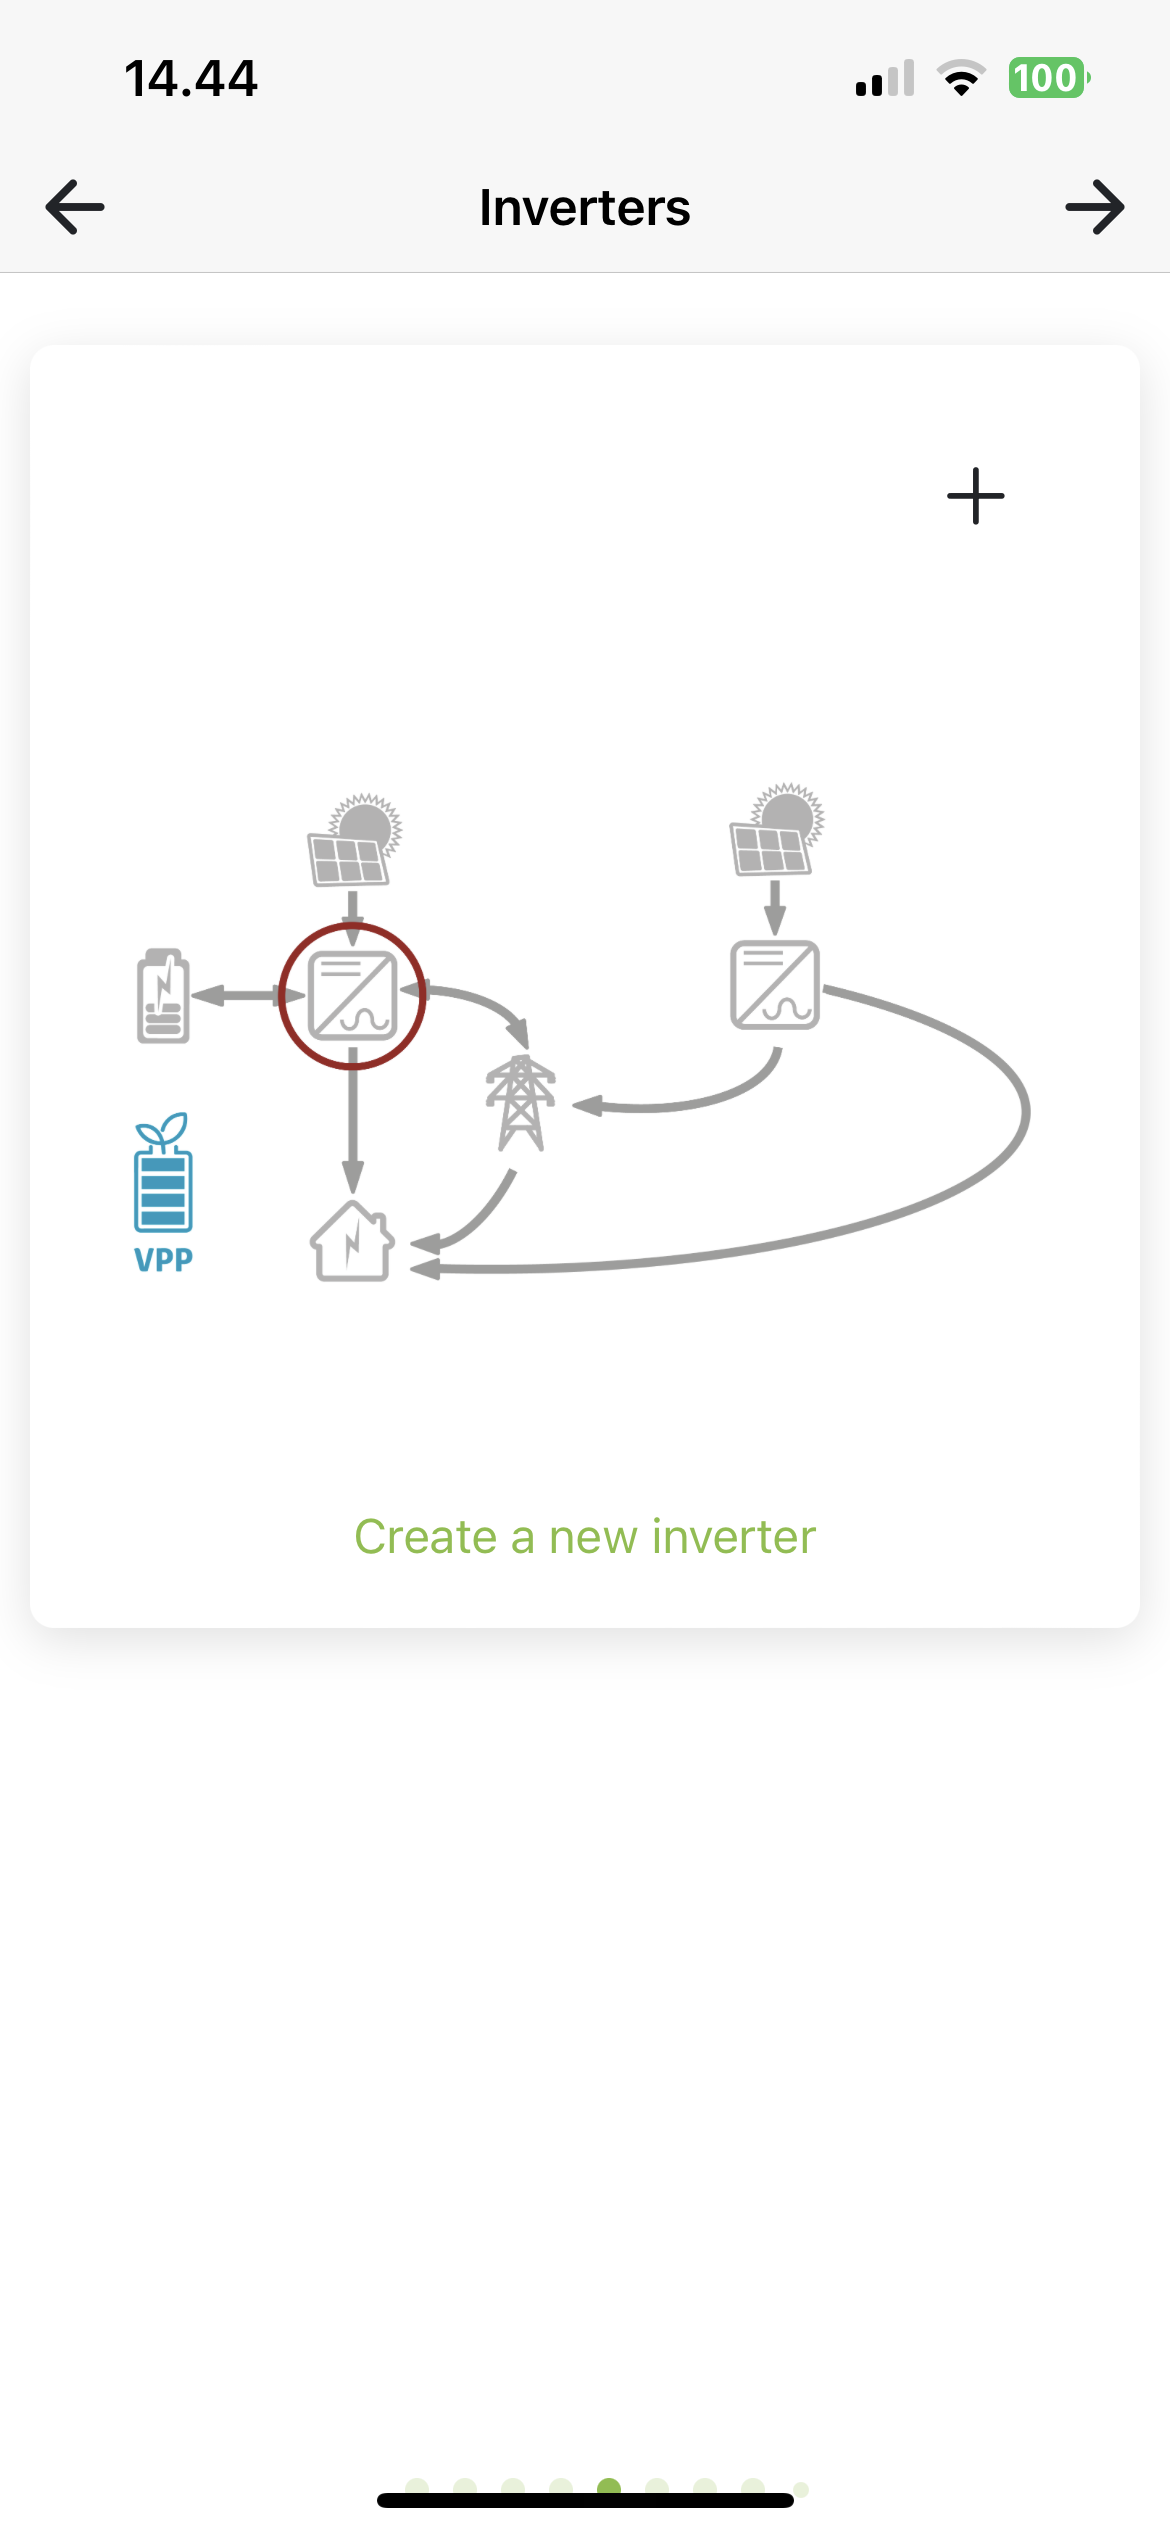
Name: Name you want to give your inverter, e.g. KSTAR, Basement.
Modbus: Enter the Modbus address you have set on the inverter (refer to manual for inverter model).
SC.GH.01 Mac-adress: Mac address is filled in based on the QR code you have scanned. If you use several SC.GH.01s, you must change the Mac address of the connected SC.GH.01.
Inverter model: Select brand and model

After choosing a model, a number of mpp appears, based on your inverter model. Press Power button to enable/disable MPP. Activate the number of MPPs you have connected to solar panels. Press MPP to set your panels.
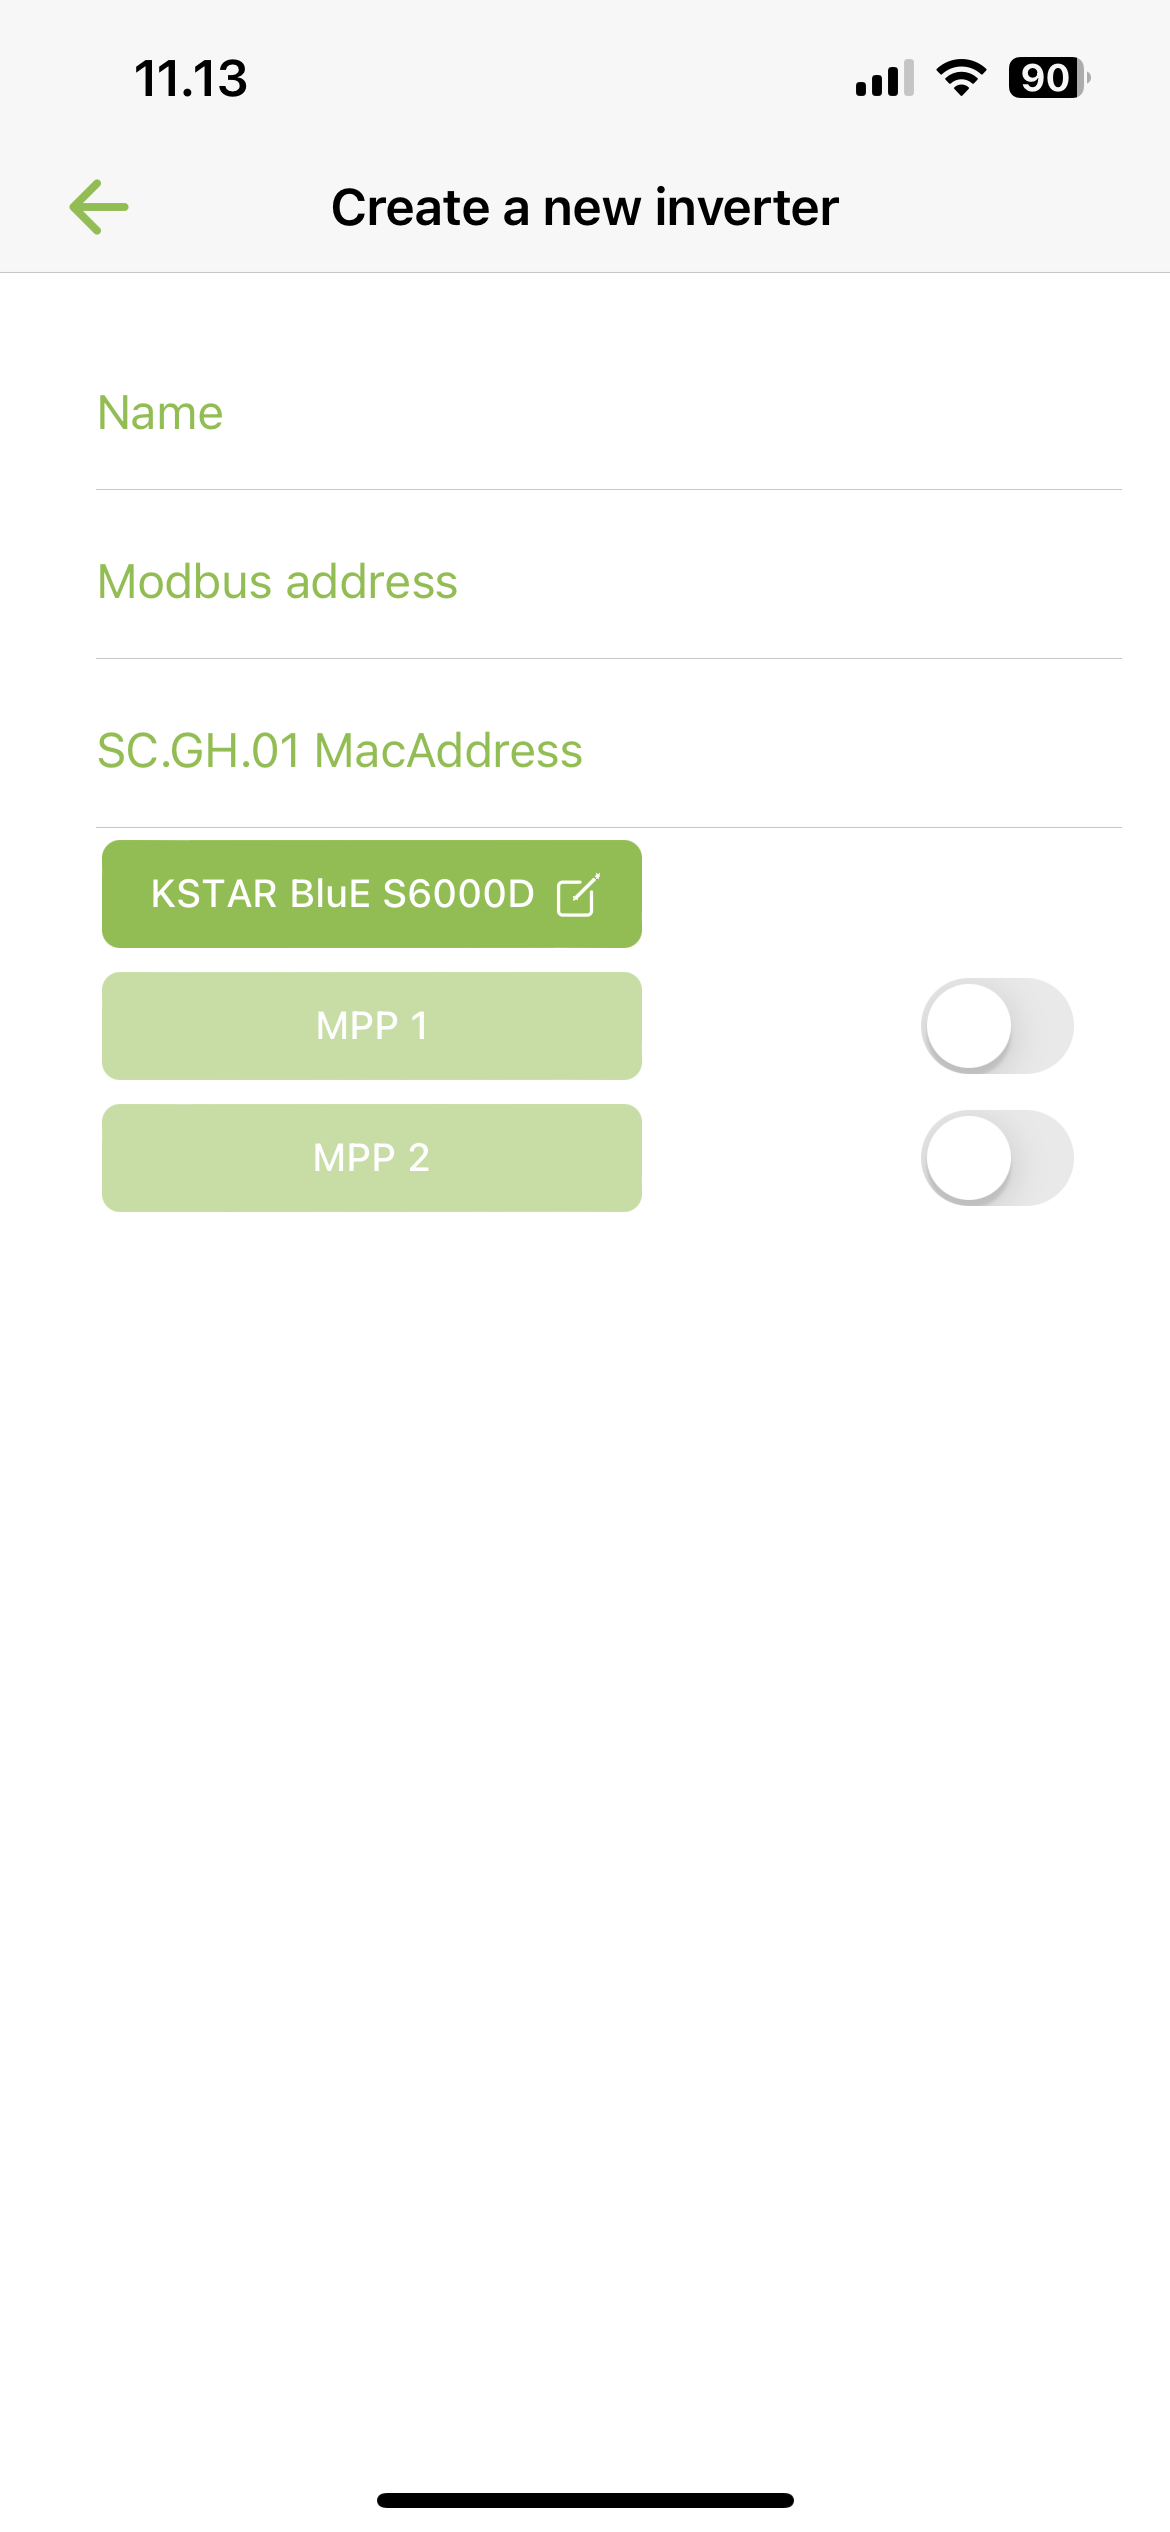
Drag the Sun to point in the direction the panels are pointing and fill in Panel angle, Number of panels and Panel power in watts.

¶ ADD GRID-CONNECTED INVERTER
Add one or more inverters. Press Create new inverter.
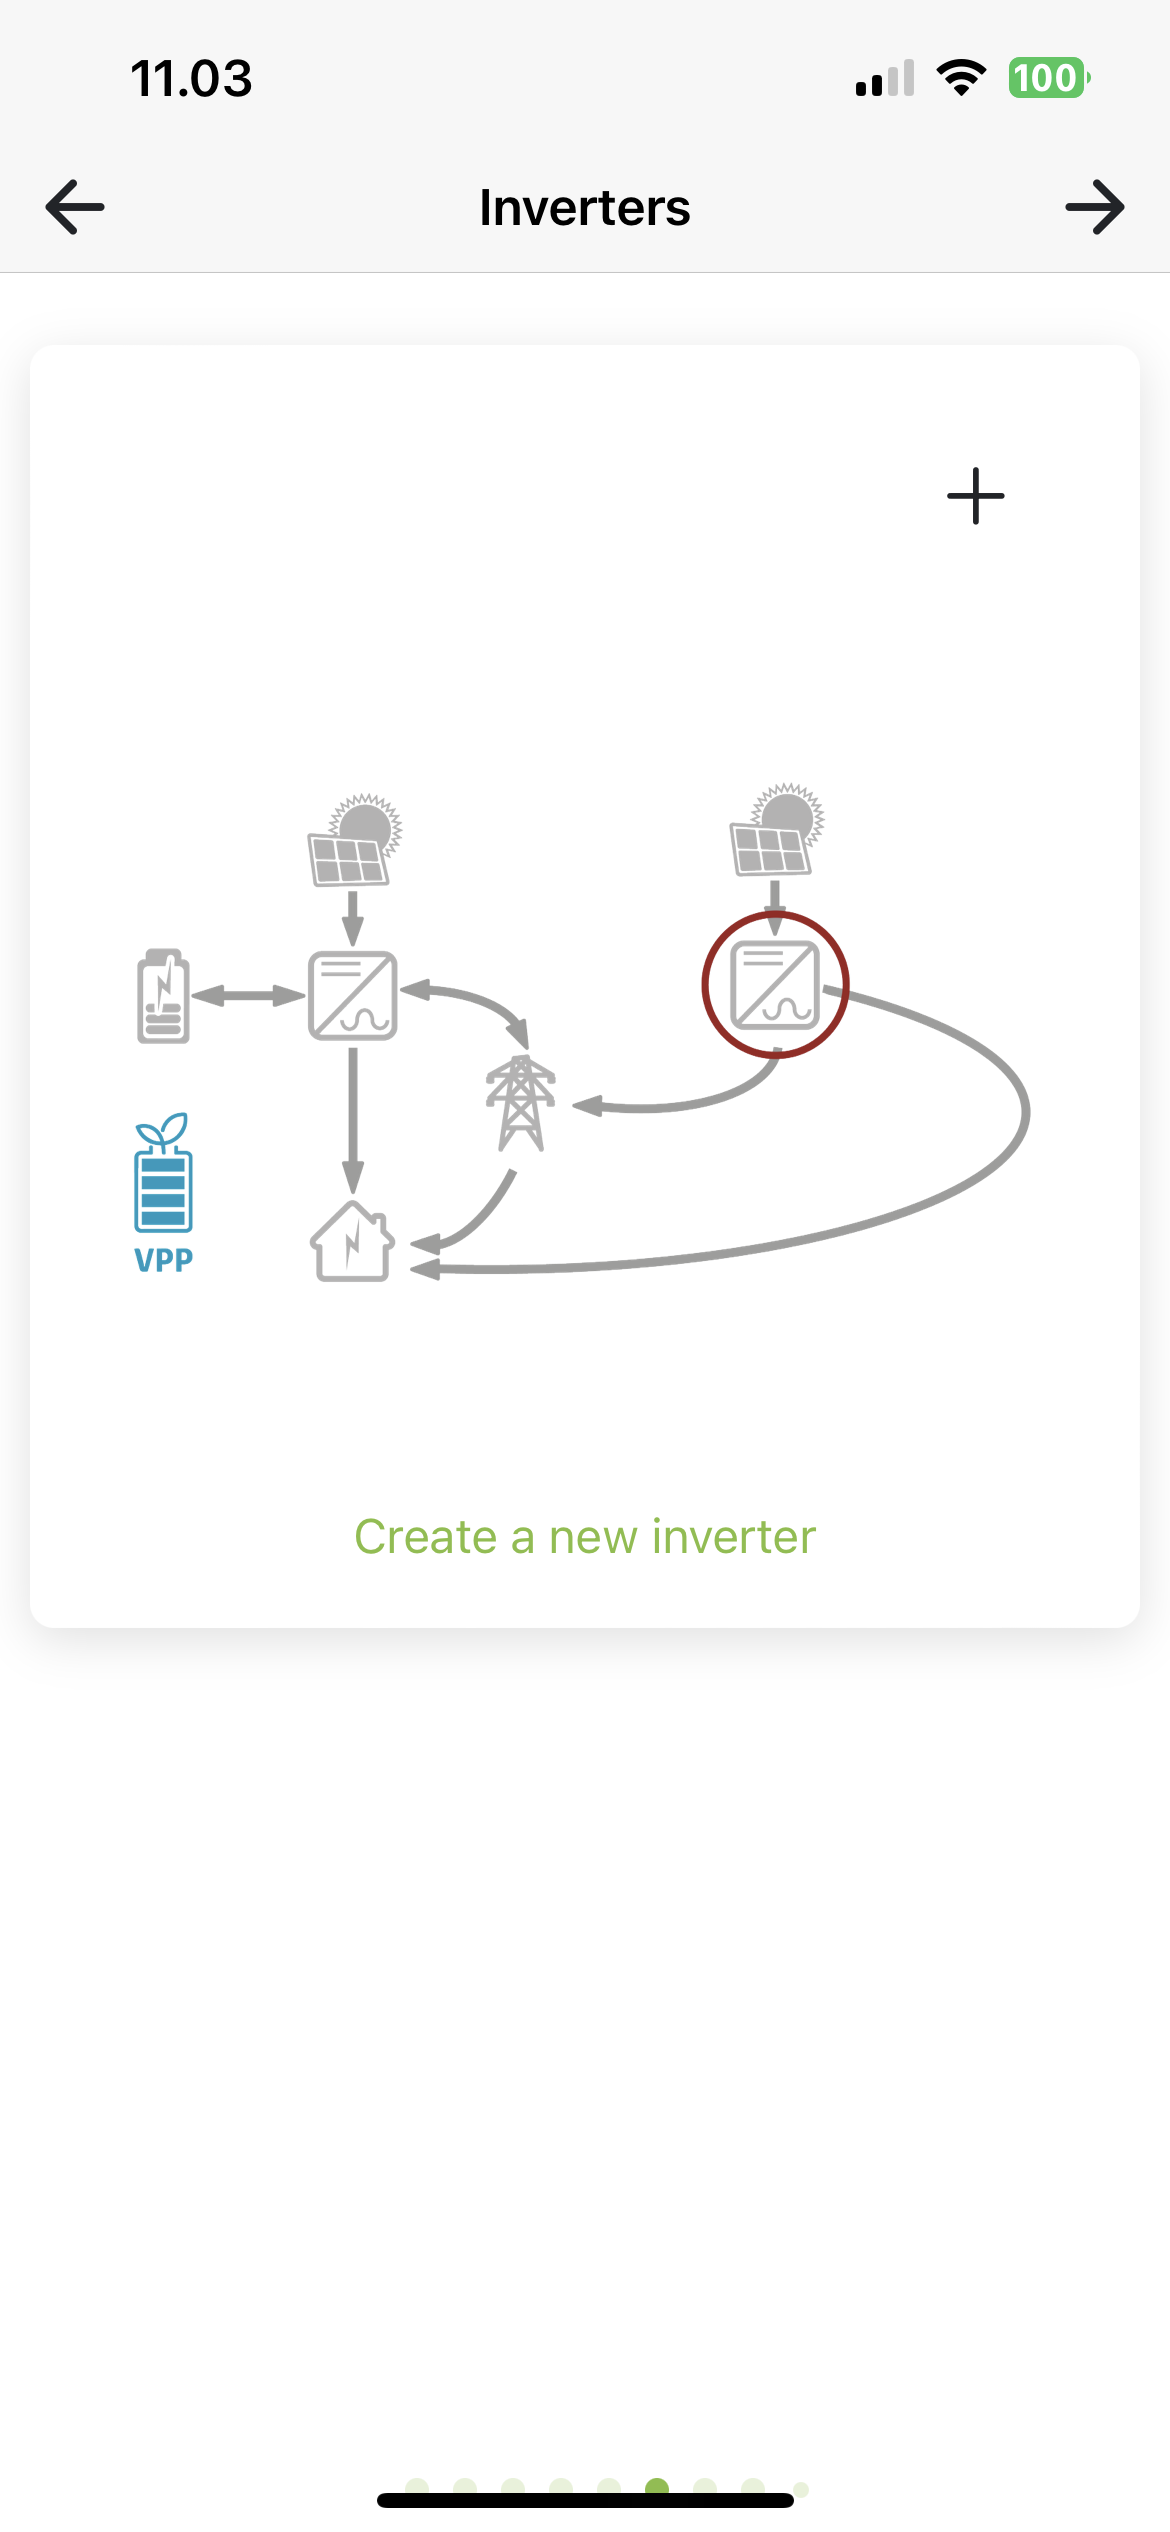
Name: Name you want to give your inverter, e.g. make: KSTAR, Basement. Press Power button to enable/disable MPP. Activate the number of MPPs you have connected to solar panels. Press MPP to set your panels.

After choosing a model, a number of MPP will appear based on your inverter model. Press Power button to enable/disable MPP. Activate the number of MPPs you have connected to solar panels. Press MPP to set your panels.

Enter panel information
Drag the Sun to point in the direction the panels are pointing and fill in Panel angle, Number of panels and Panel power in watts.

Press Back to return to the overview, where you press + to add more inverters.
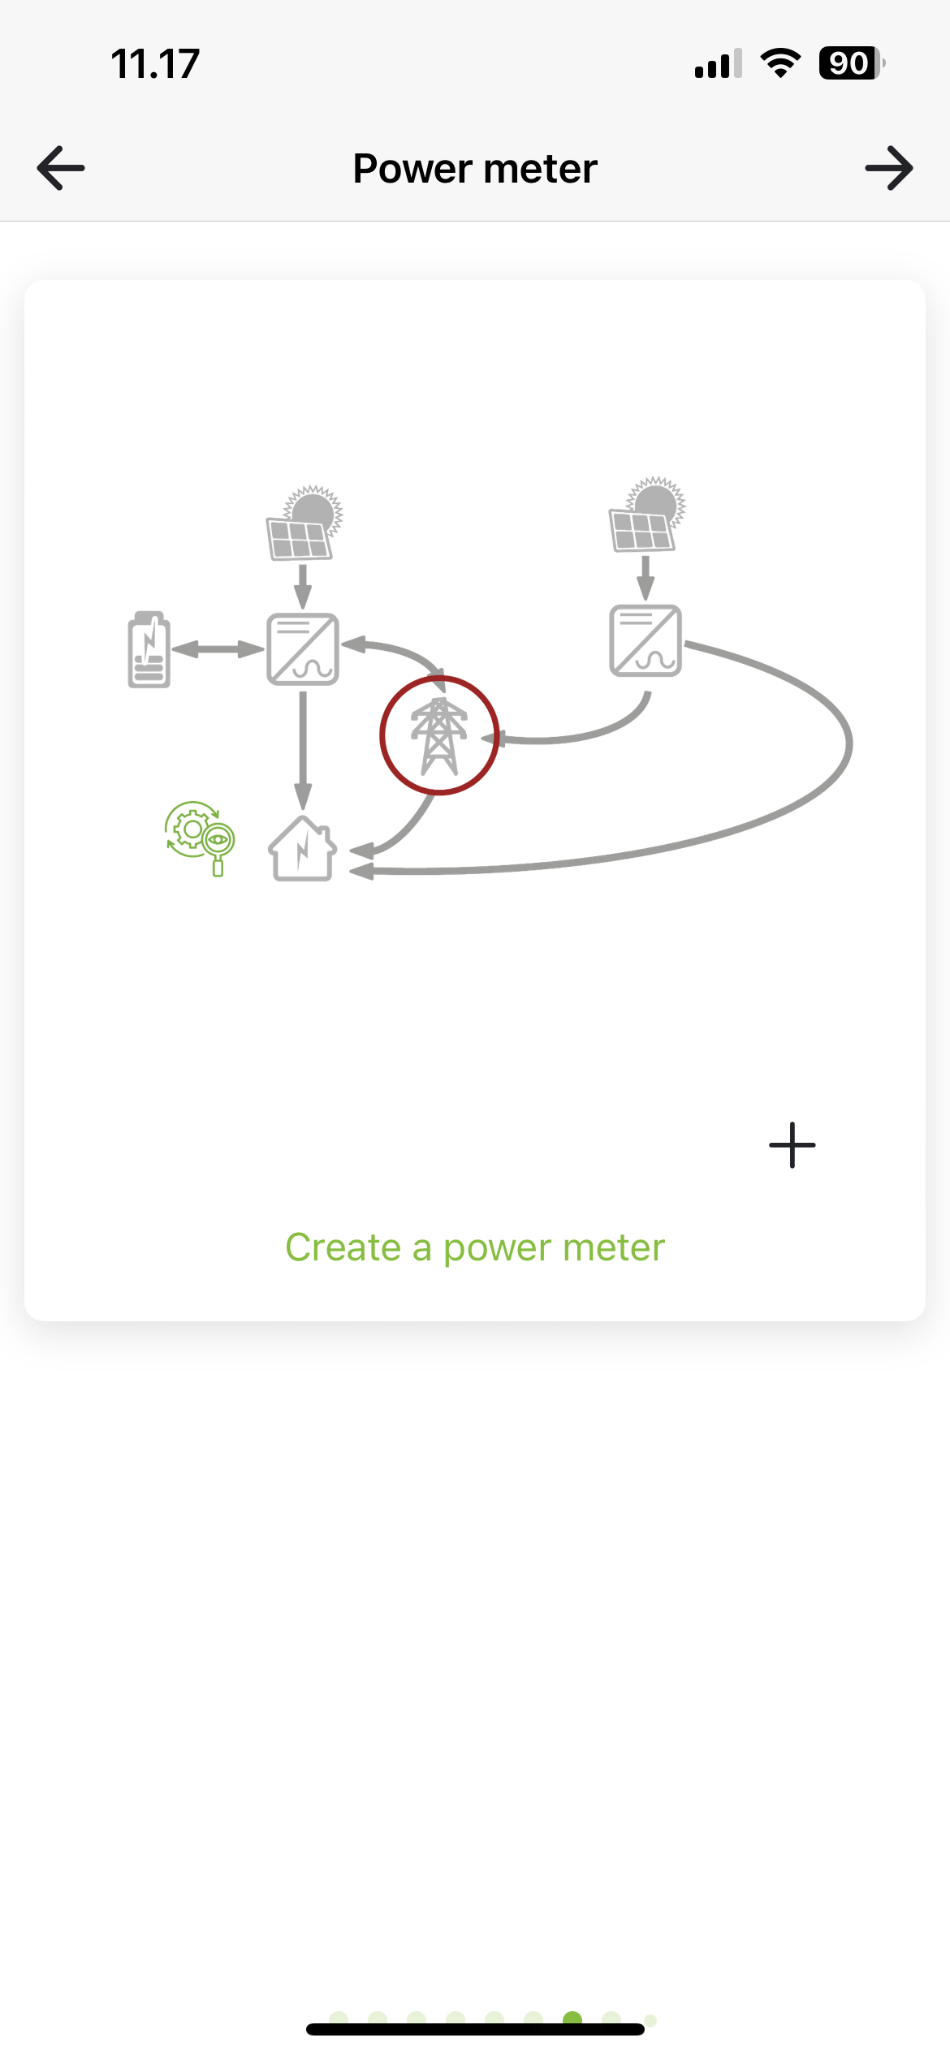
¶ ADD POWERMETER
You must now create your powermeter. Look at Electricity meter setup to see more details.
¶ ADDITIONAL SETTINGS
You can now choose to set some additional settings on the installation.
Export limit: Enable/disable export limit as needed. Enter the limit to use in Kilowatts if enabled. Export limit limits how much all inverters together may discharge to the grid.
Power network: Must be completed. Select the power network the installation is in, e.g. West Denmark, the Netherlands.

Reseller support: Here you can add a reseller who must have access to this installation for help and support. Press + to add a reseller and trash to delete one again.
Reseller-id:Forhandler-id: Id of the reseller to be added. Can be found at Reseller (softcontrol.dk)

¶ INSTALLATION READY
The installation is now ready to be created. Tap Create Installation to start the process. You will then be automatically logged in to the new installation

¶ Combined plant: DC coupled hybrid system and On-grid system with monitoring
¶ ADD AC INVERTER
Add one or more inverters. These inverters charge from the grid-connected inverters. Press Create new inverter.
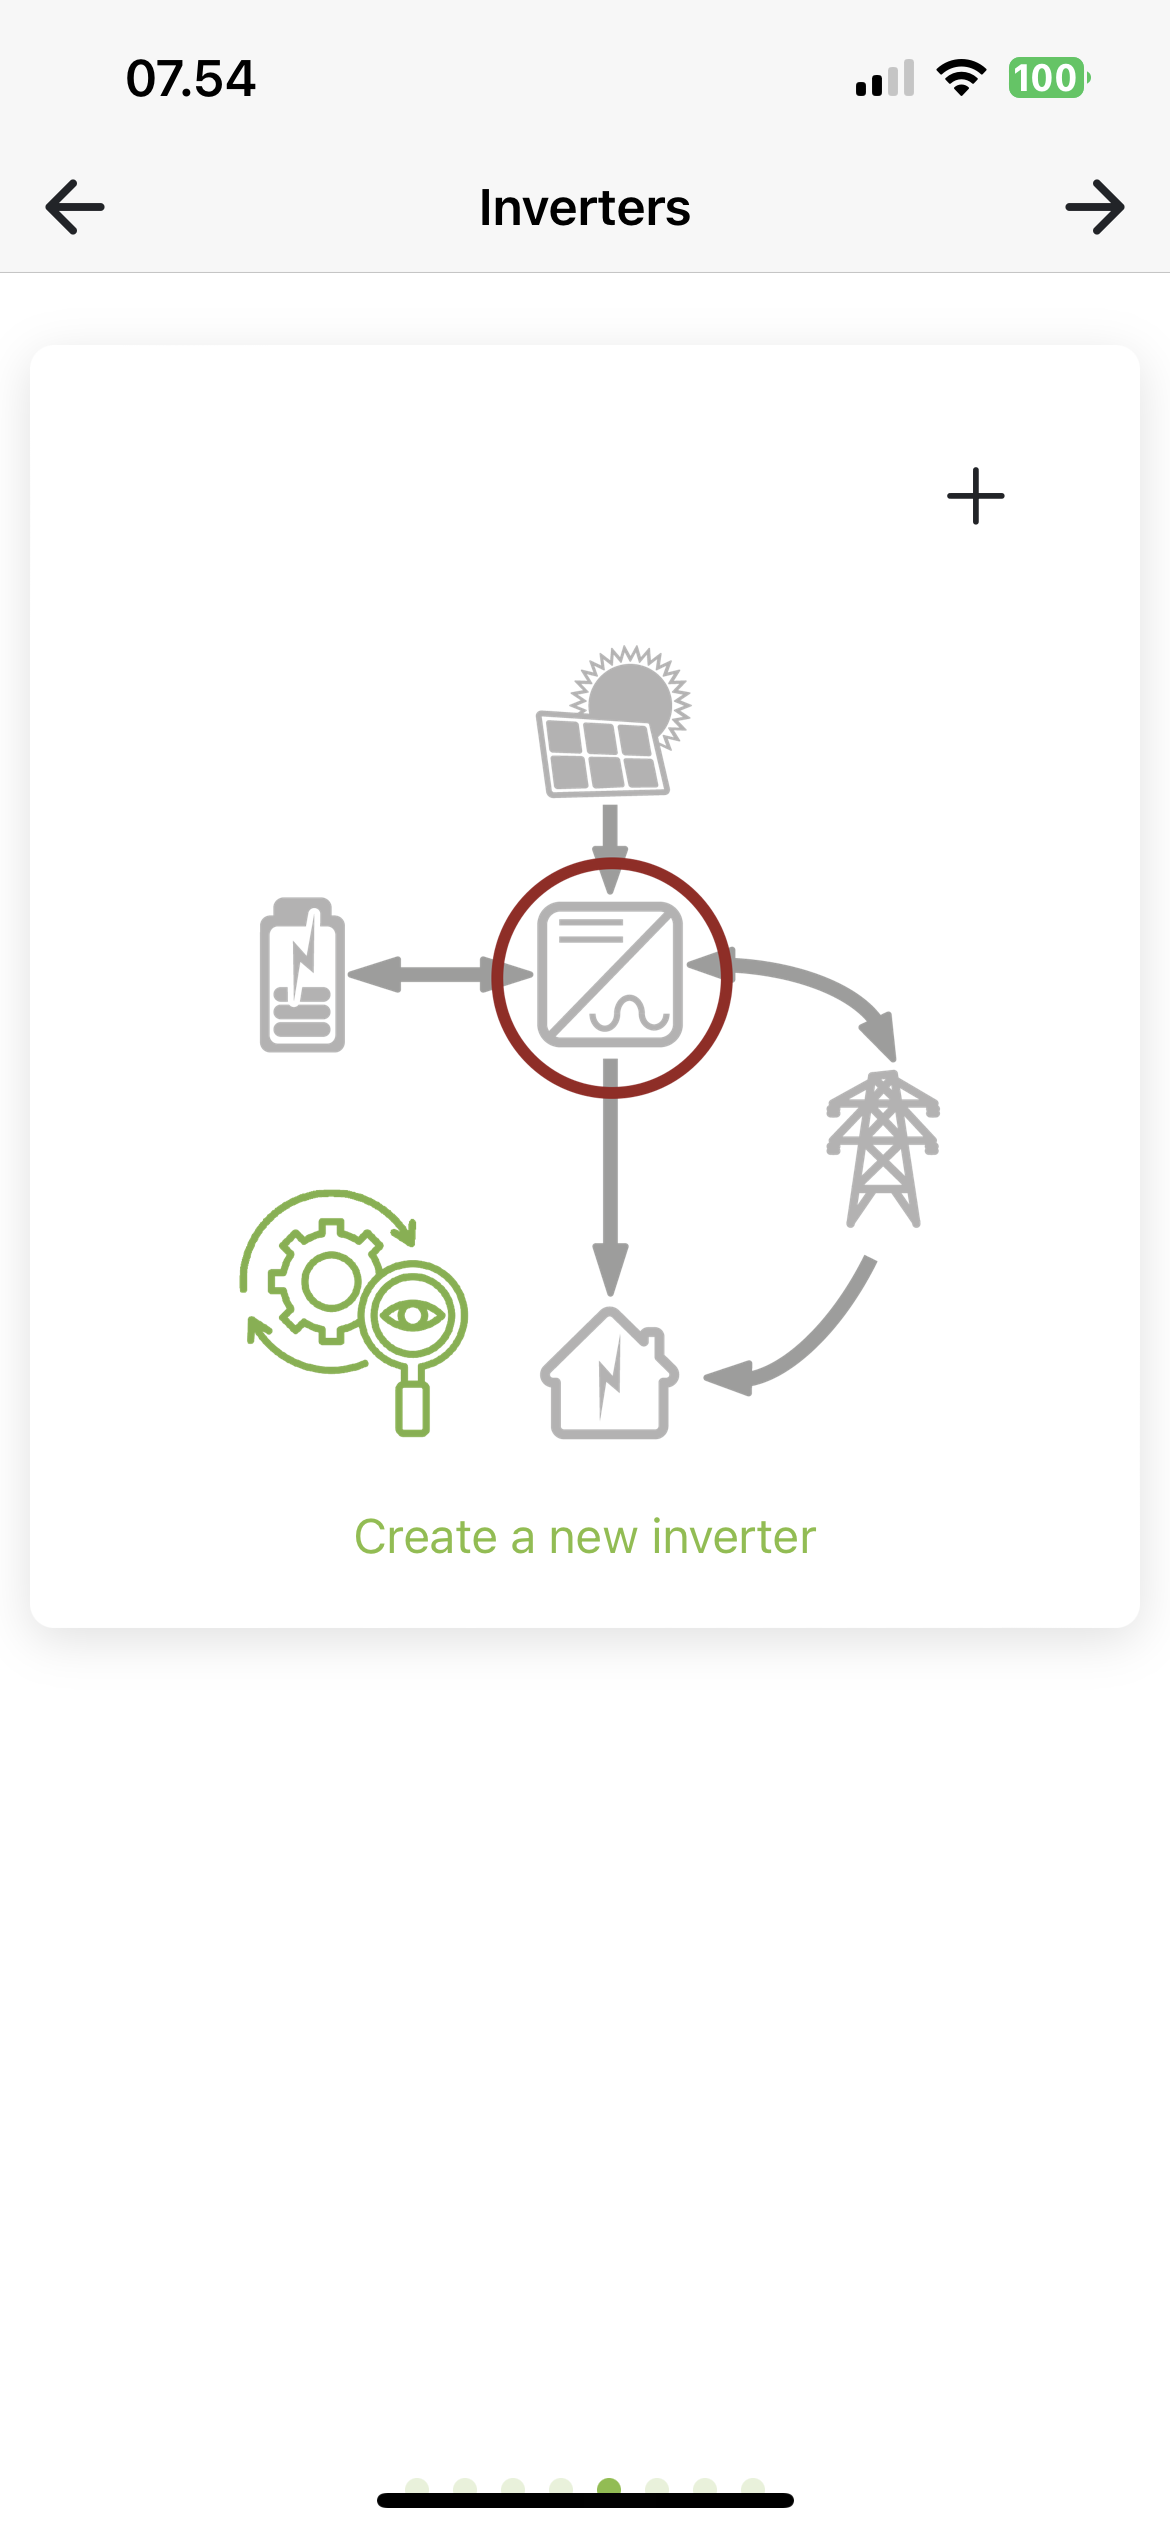
Name: Name you want to give your inverter, e.g. KSTAR, Basement.
Modbus: Enter the Modbus address you have set on the inverter (refer to manual for inverter model).
SC.GH.01 Mac-adress: Mac address is filled in based on the QR code you have scanned. If you use several SC.GH.01s, you must change the Mac address of the connected SC.GH.01.
Inverter model: Select brand and model

After choosing a model, a number of MPP appears, based on your inverter model. Press Power button to enable/disable MPP. Activate the number of MPPs you have connected to solar panels. Press MPP to set your panels.

Enter panel information
Drag the Sun to point in the direction the panels are pointing and fill in Panel angle, Number of panels and Panel power in watts.

Press Back to return to the overview, where you press + to add more inverters.
¶ ADD GRIDCONNECTED INVERTER
Add one or more inverters. Press Create new inverter.

Name: Name you want to give your inverter, e.g. KSTAR, Basement.
Modbus: Enter the Modbus address you have set on the inverter (refer to manual for inverter model).
SC.GH.01 Mac-adress: Mac address is filled in based on the QR code you have scanned. If you use several SC.GH.01s, you must change the Mac address of the connected SC.GH.01.
Inverter model: Select brand and model
After choosing a model, a number of MPP appears, based on your inverter model. Press Power button to enable/disable MPP. Activate the number of MPPs you have connected to solar panels. Press MPP to set your panels.

After choosing a model, a number of MPP appears, based on your inverter model. Press Power button to enable/disable MPP. Activate the number of MPPs you have connected to solar panels. Press MPP to set your panels.
Enter panel information
Drag the Sun to point in the direction the panels are pointing and fill in Panel angle, Number of panels and Panel power in watts.

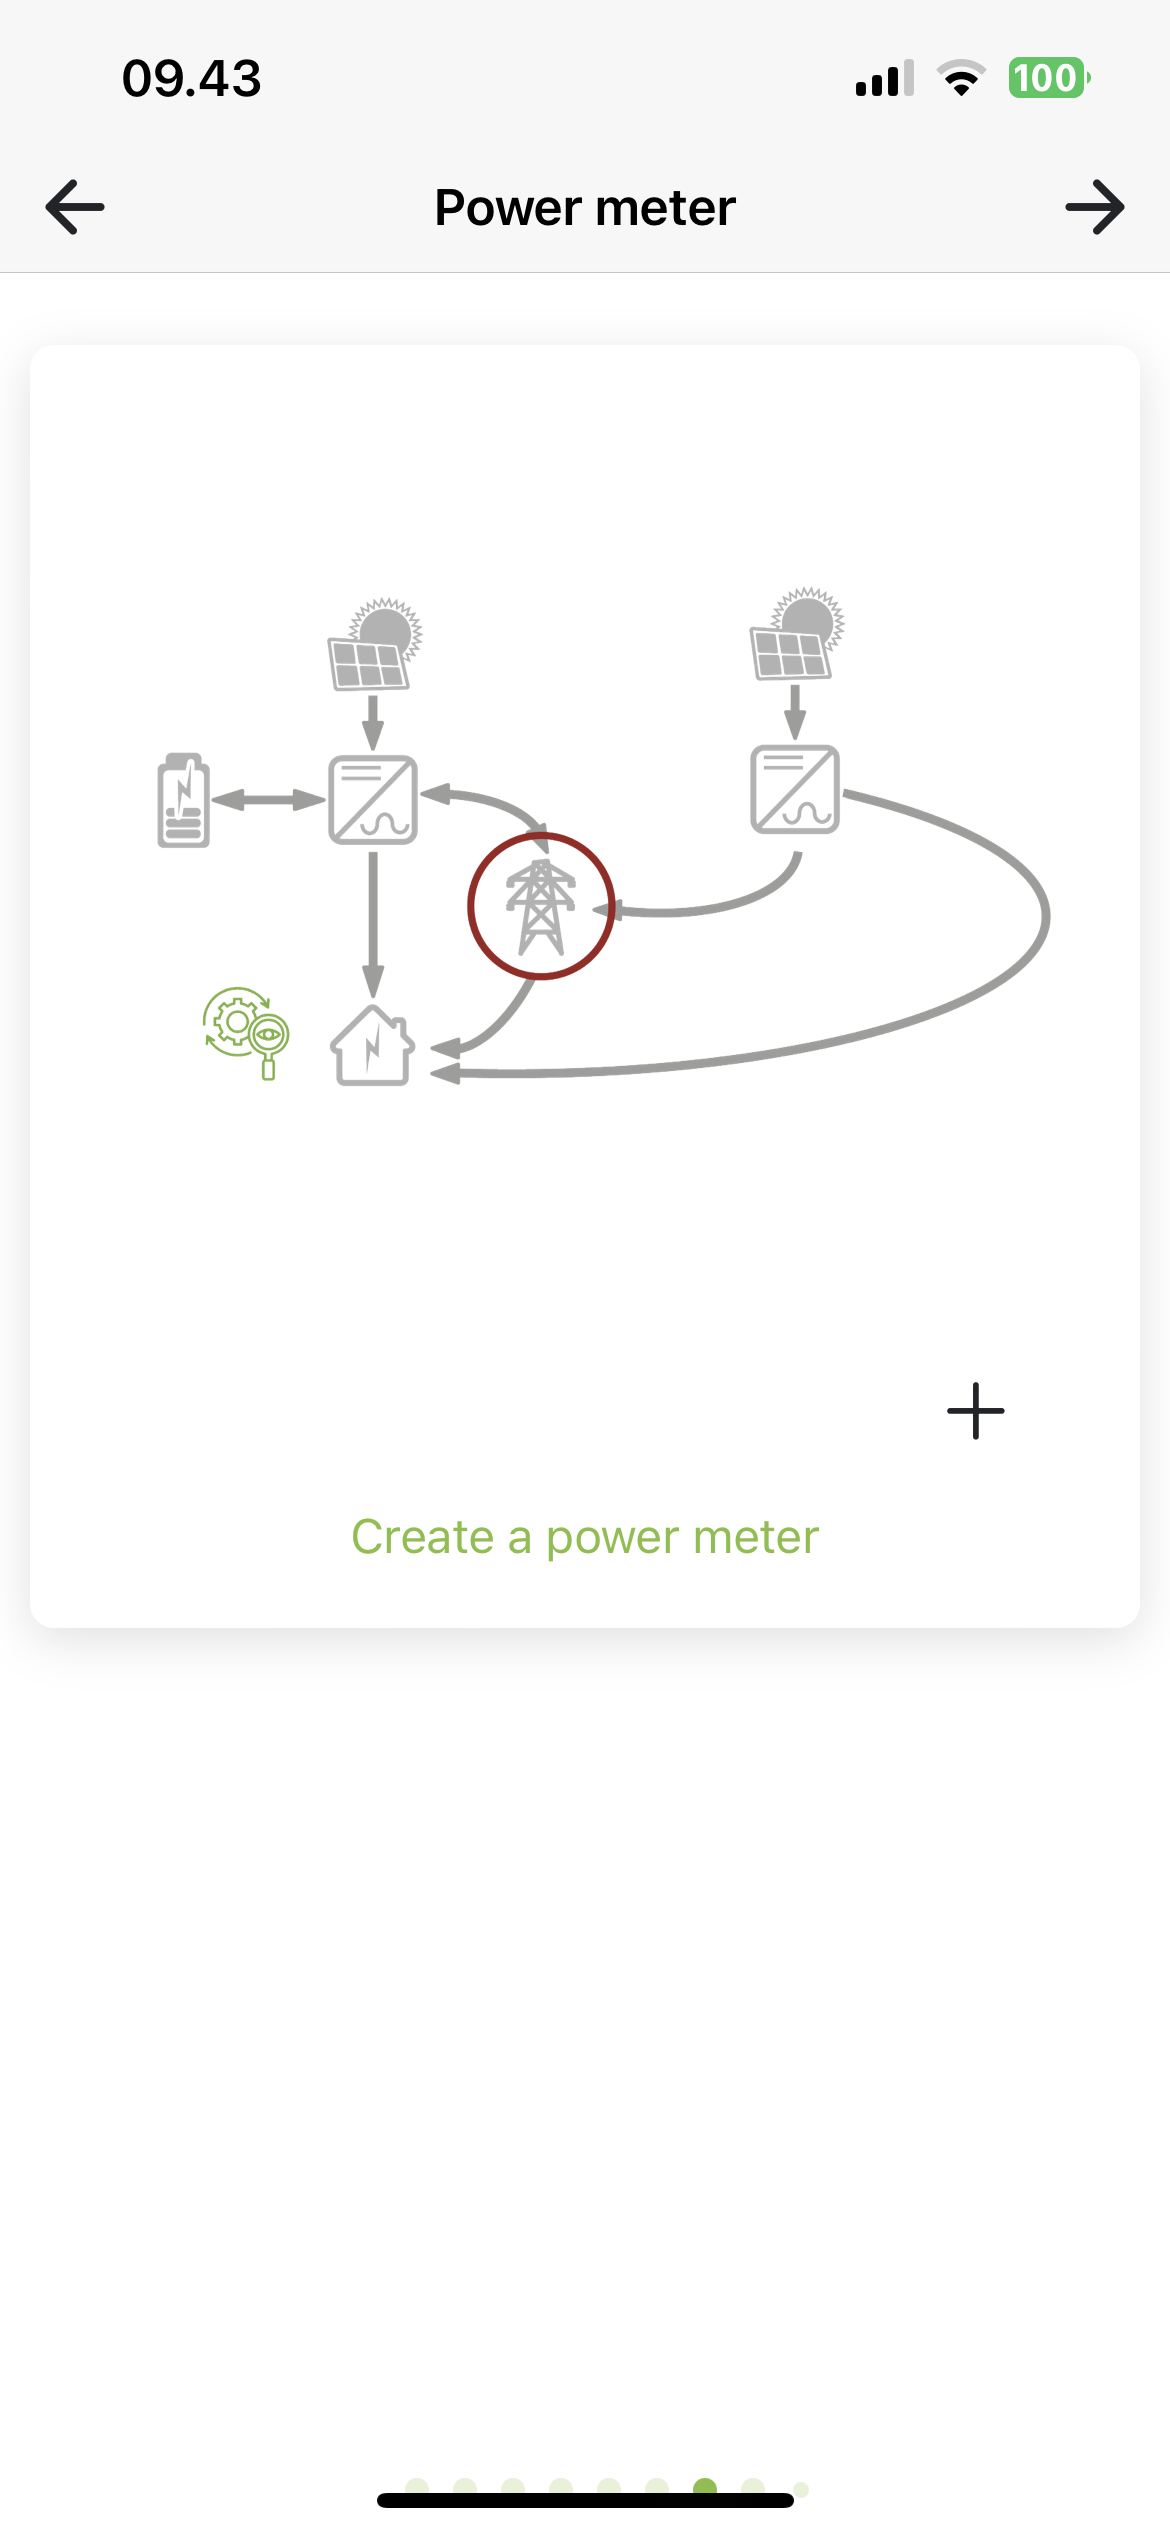
¶ ADD POWER METER
Create an electricity meter. Press + to add an electricity meter and trash to remove electricity meter. Look at Electricity meter setup to see more details.
¶ ADDITIONAL SETTINGS
You can now choose to set some additional settings on the installation.
Export limit: Enable/disable export limit as needed. Enter the limit to use in Kilowatts if enabled. Export limit limits how much all inverters together may discharge to the grid.
Power network: Must be completed. Select the power network the installation is in, e.g. West Denmark, the Netherlands.

Reseller support: Here you can add a reseller who must have access to this installation for help and support. Press + to add a reseller and trash to delete one again.
Reseller-id:Forhandler-id: Id of the reseller to be added. Can be found at Reseller (softcontrol.dk)

¶ INSTALLATION READY
The installation is now ready to be created. Tap Create Installation to start the process. You will then be automatically logged in to the new installation

¶ Hybrid system with monitoring
¶ ADD INVERTER
Add one or more inverters. Press Create new inverter.
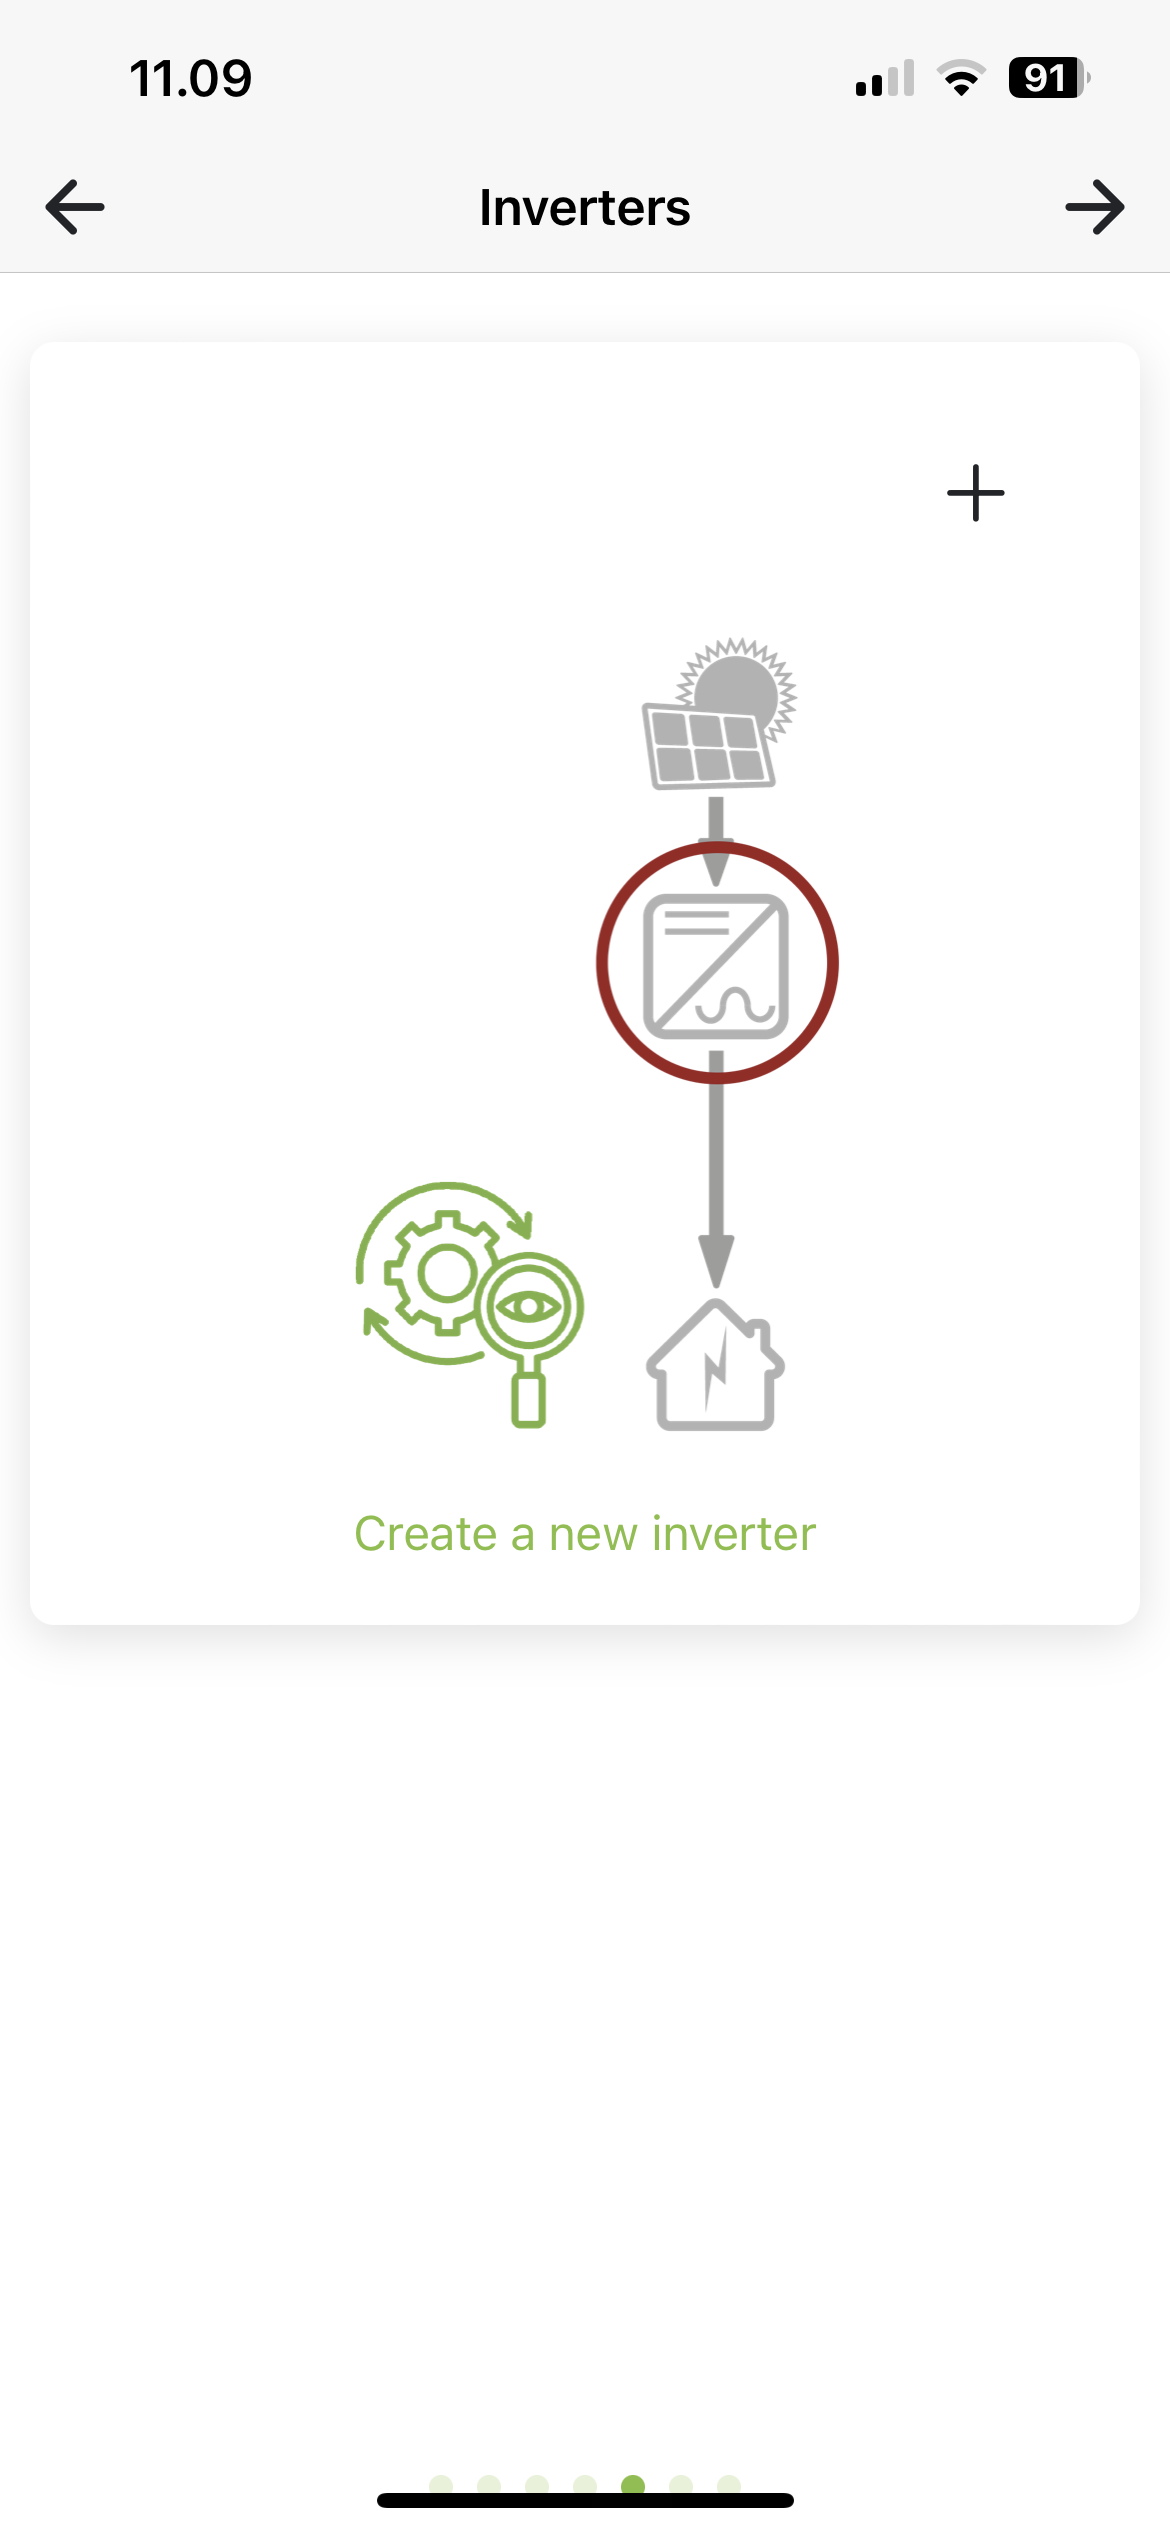
Name: Name you want to give your inverter, e.g. KSTAR, Basement.
Modbus: Enter the Modbus address you have set on the inverter (refer to manual for inverter model).
SC.GH.01 Mac-adress: Mac address is filled in based on the QR code you have scanned. If you use several SC.GH.01s, you must change the Mac address of the connected SC.GH.01.
Inverter model: Select brand and model

After choosing a model, a number of MPP appears, based on your inverter model. Press Power button to enable/disable MPP. Activate the number of MPPs you have connected to solar panels. Press MPP to set your panels.

Enter panel information
Drag the Sun to point in the direction the panels are pointing and fill in Panel angle, Number of panels and Panel power in watts.

Press Back to return to the overview, where you press + to add more inverters.
¶ ADDITIONAL SETTINGS
You can now choose to set some additional settings on the installation.
Export limit: Enable/disable export limit as needed. Enter the limit to use in Kilowatts if enabled. Export limit limits how much all inverters together may discharge to the grid.
Power network: Must be completed. Select the power network the installation is in, e.g. West Denmark, the Netherlands.

Reseller support: Here you can add a reseller who must have access to this installation for help and support. Press + to add a reseller and trash to delete one again.
Reseller-id:Forhandler-id: Id of the reseller to be added. Can be found at Reseller (softcontrol.dk)

¶ INSTALLATION READY
The installation is now ready to be created. Tap Create Installation to start the process. You will then be automatically logged in to the new installation

¶ Hybrid system with VPP control
¶ ADD INVERTER
Add one or more inverters. Press Create new inverter.
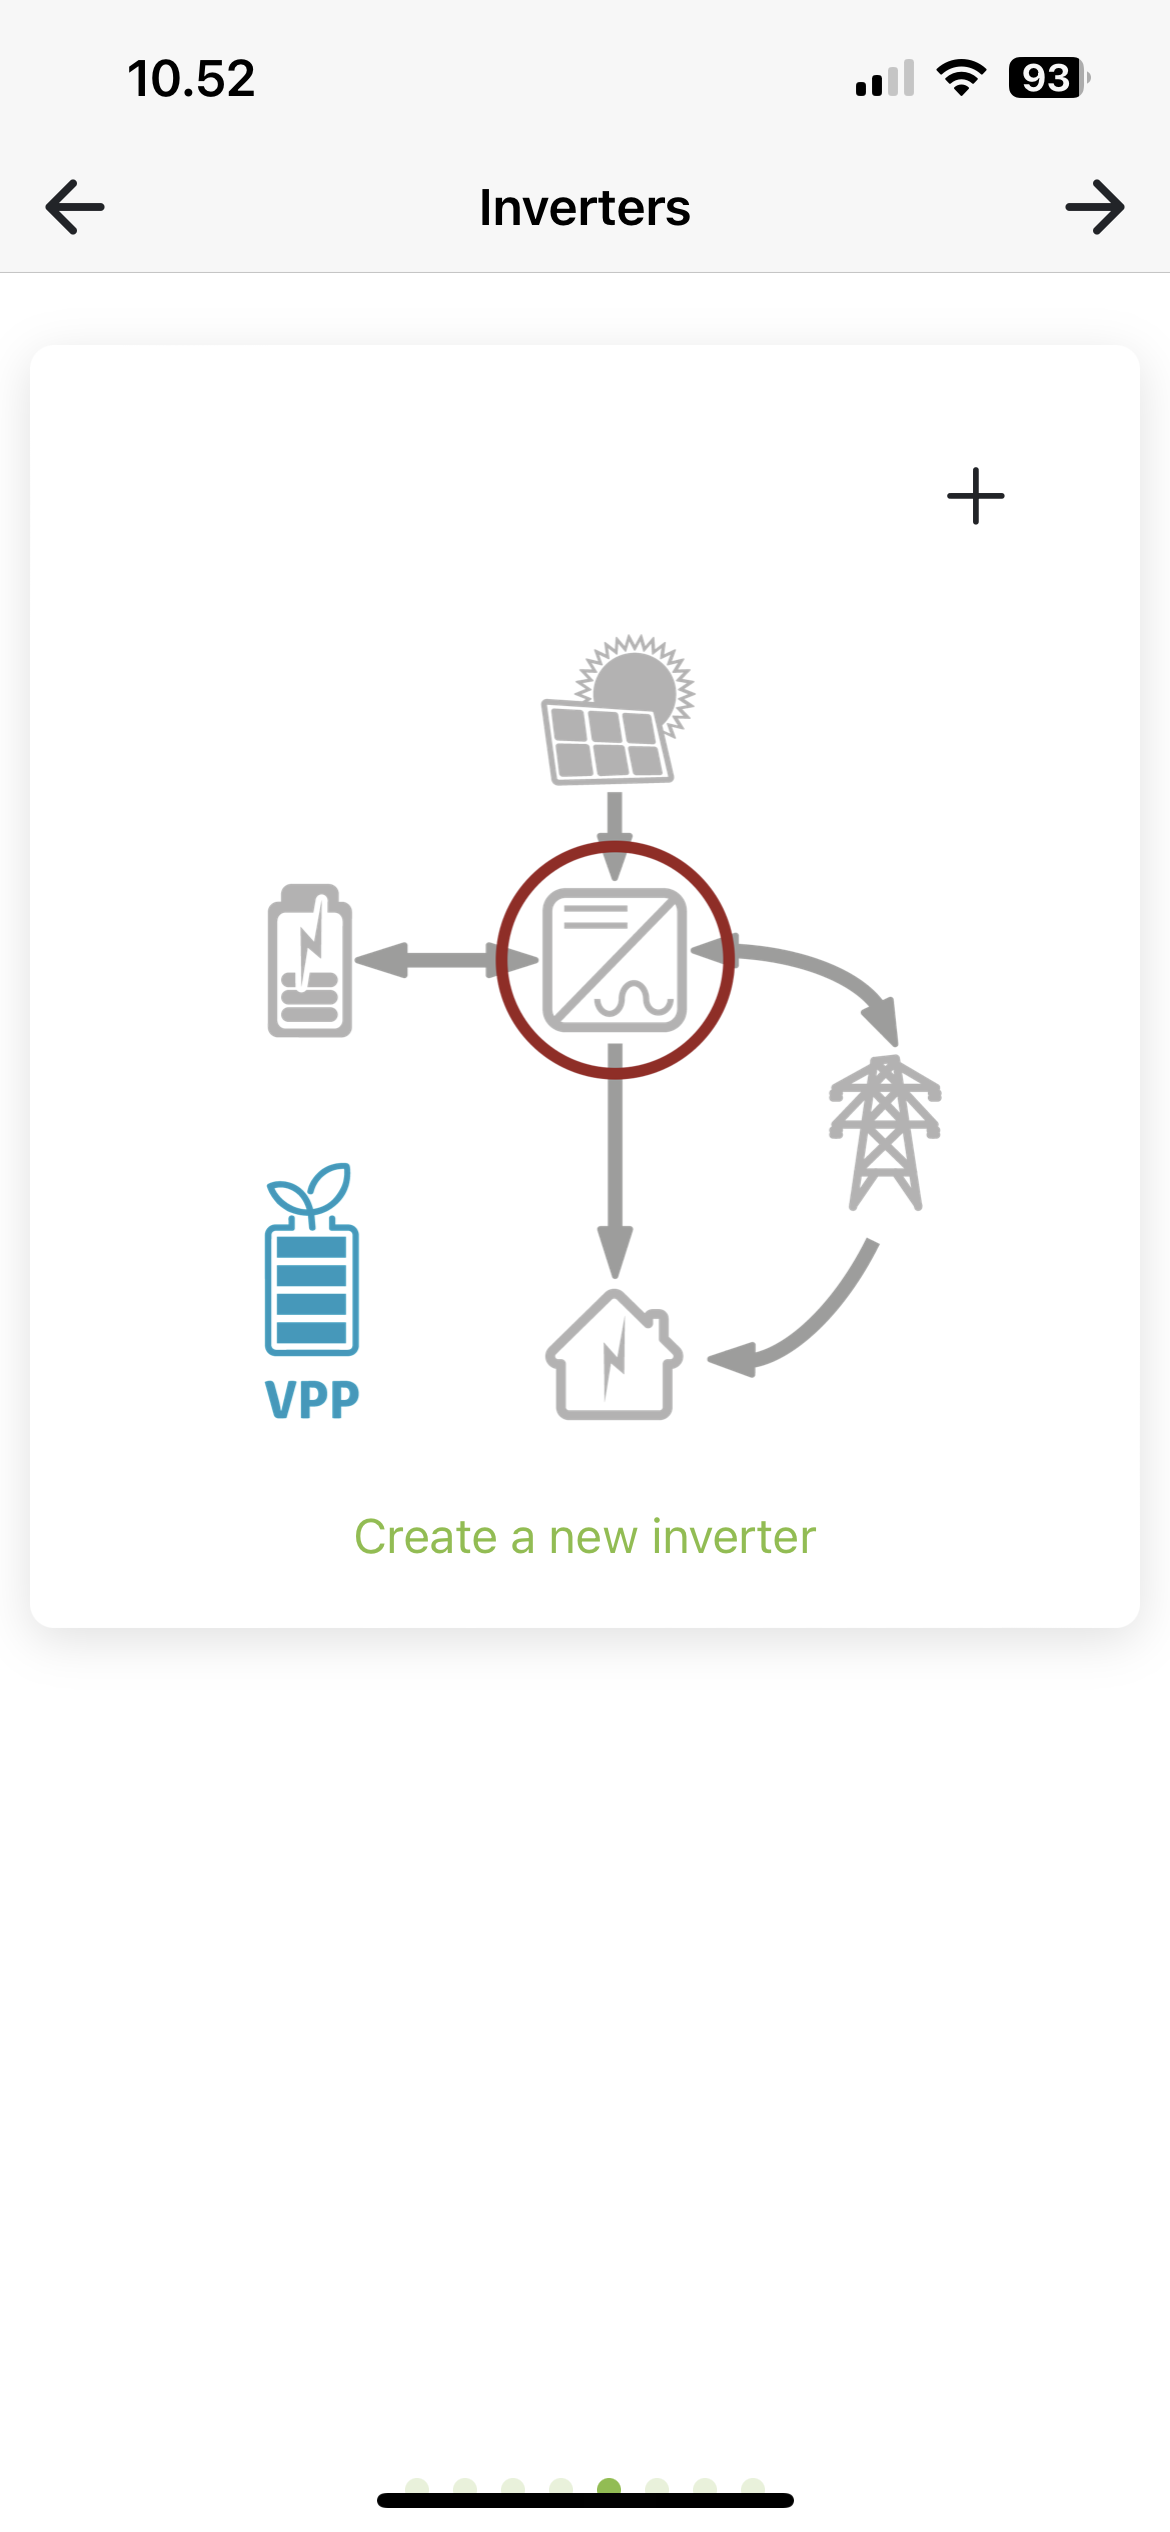
Name: Name you want to give your inverter, e.g. KSTAR, Basement.
Modbus: Enter the Modbus address you have set on the inverter (refer to manual for inverter model).
SC.GH.01 Mac-adress: Mac address is filled in based on the QR code you have scanned. If you use several SC.GH.01s, you must change the Mac address of the connected SC.GH.01.
Inverter model: Select brand and model

After choosing a model, a number of MPP appears, based on your inverter model. Press Power button to enable/disable MPP. Activate the number of MPPs you have connected to solar panels. Press MPP to set your panels.

Enter panel information
Drag the Sun to point in the direction the panels are pointing and fill in Panel angle, Number of panels and Panel power in watts.

Press Back to return to the overview, where you press + to add more inverters.
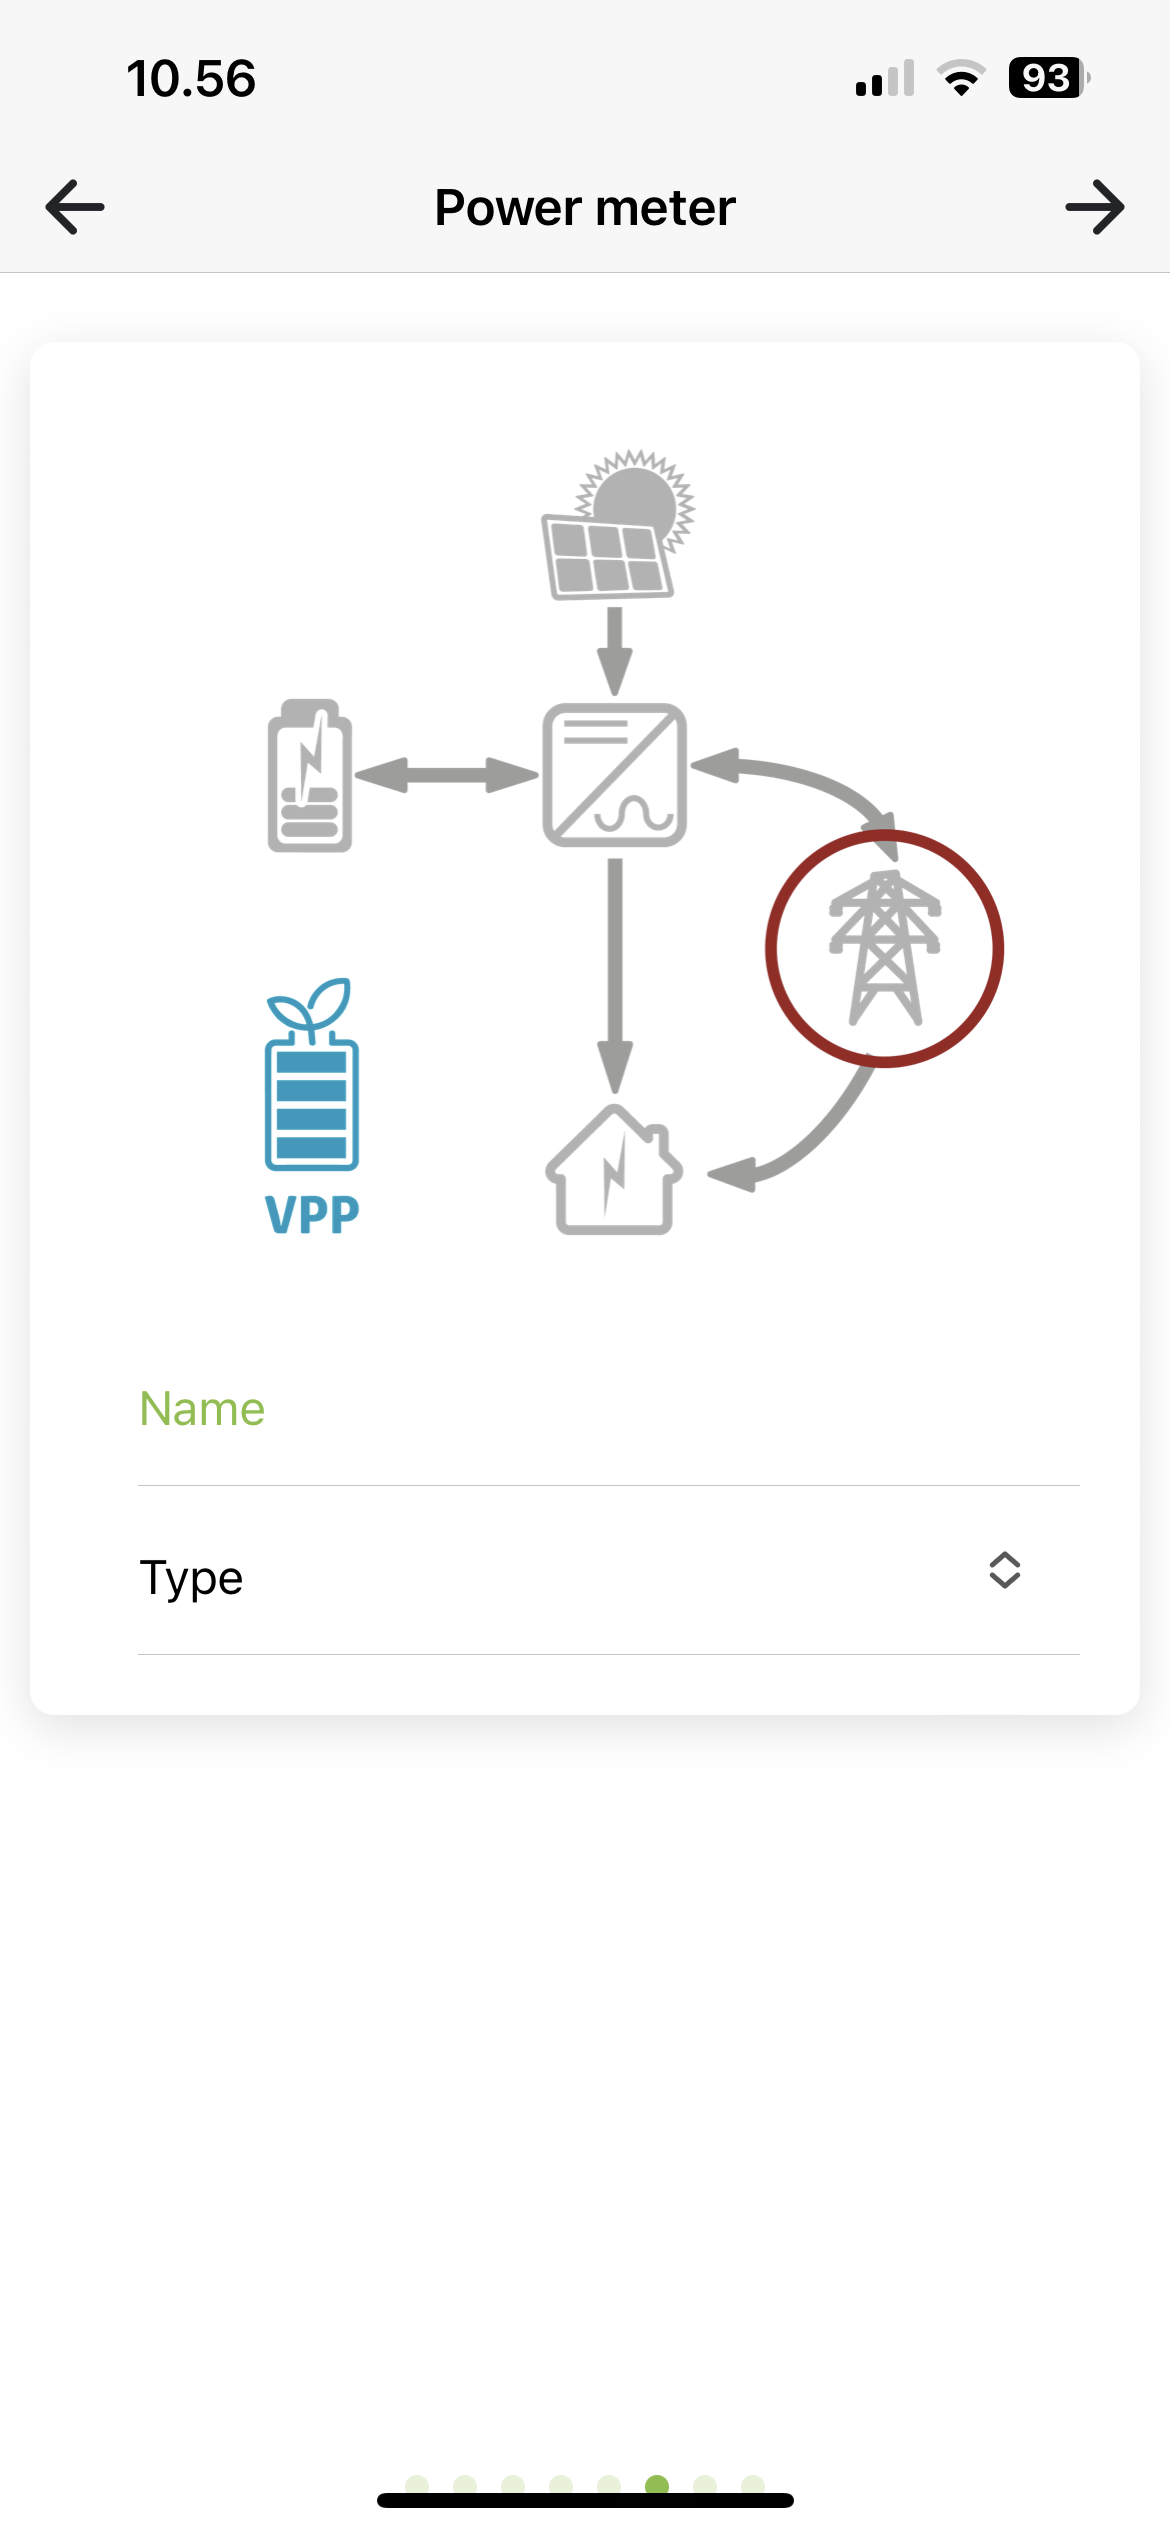
¶ ADD POWERMETER
You must now create your powermeter. Look at Electricity meter setup to see more details.
¶ ADDITIONAL SETTINGS
You can now choose to set some additional settings on the installation.
Export limit: Enable/disable export limit as needed. Enter the limit to use in Kilowatts if enabled. Export limit limits how much all inverters together may discharge to the grid.
Power network: Must be completed. Select the power network the installation is in, e.g. West Denmark, the Netherlands.

Reseller support: Here you can add a reseller who must have access to this installation for help and support. Press + to add a reseller and trash to delete one again.
Reseller-id:Forhandler-id: Id of the reseller to be added. Can be found at Reseller (softcontrol.dk)

¶ INSTALLATION READY
The installation is now ready to be created. Tap Create Installation to start the process. You will then be automatically logged in to the new installation

¶ On-grid system with powermeter and monitoring
¶ ADD INVERTER
Add one or more inverters. Press Create new inverter.
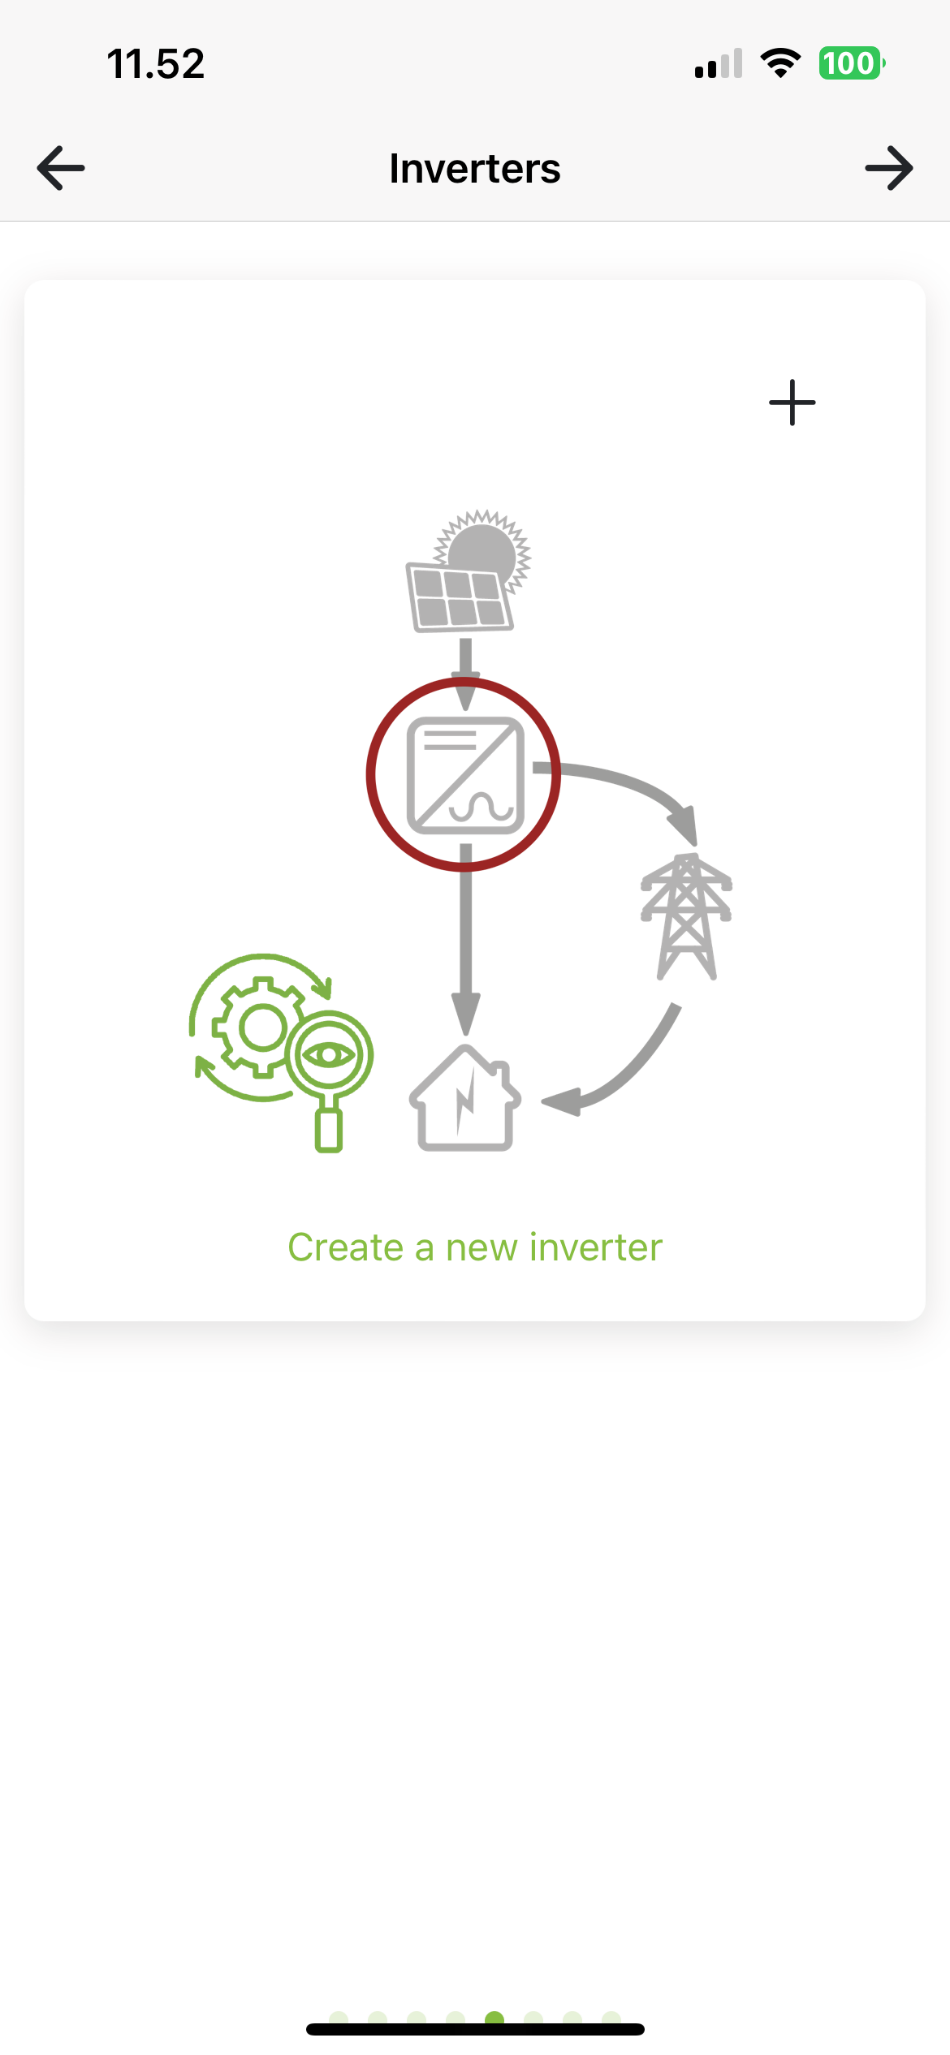
Name: Name you want to give your inverter, e.g. KSTAR, Basement.
Modbus: Enter the Modbus address you have set on the inverter (refer to manual for inverter model).
SC.GH.01 Mac-adress: Mac address is filled in based on the QR code you have scanned. If you use several SC.GH.01s, you must change the Mac address of the connected SC.GH.01.
Inverter model: Select brand and model

After choosing a model, a number of MPP appears, based on your inverter model. Press Power button to enable/disable MPP. Activate the number of MPPs you have connected to solar panels. Press MPP to set your panels.

Enter panel information
Drag the Sun to point in the direction the panels are pointing and fill in Panel angle, Number of panels and Panel power in watts.

Press Back to return to the overview, where you press + to add more inverters.
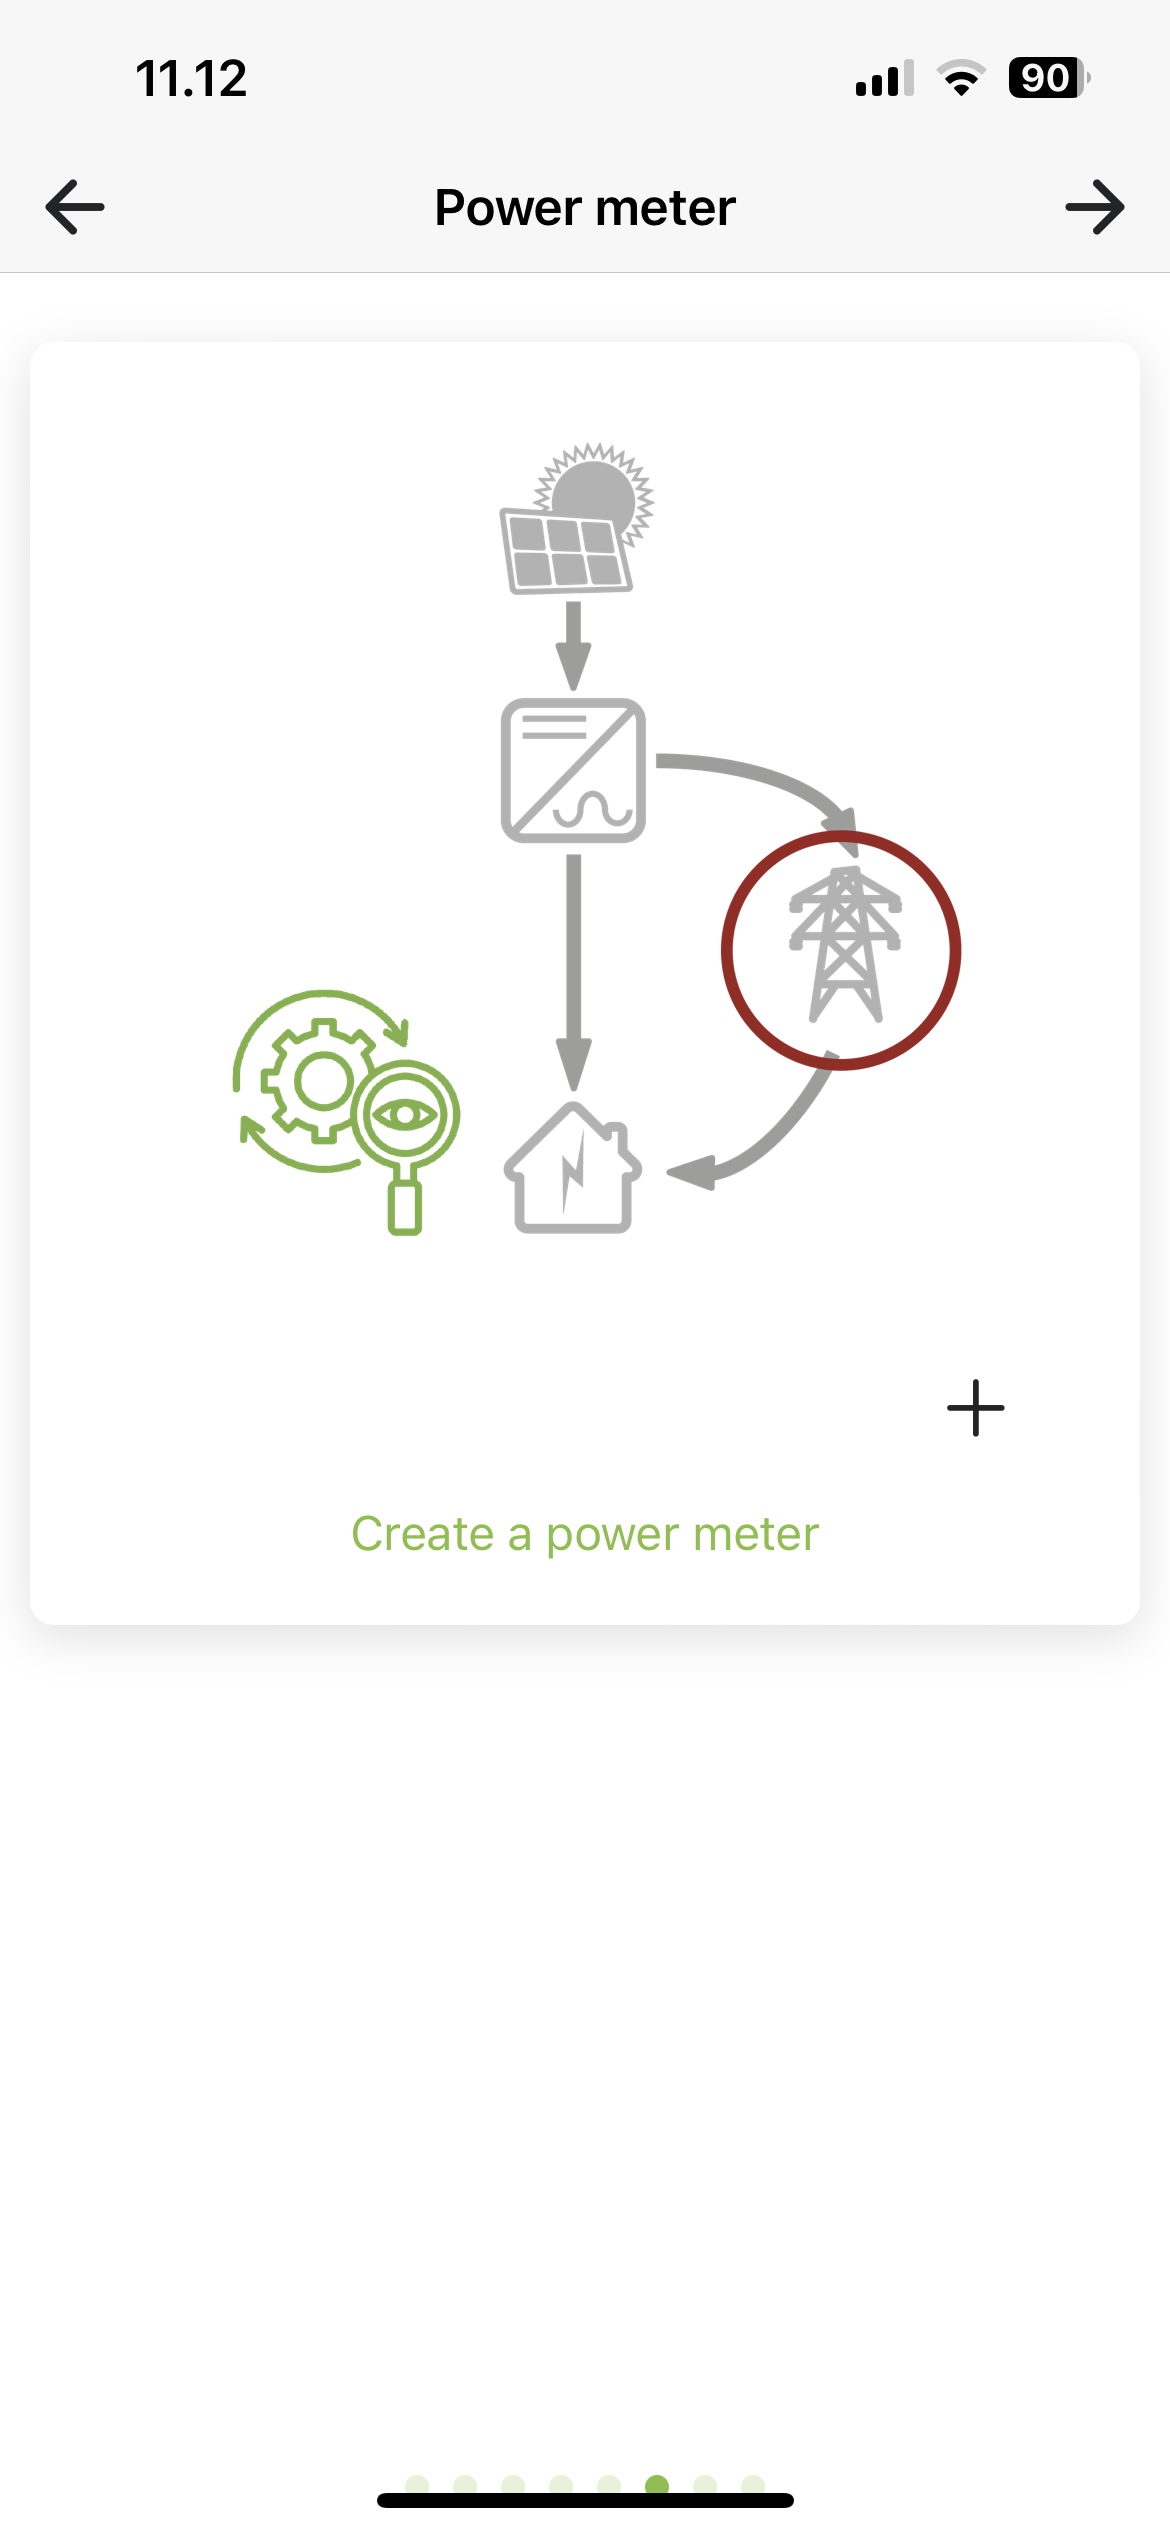
¶ ADD POWERMETER
Create an electricity meter. Press + to add an electricity meter and trash to remove electricity meter. Look at Electricity meter setup to see more details.
¶ ADDITIONAL SETTINGS
You can now choose to set some additional settings on the installation.
Reseller support: Here you can add a reseller who must have access to this installation for help and support. Press + to add a reseller and trash to delete one again.
Reseller-id:Forhandler-id: Id of the reseller to be added. Can be found at Reseller (softcontrol.dk)


¶ INSTALLATION READY
The installation is now ready to be created. Tap Create Installation to start the process. You will then be automatically logged in to the new installation

¶ Hybrid system with monitoring
¶ ADD INVERTER
Add one or more inverters. Press Create new inverter.
Name: Name you want to give your inverter, e.g. KSTAR, Basement.
Modbus: Enter the Modbus address you have set on the inverter (refer to manual for inverter model).
SC.GH.01 Mac-adress: Mac address is filled in based on the QR code you have scanned. If you use several SC.GH.01s, you must change the Mac address of the connected SC.GH.01.
Inverter model: Select brand and model
After choosing a model, a number of MPP appears, based on your inverter model. Press Power button to enable/disable MPP. Activate the number of MPPs you have connected to solar panels. Press MPP to set your panels.
Enter panel information
Drag the Sun to point in the direction the panels are pointing and fill in Panel angle, Number of panels and Panel power in watts.
Press Back to return to the overview, where you press + to add more inverters.
¶ ADDITIONAL SETTINGS
You can now choose to set some additional settings on the installation.
Export limit: Enable/disable export limit as needed. Enter the limit to use in Kilowatts if enabled. Export limit limits how much all inverters together may discharge to the grid.
Power network: Must be completed. Select the power network the installation is in, e.g. West Denmark, the Netherlands.
Reseller support: Here you can add a reseller who must have access to this installation for help and support. Press + to add a reseller and trash to delete one again.
Reseller-id:Forhandler-id: Id of the reseller to be added. Can be found at Reseller (softcontrol.dk)
¶ INSTALLATION READY
The installation is now ready to be created. Tap Create Installation to start the process. You will then be automatically logged in to the new installation